¶ Tools
Before unpacking and assembling the printer, please prepare the following necessary tools:
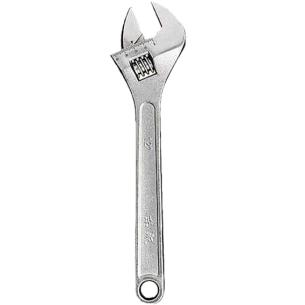
- Open-end wrench (19mm)
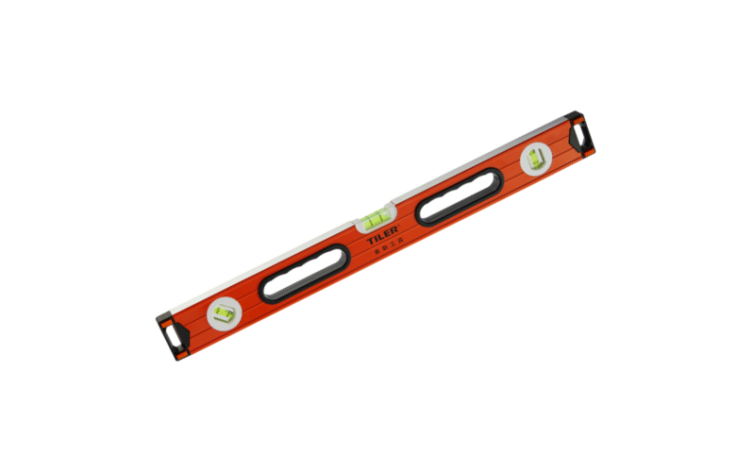
- Level
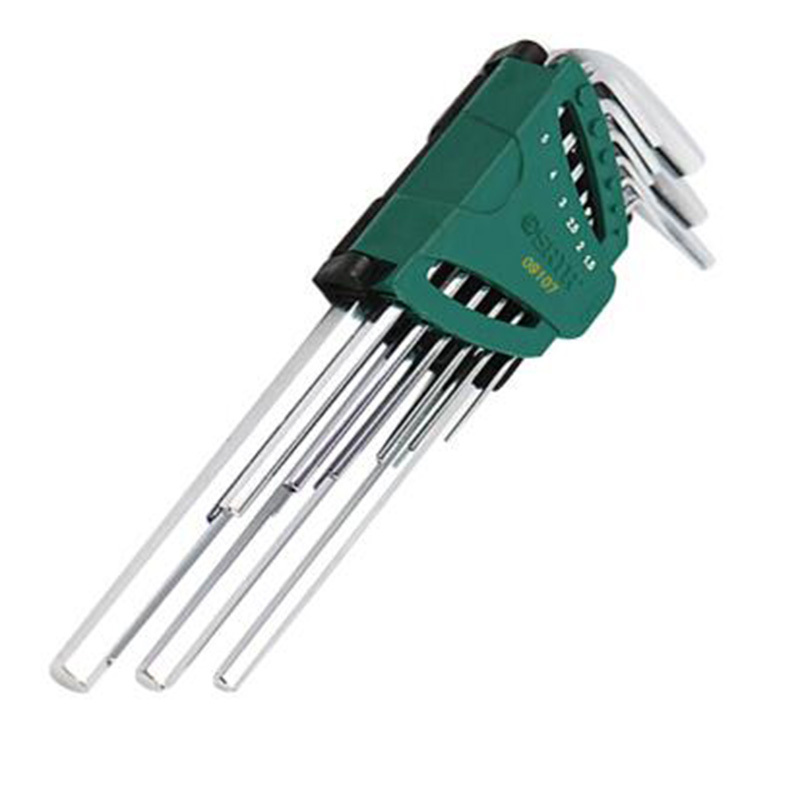
- A set of hex wrench in metric system
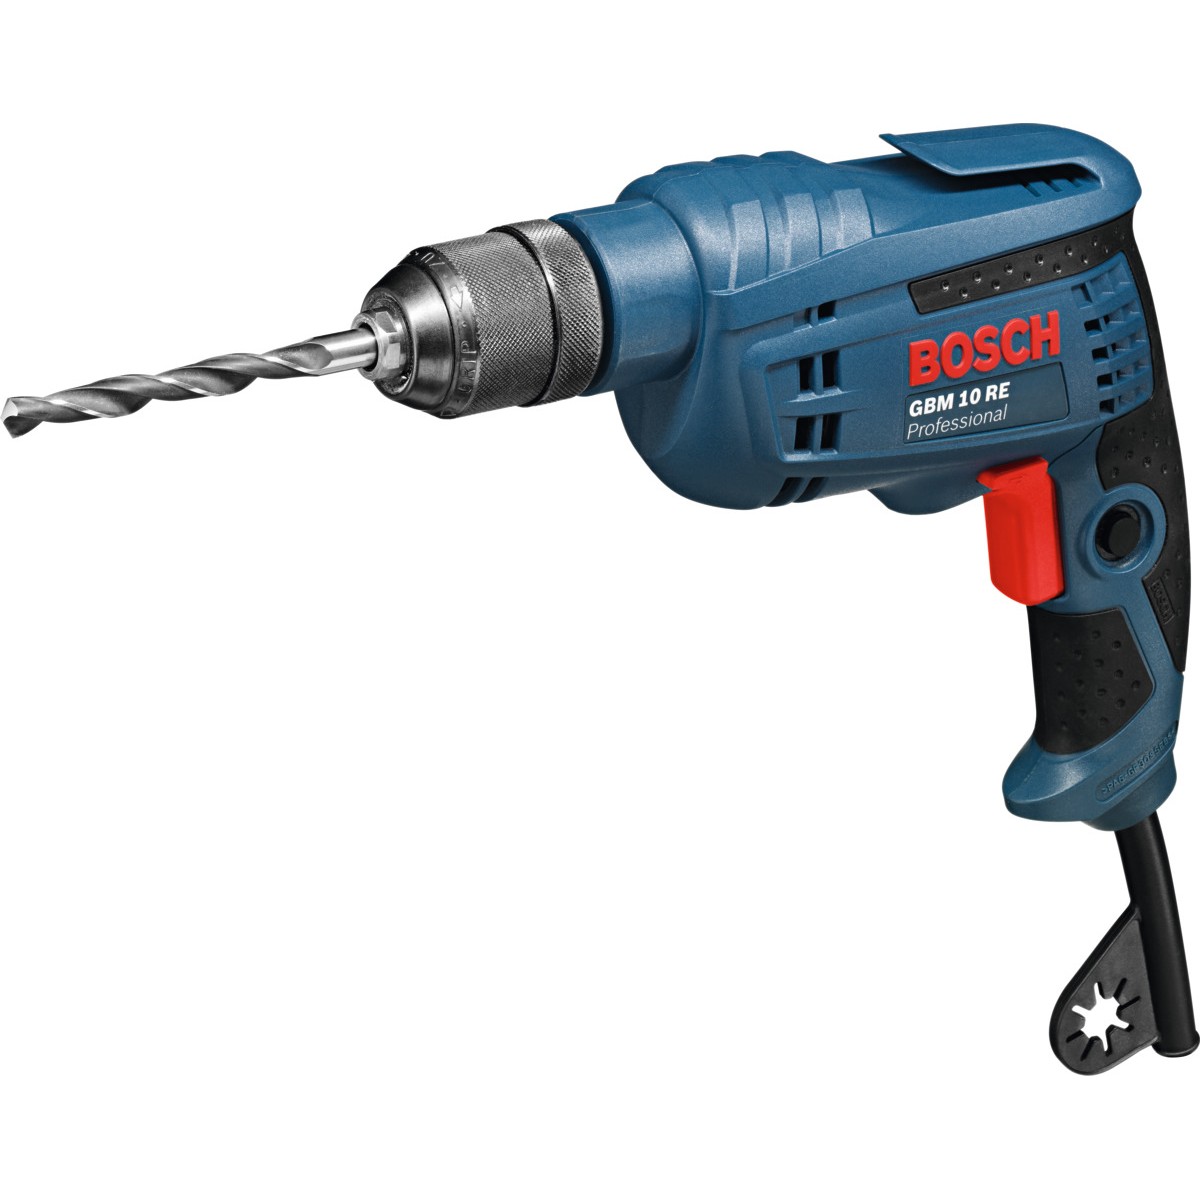
- Electric drill
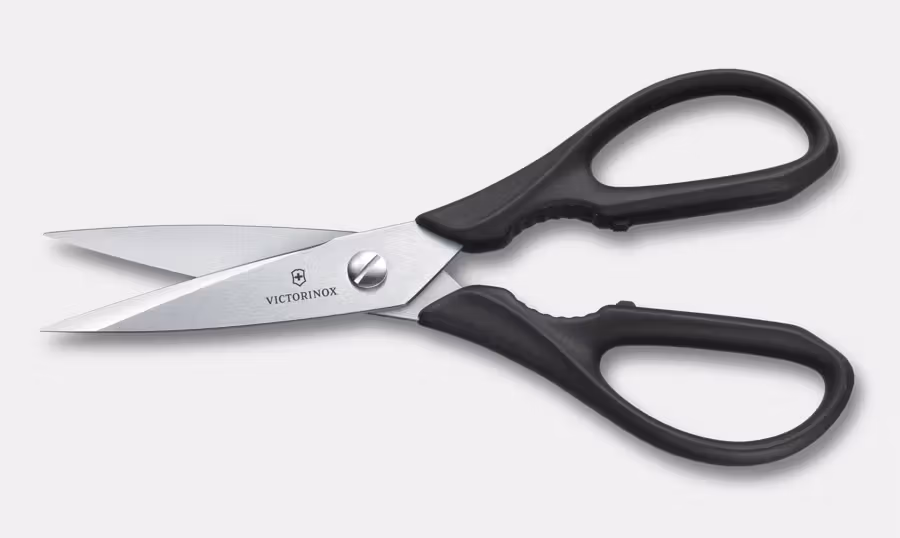
- Scissors
- Anhydrous ethanol

- Safety Shoe

- Safety And Industrial Gloves

- Eye Protector

¶ Remove The Outer Packaging
-
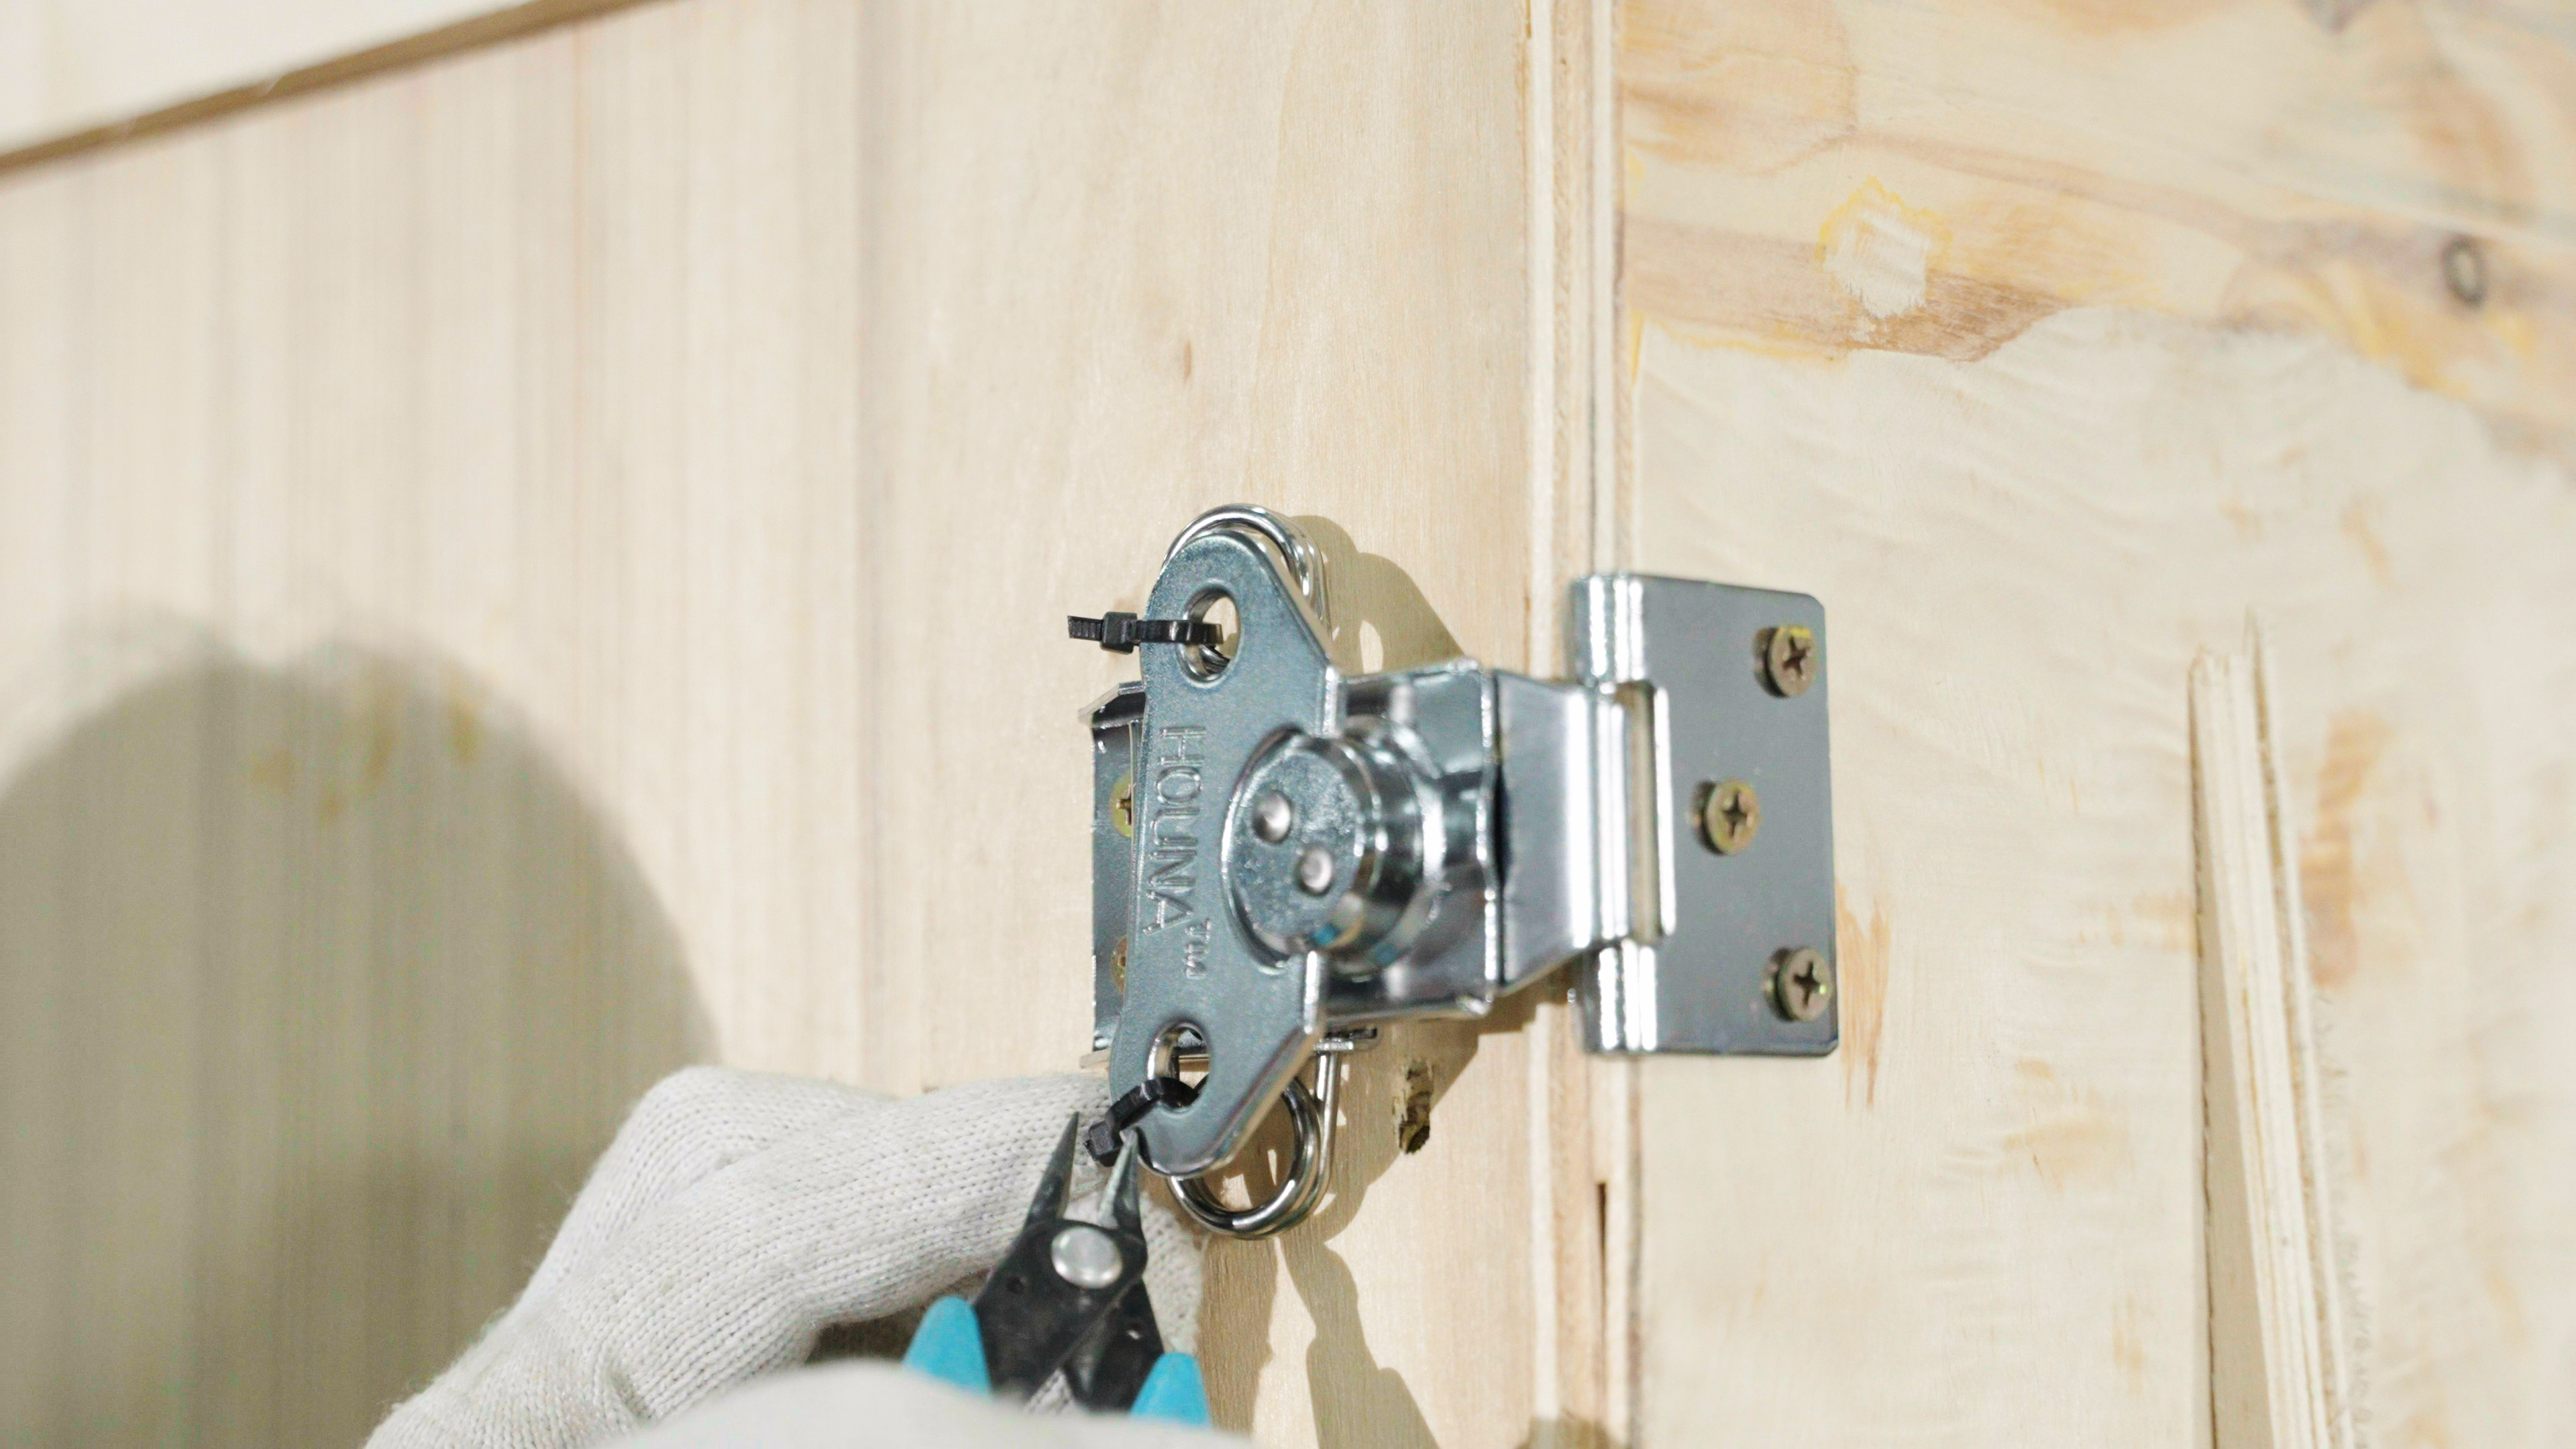
Open the latches. There are 6 latches on the box, 3 on each side. Cut the cable ties with scissors, then twist open the latches.
-
Carefully lower the flap to avoid injury. Remove the protective foam. Use a drill to remove the protective strip on the right side of the wooden box.
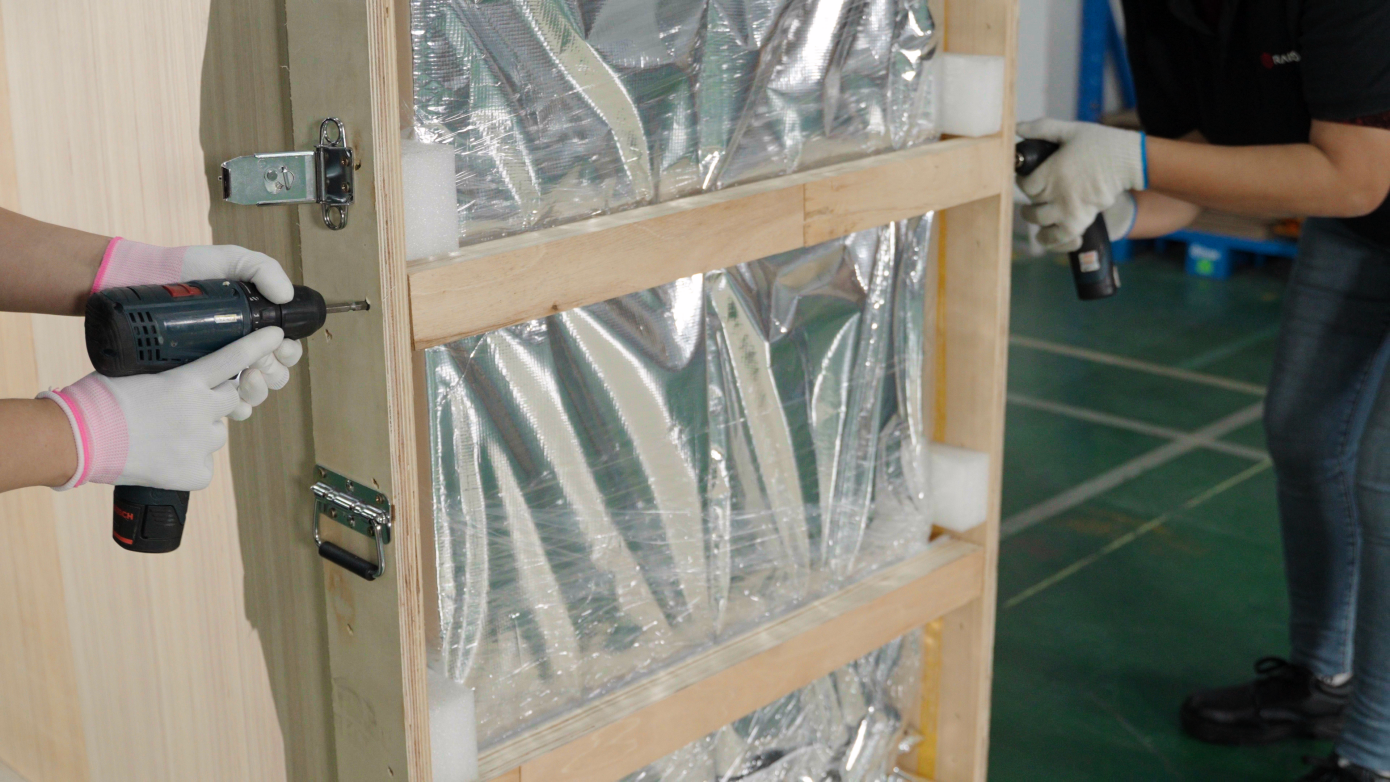
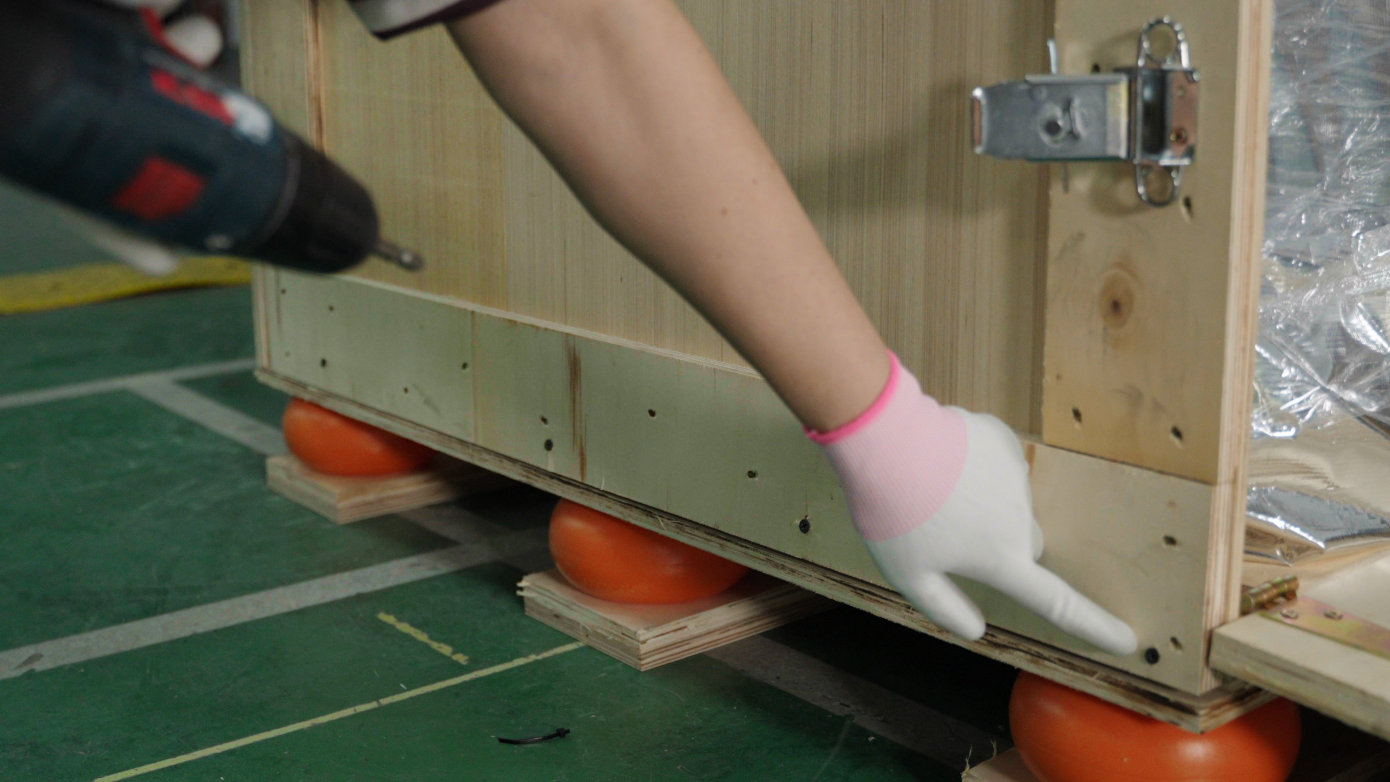
3.Use an electric drill to remove the fixing screws on the sides and bottom of the back of the wooden box.
-
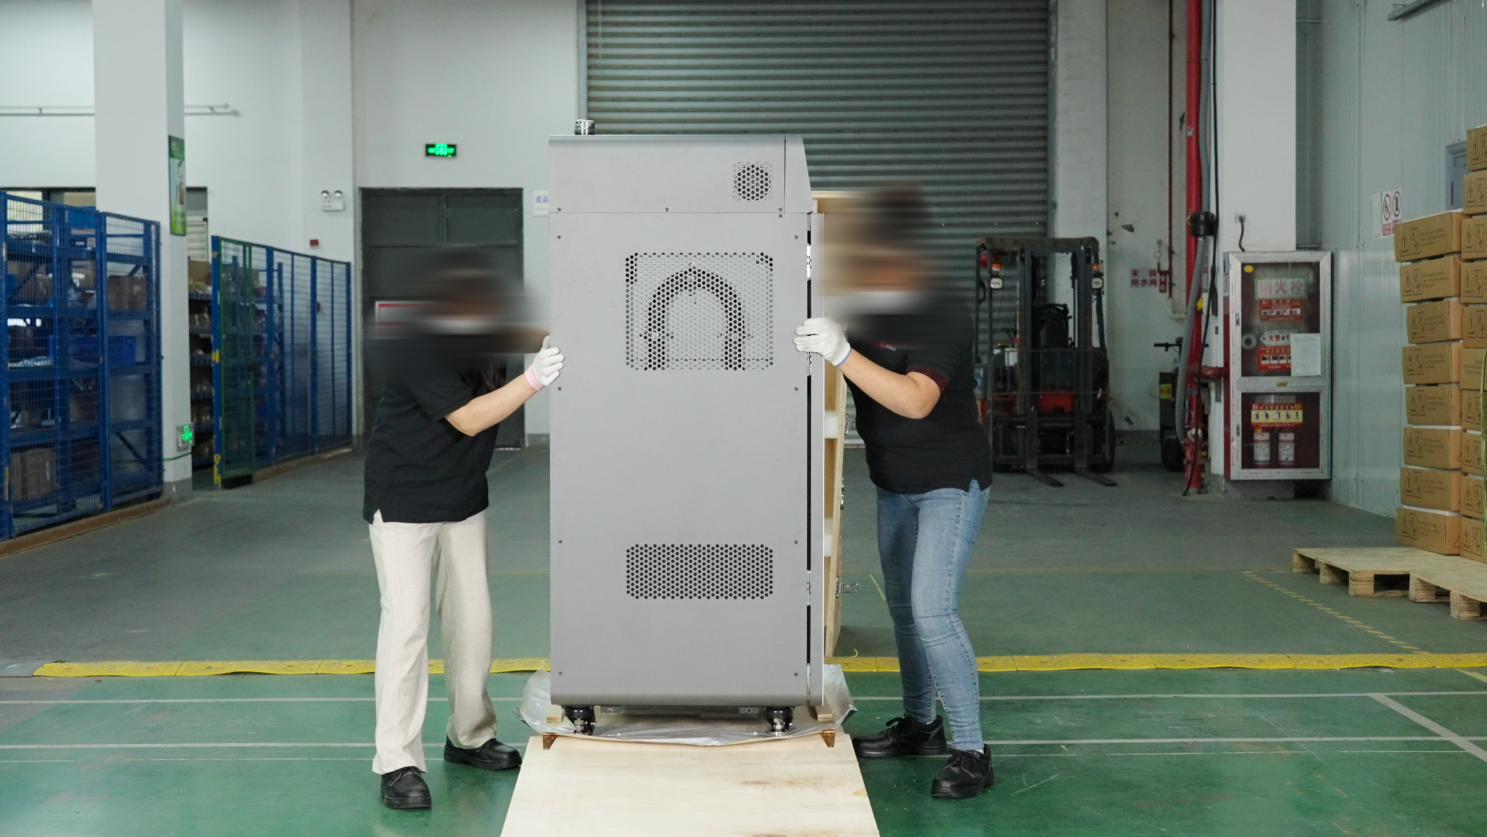
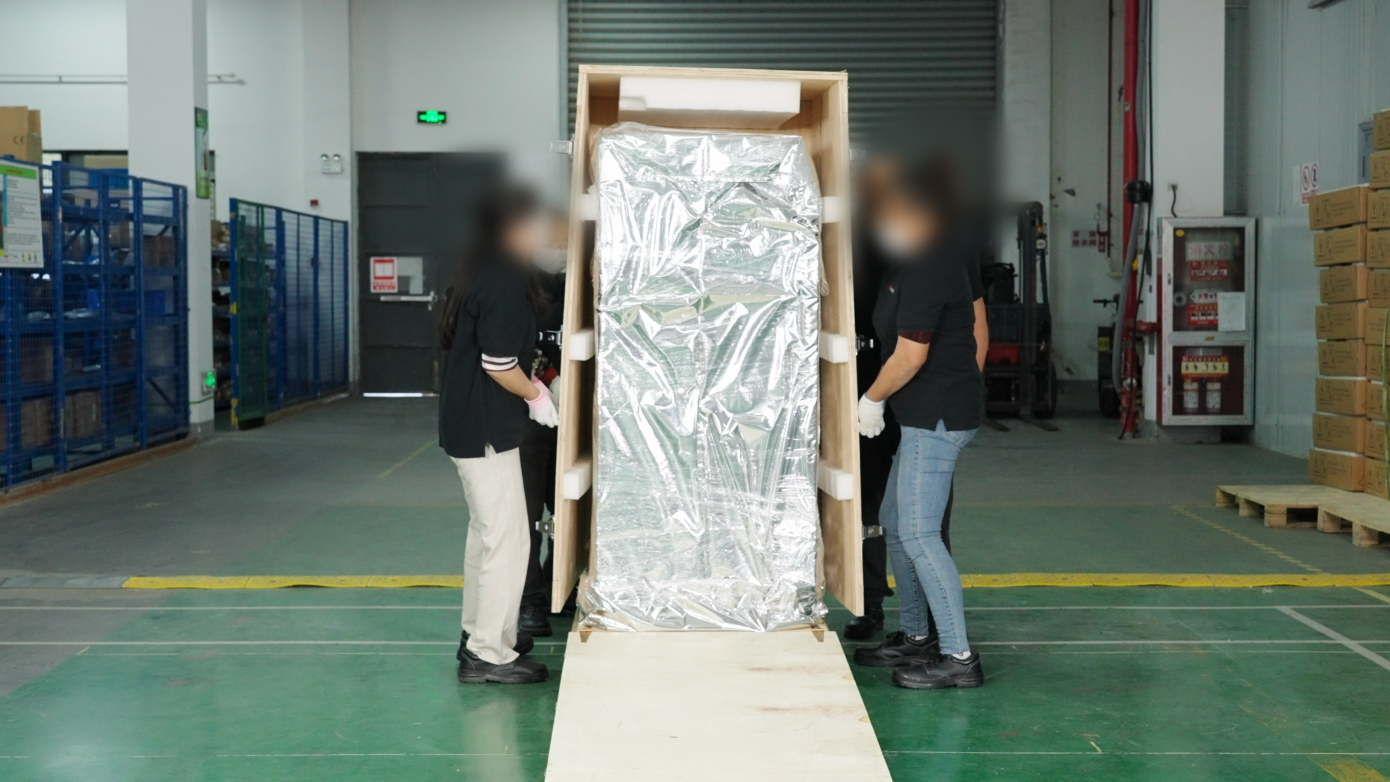
It takes 2-4 people to lift the handles on both sides of the box and move the wooden box away from the equipment.
-
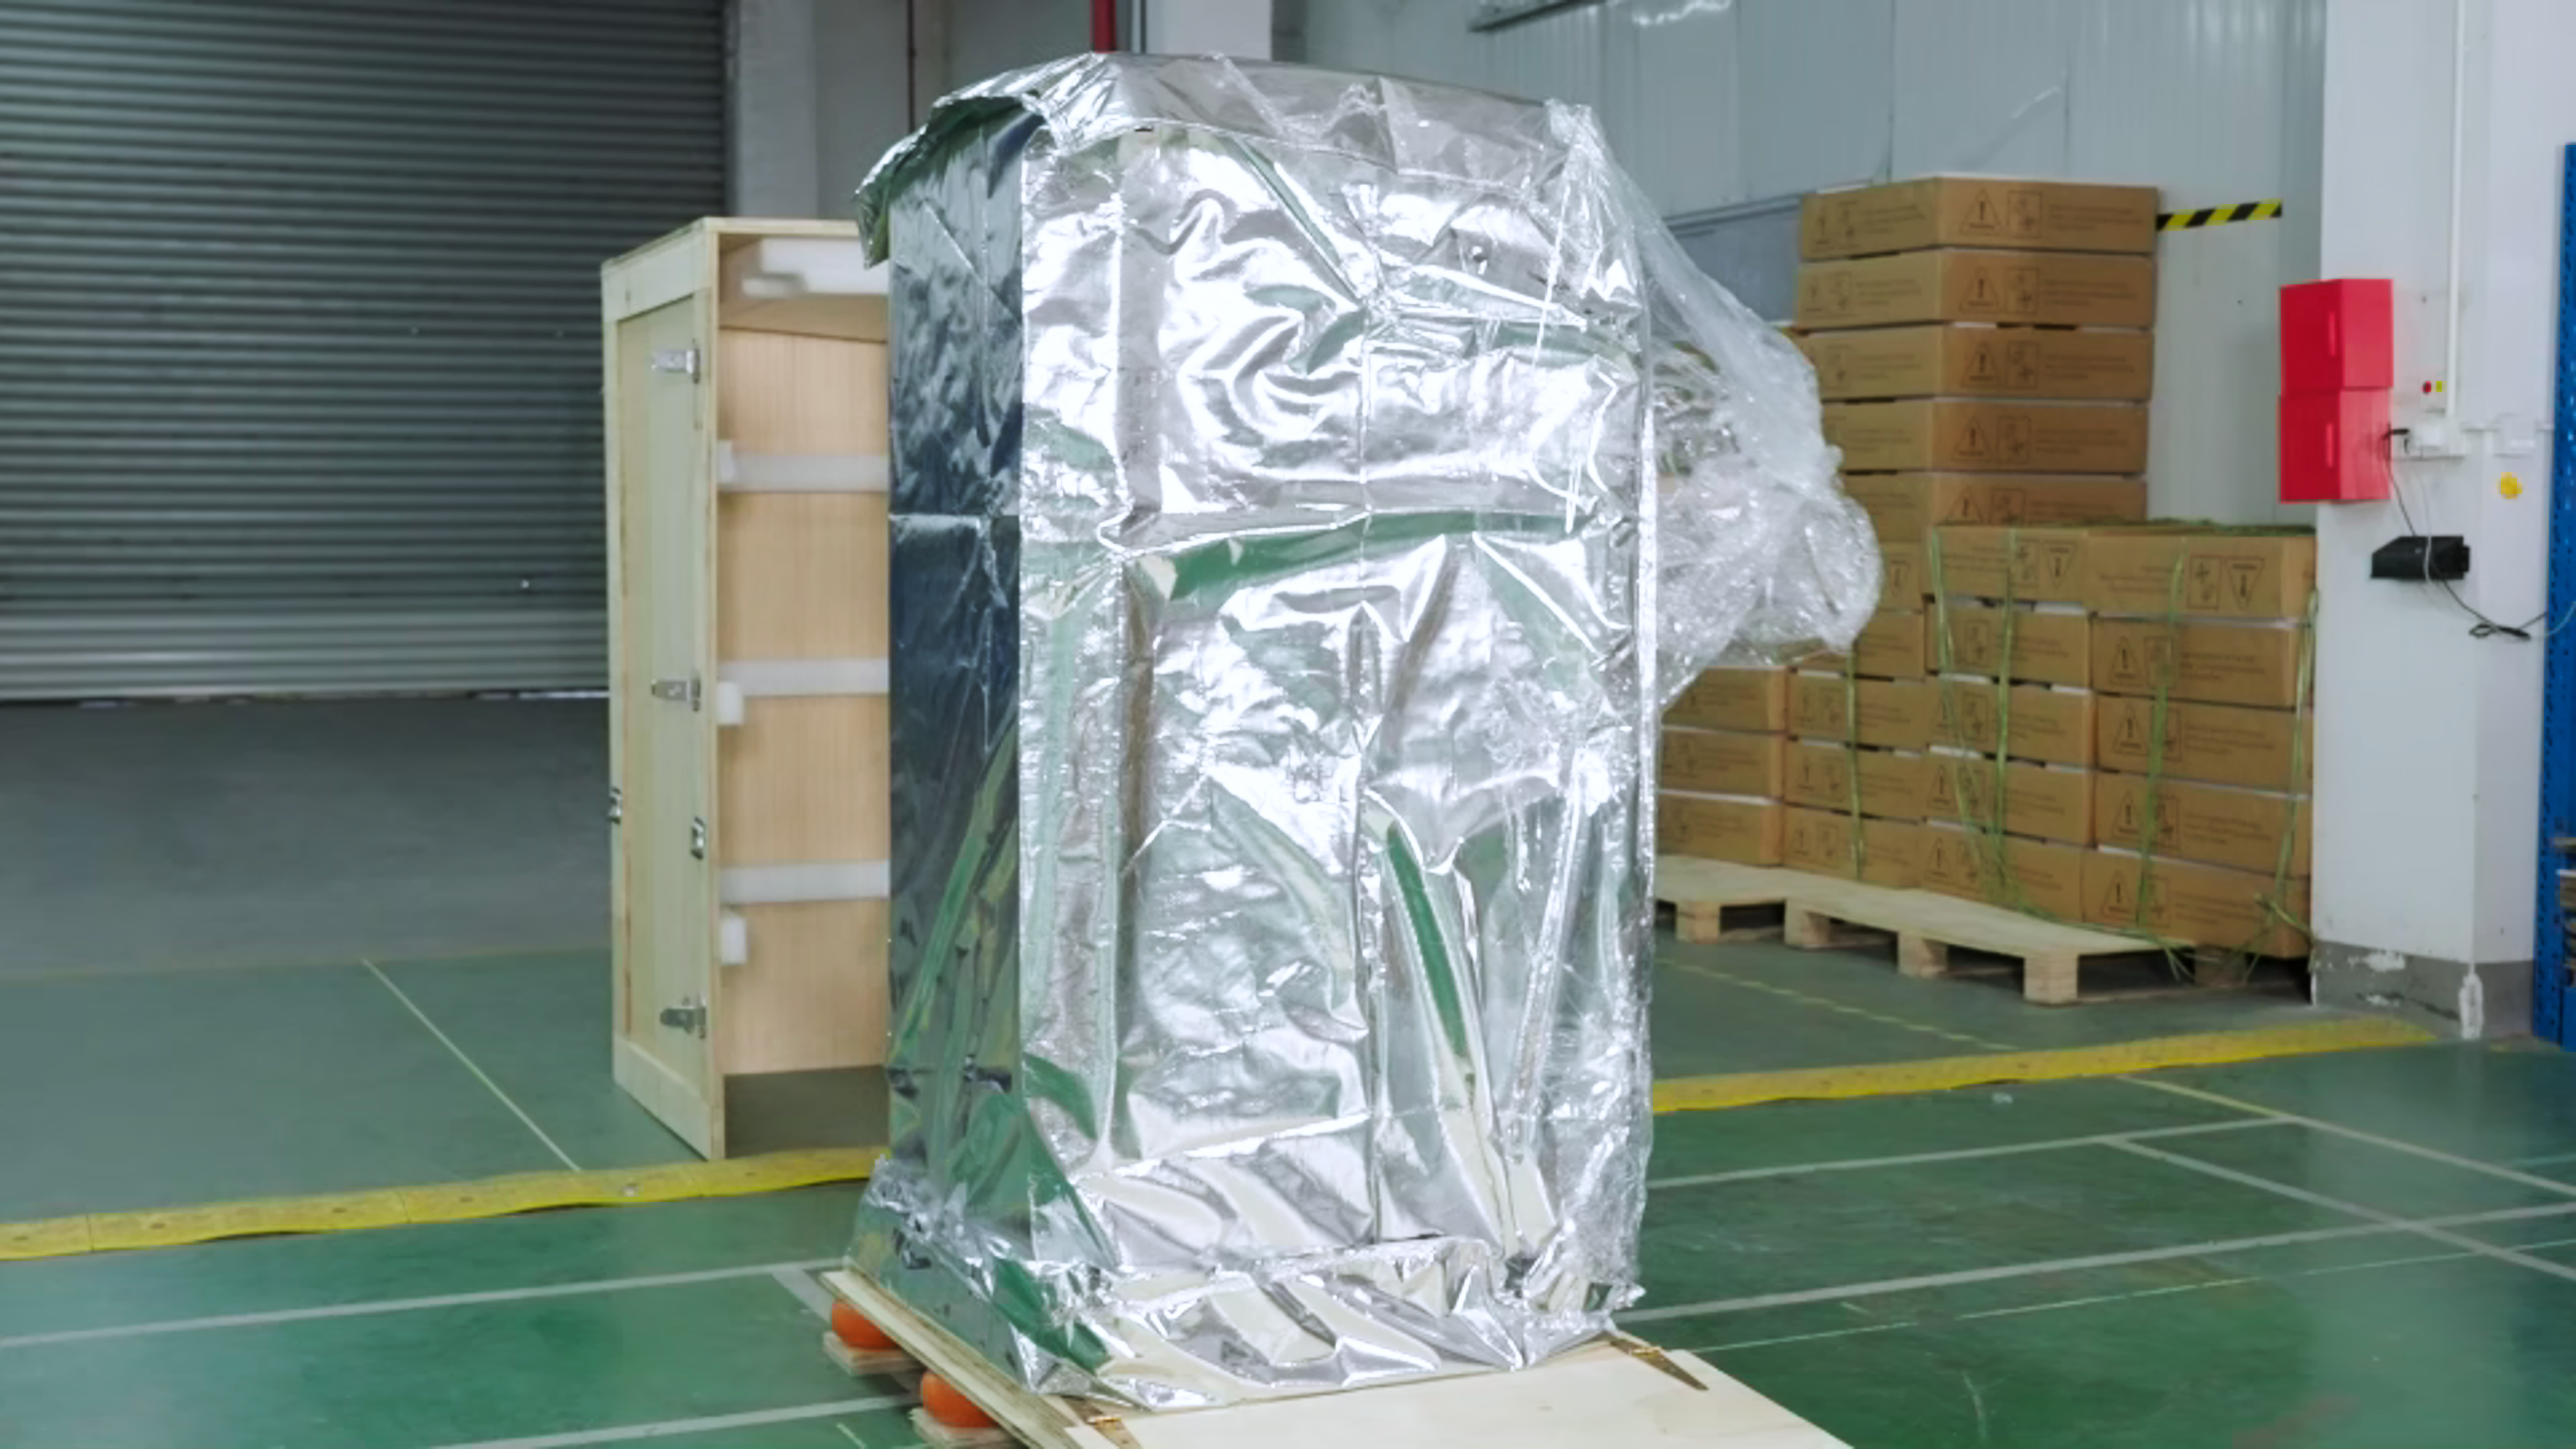
Use scissors to remove the vacuum packaging from the RMS220.
-
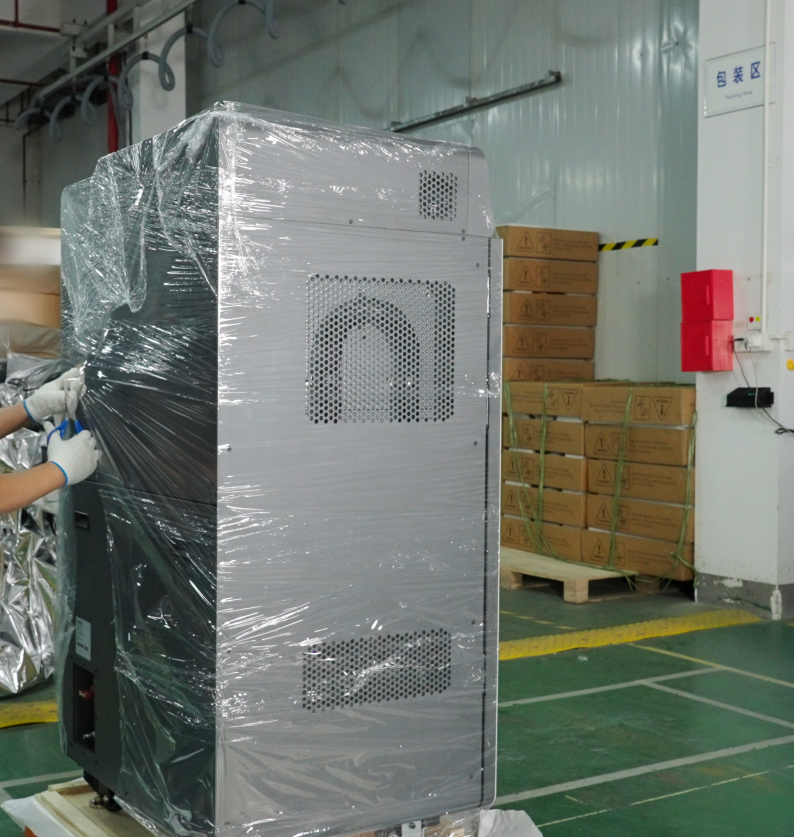
Use scissors to remove the protective film covering the printer.
-
Use an hex wrench (or a wheel wrench) to remove the four brackets securing the printer, two on each side.

-
Next, you need to raise the printer's four foot supports to prevent them from hitting the base when moving the printer.First, use an open-end wrench to loosen the top screws downwards. Then, use the open-end wrench to loosen the bottom screws upwards to raise the foot supports.
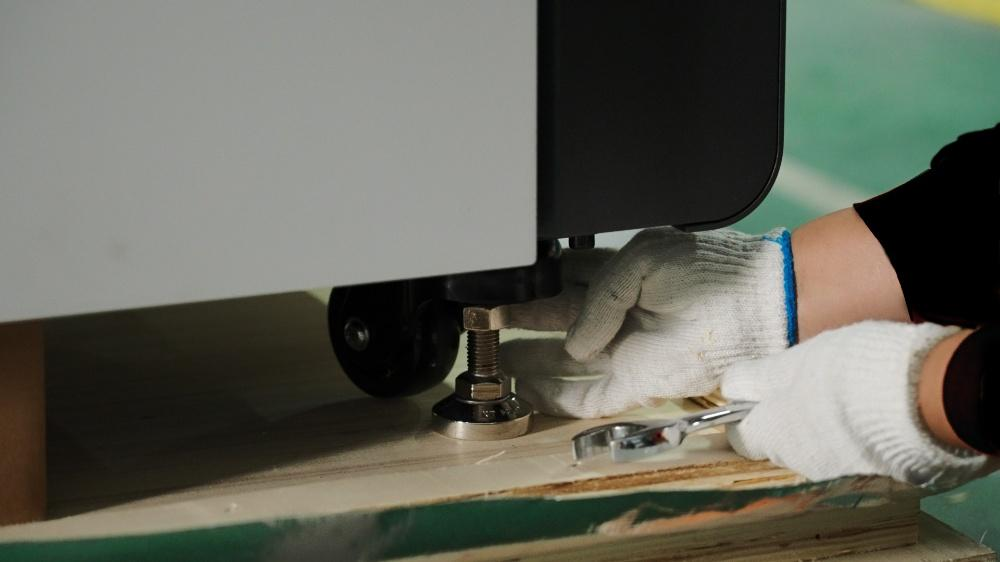
Note: Two people are needed to raise the foot supports diagonally to prevent the printer from tipping over and causing personal injury.
-
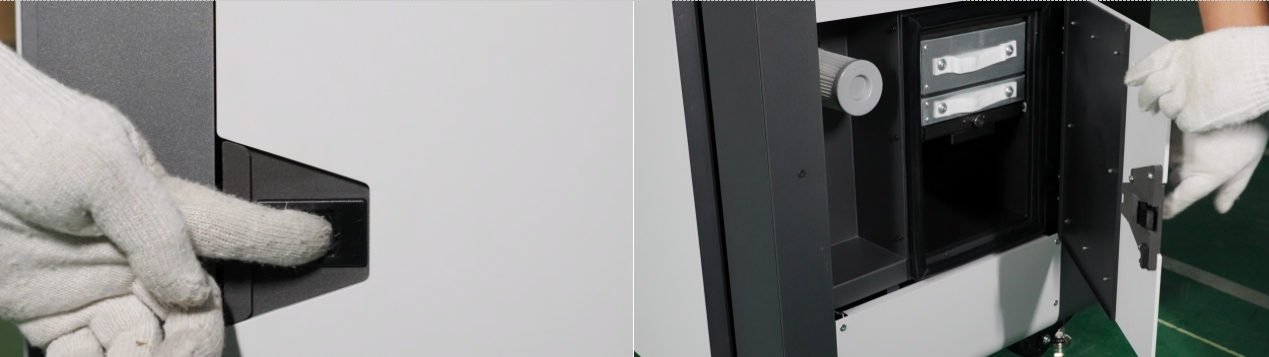
Locate the right-side door, grasp the latch to open the right-side door
-
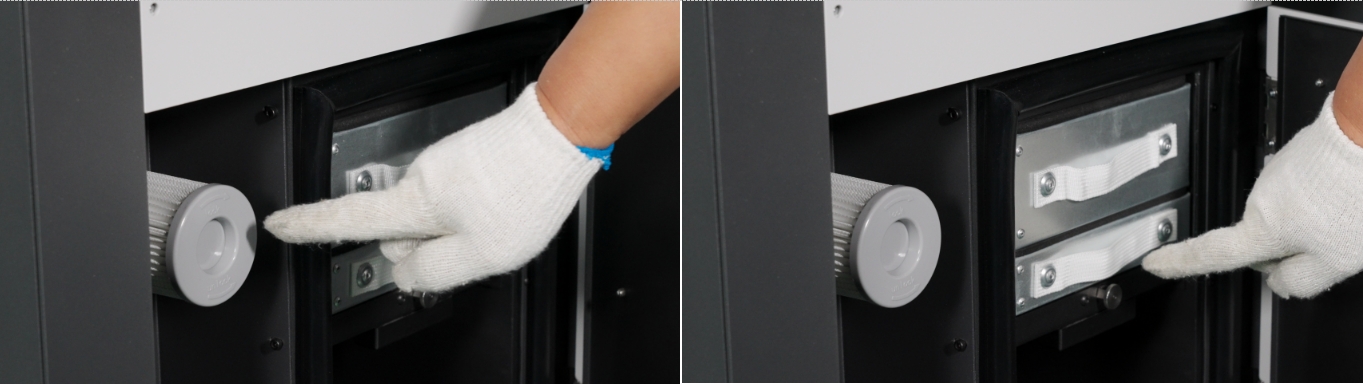
Check if the HEPA filter and activated carbon filter are installed correctly.
-
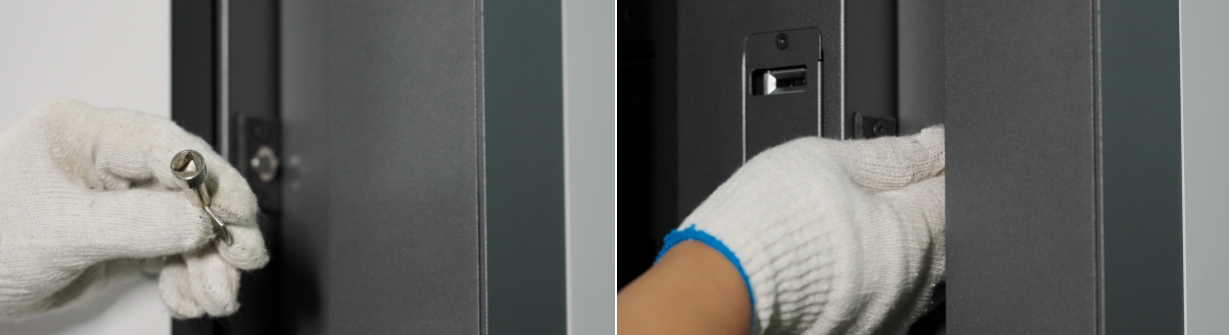
Take out the front door key.
-
Use the key to open the front door. Turn the key clockwise to open the door.
-
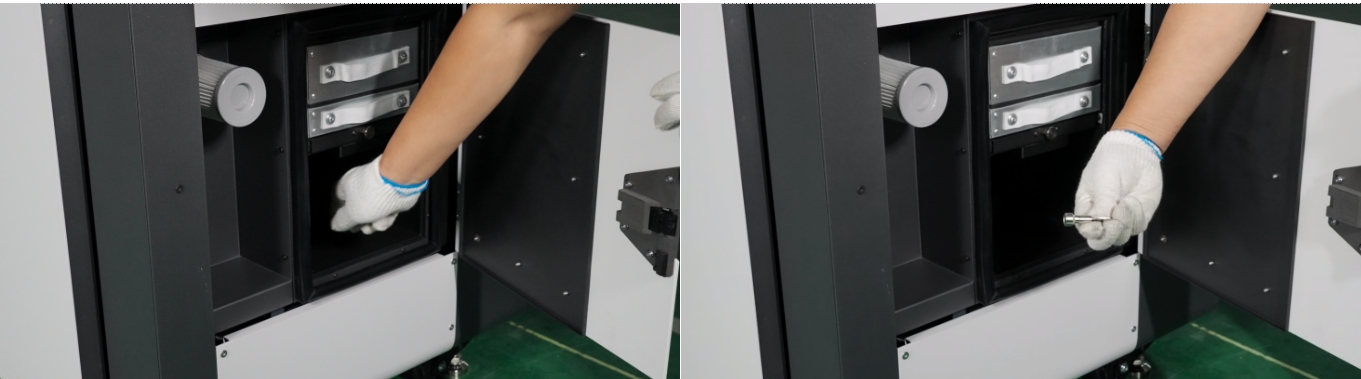
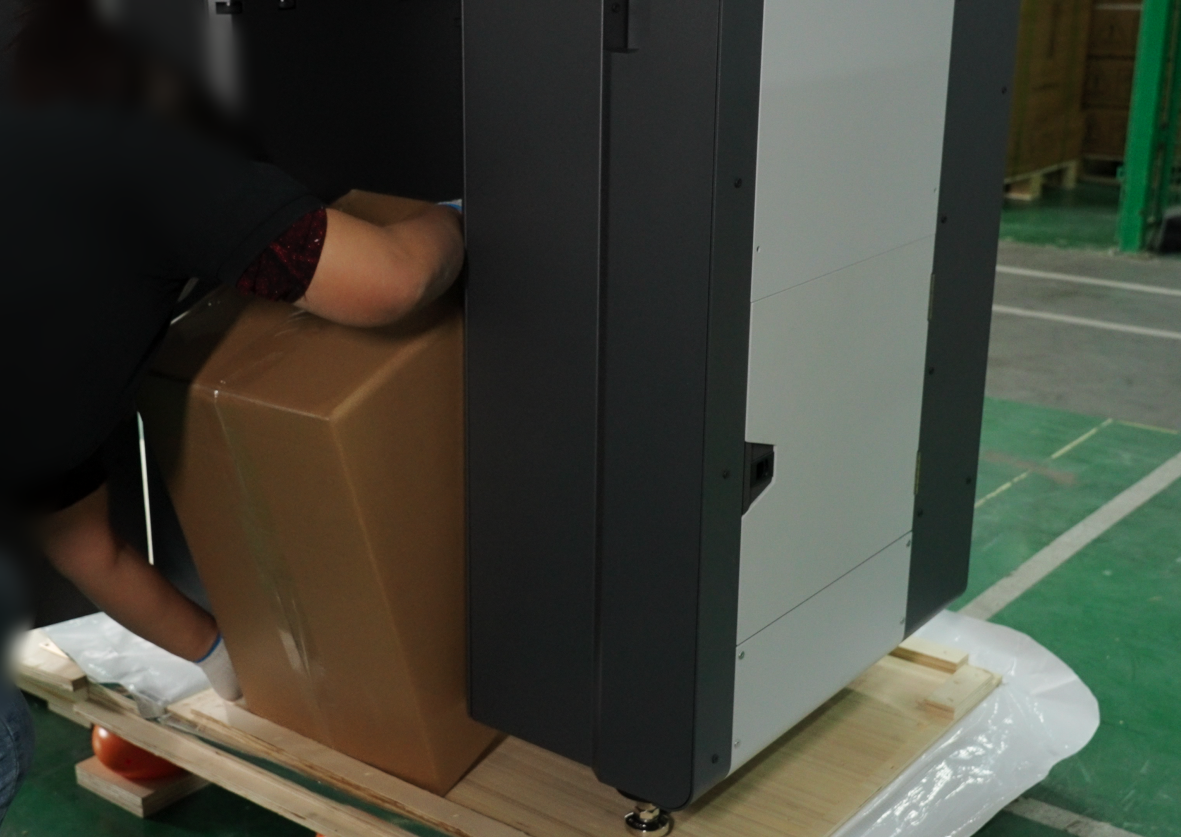
Remove the accessories box from the printer cavity. Otherwise, the RMS220 printer cannot be moved.
-
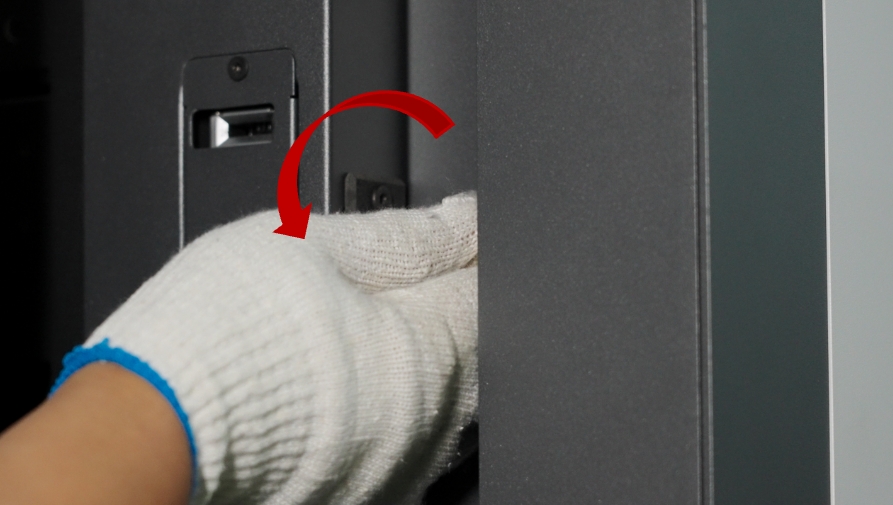
After removing the parts box, lock the door counterclockwise. Otherwise, after powering on, the screen will continuously display "Front door not closed," and you will be unable to operate the front door via the screen.
-
Unlock the casters and move the RMS220 to an open area for subsequent installation. Be careful not to let the printer bump against the base while moving it.