Before printing, you need to design the model using slicing software ideaMaker. ideaMaker is a specialized pre-printing preparation tool designed for Raise3D printers. You should open the slscode file format in ideaMaker, orient and arrange multiple models to form a complete build, then send the model to the printer for printing.
For more details and software usage, please refer to the support.raise3d.com related articles.
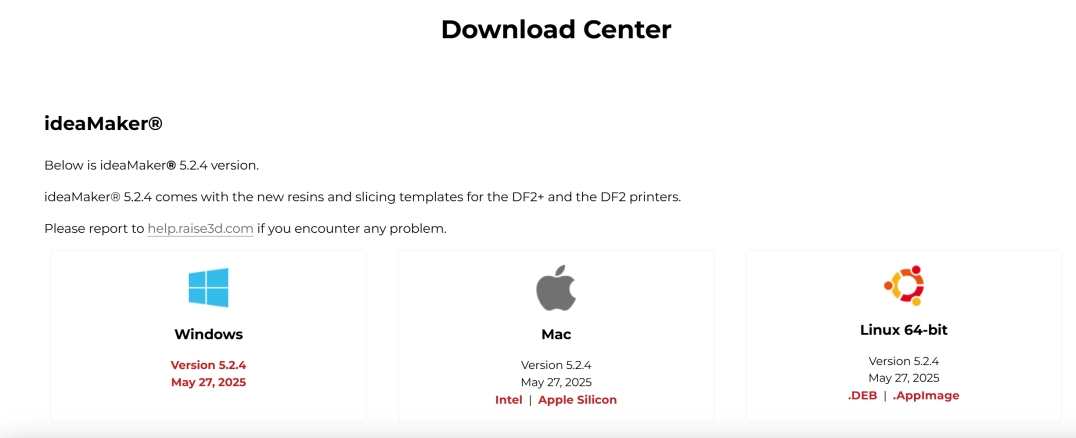
1.Download the latest ideaMaker software from the official page of Raise3D Download https://www.raise3d.com/download/.
- The software environment applicable to ideaMaker is:
| Items | Minimum configuration | Recommended Configuration |
|---|---|---|
| Operating System | Microsoft Windows 10, 64-bit only | Microsoft Windows 10, 64-bit only |
| nan | macOS 10.15 or later | macOS 10.15 or later |
| nan | Ubuntu 18.04 or later, 64-bit only | Ubuntu 18.04 or later, 64-bit only |
| Processor | Intel i5/7/Xeon or AMD Ryzen/Threadripper or newer. | Intel i7/Xeon or AMD Ryzen/Threadripper or newer. |
| Graphics Card | NVidia, AMD, or Intel, post 2015. 8GB VRAM. | NVidia, AMD, post 2015. Dedicated GPU with 12GB or more VRAM. |
| Memory | 64 GB | 128 GB or more |
| Storage | 500.0 GB or more | 1TB or more |
| Resolution Ratio | 1920 x 1080 | 1920 x 1080 or more |
| Others | OpenGL 4.0 | OpenGL 4.0 |
Note for NVIDIA graphics cards:
- The NVIDIA GeForce series is recommended, such as the NVIDIA GeForce RTX 4070.
- The NVIDIA Quadro series and NVIDIA RTX A series are not recommended, such as the NVIDIA Quadro P2000.
- Integrated graphics are not supported, such as Intel UHD Graphics.
- Windows operating system is recommended; performance issues may occur with macOS.
-
Open the ideaMaker slicing software.
-
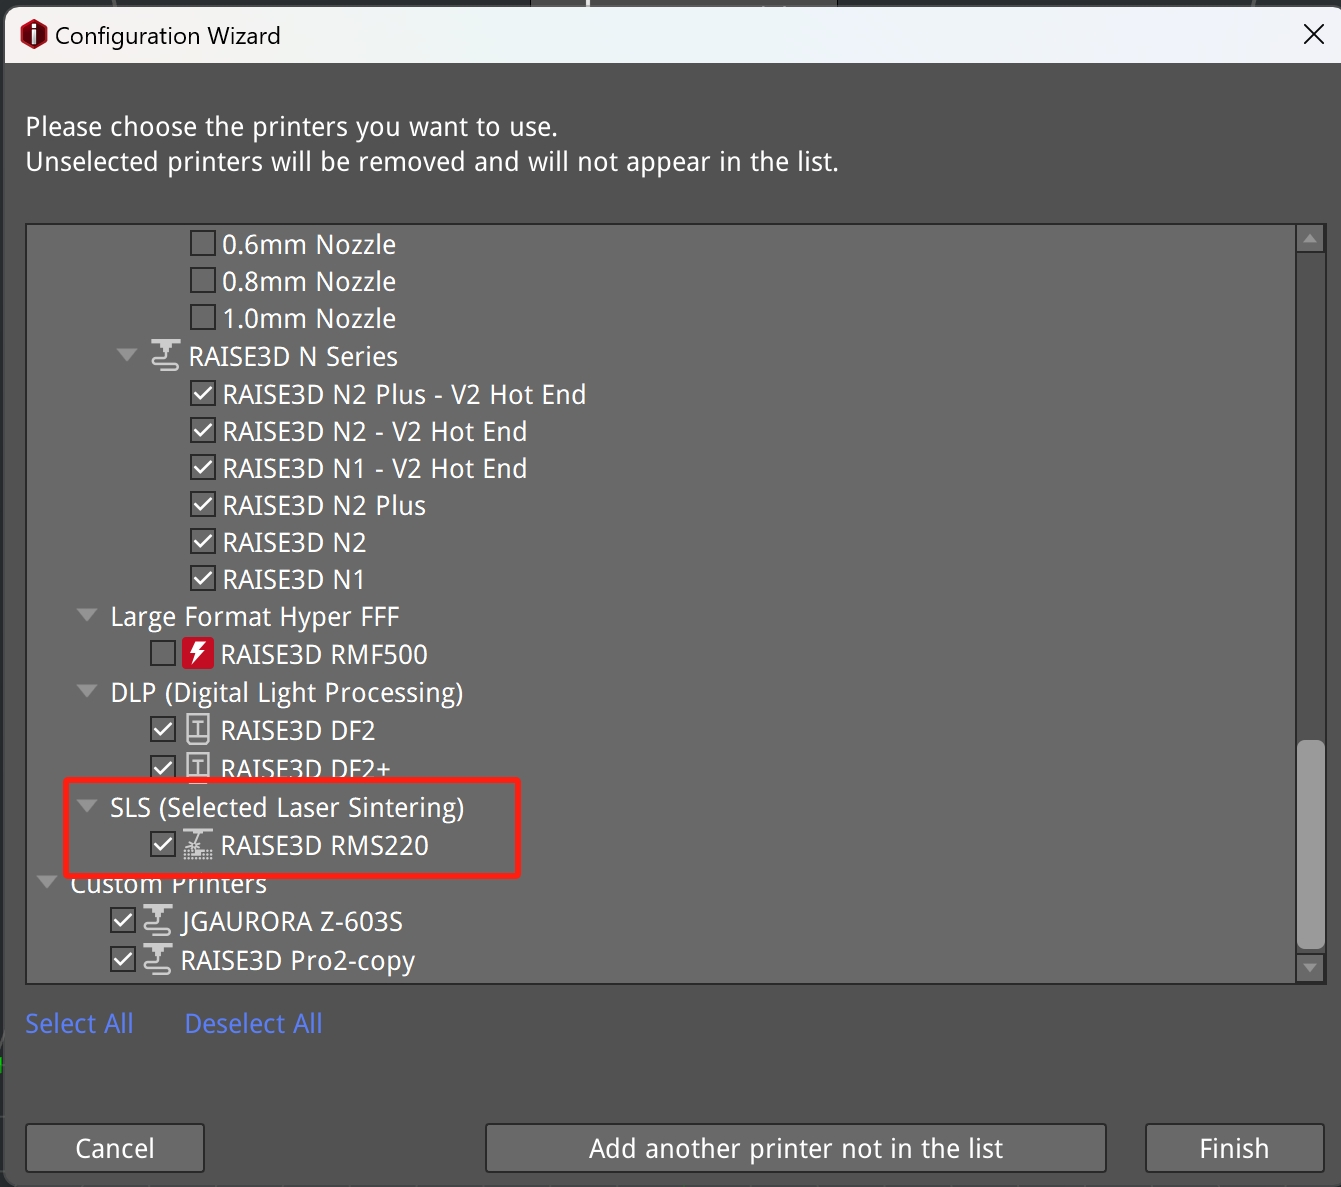
Click "Printer Control"> "Setting Wizard", check "RMS220" printer, your ideaMaker will load RMS220 into ideaMaker.

-
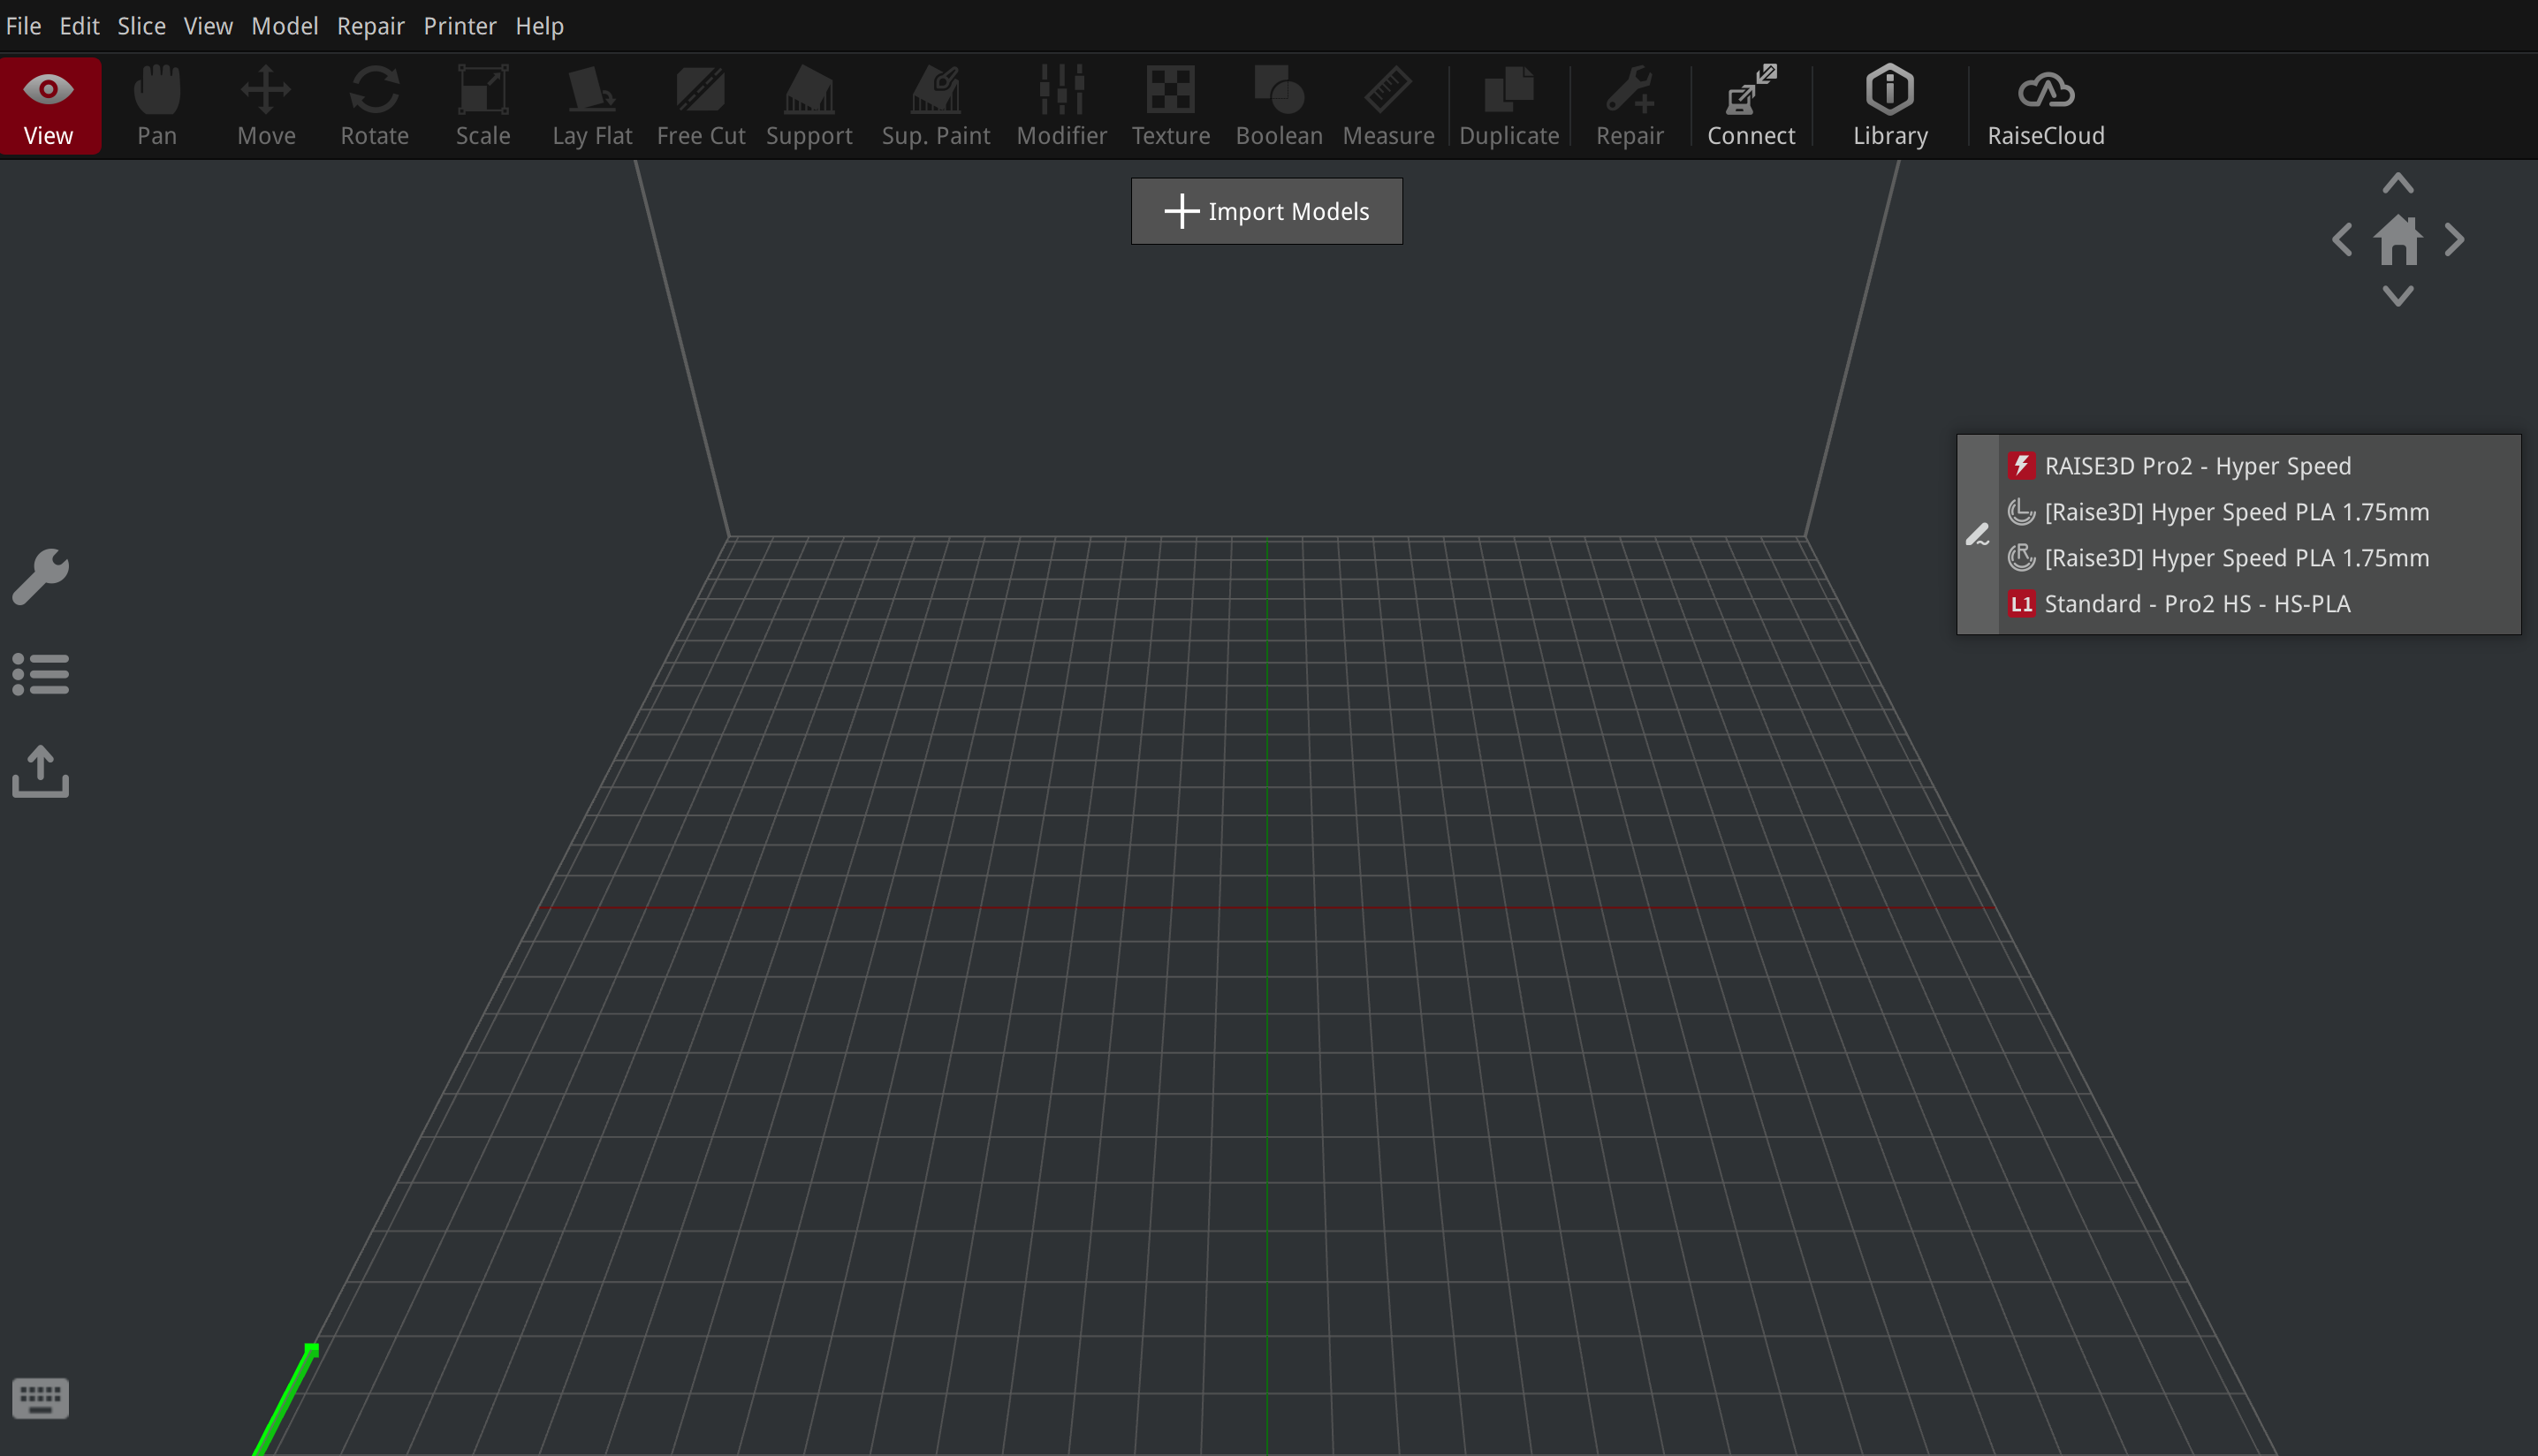
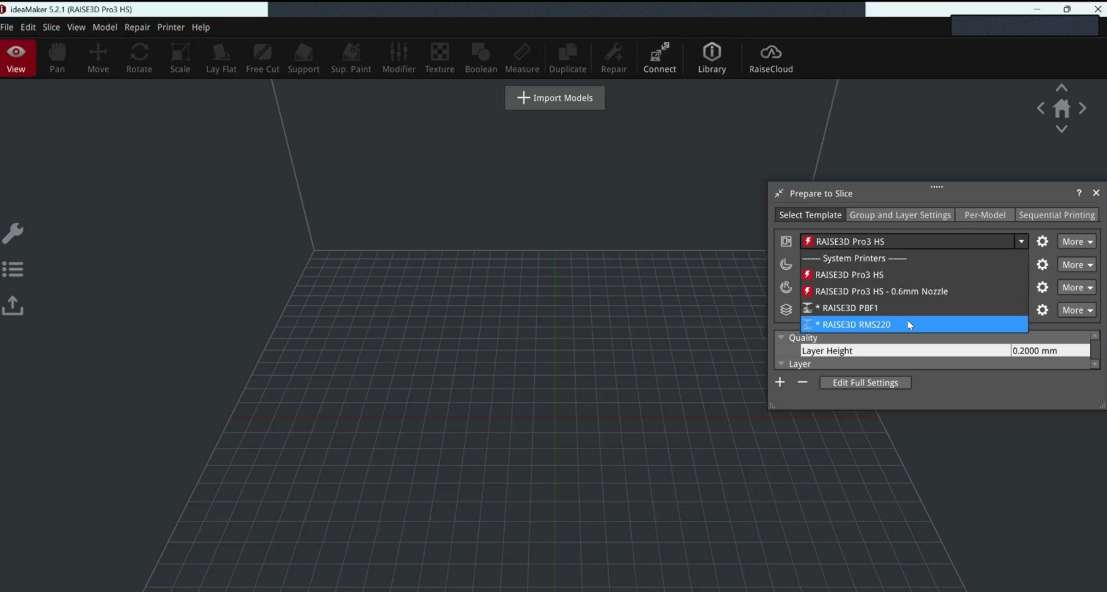
In the "Ready to Slice" panel on the right, select the RMS220 model from the printer drop-down menu.
-
Click "File-> Import Model" in the top left corner to import the model file to be printed.

-
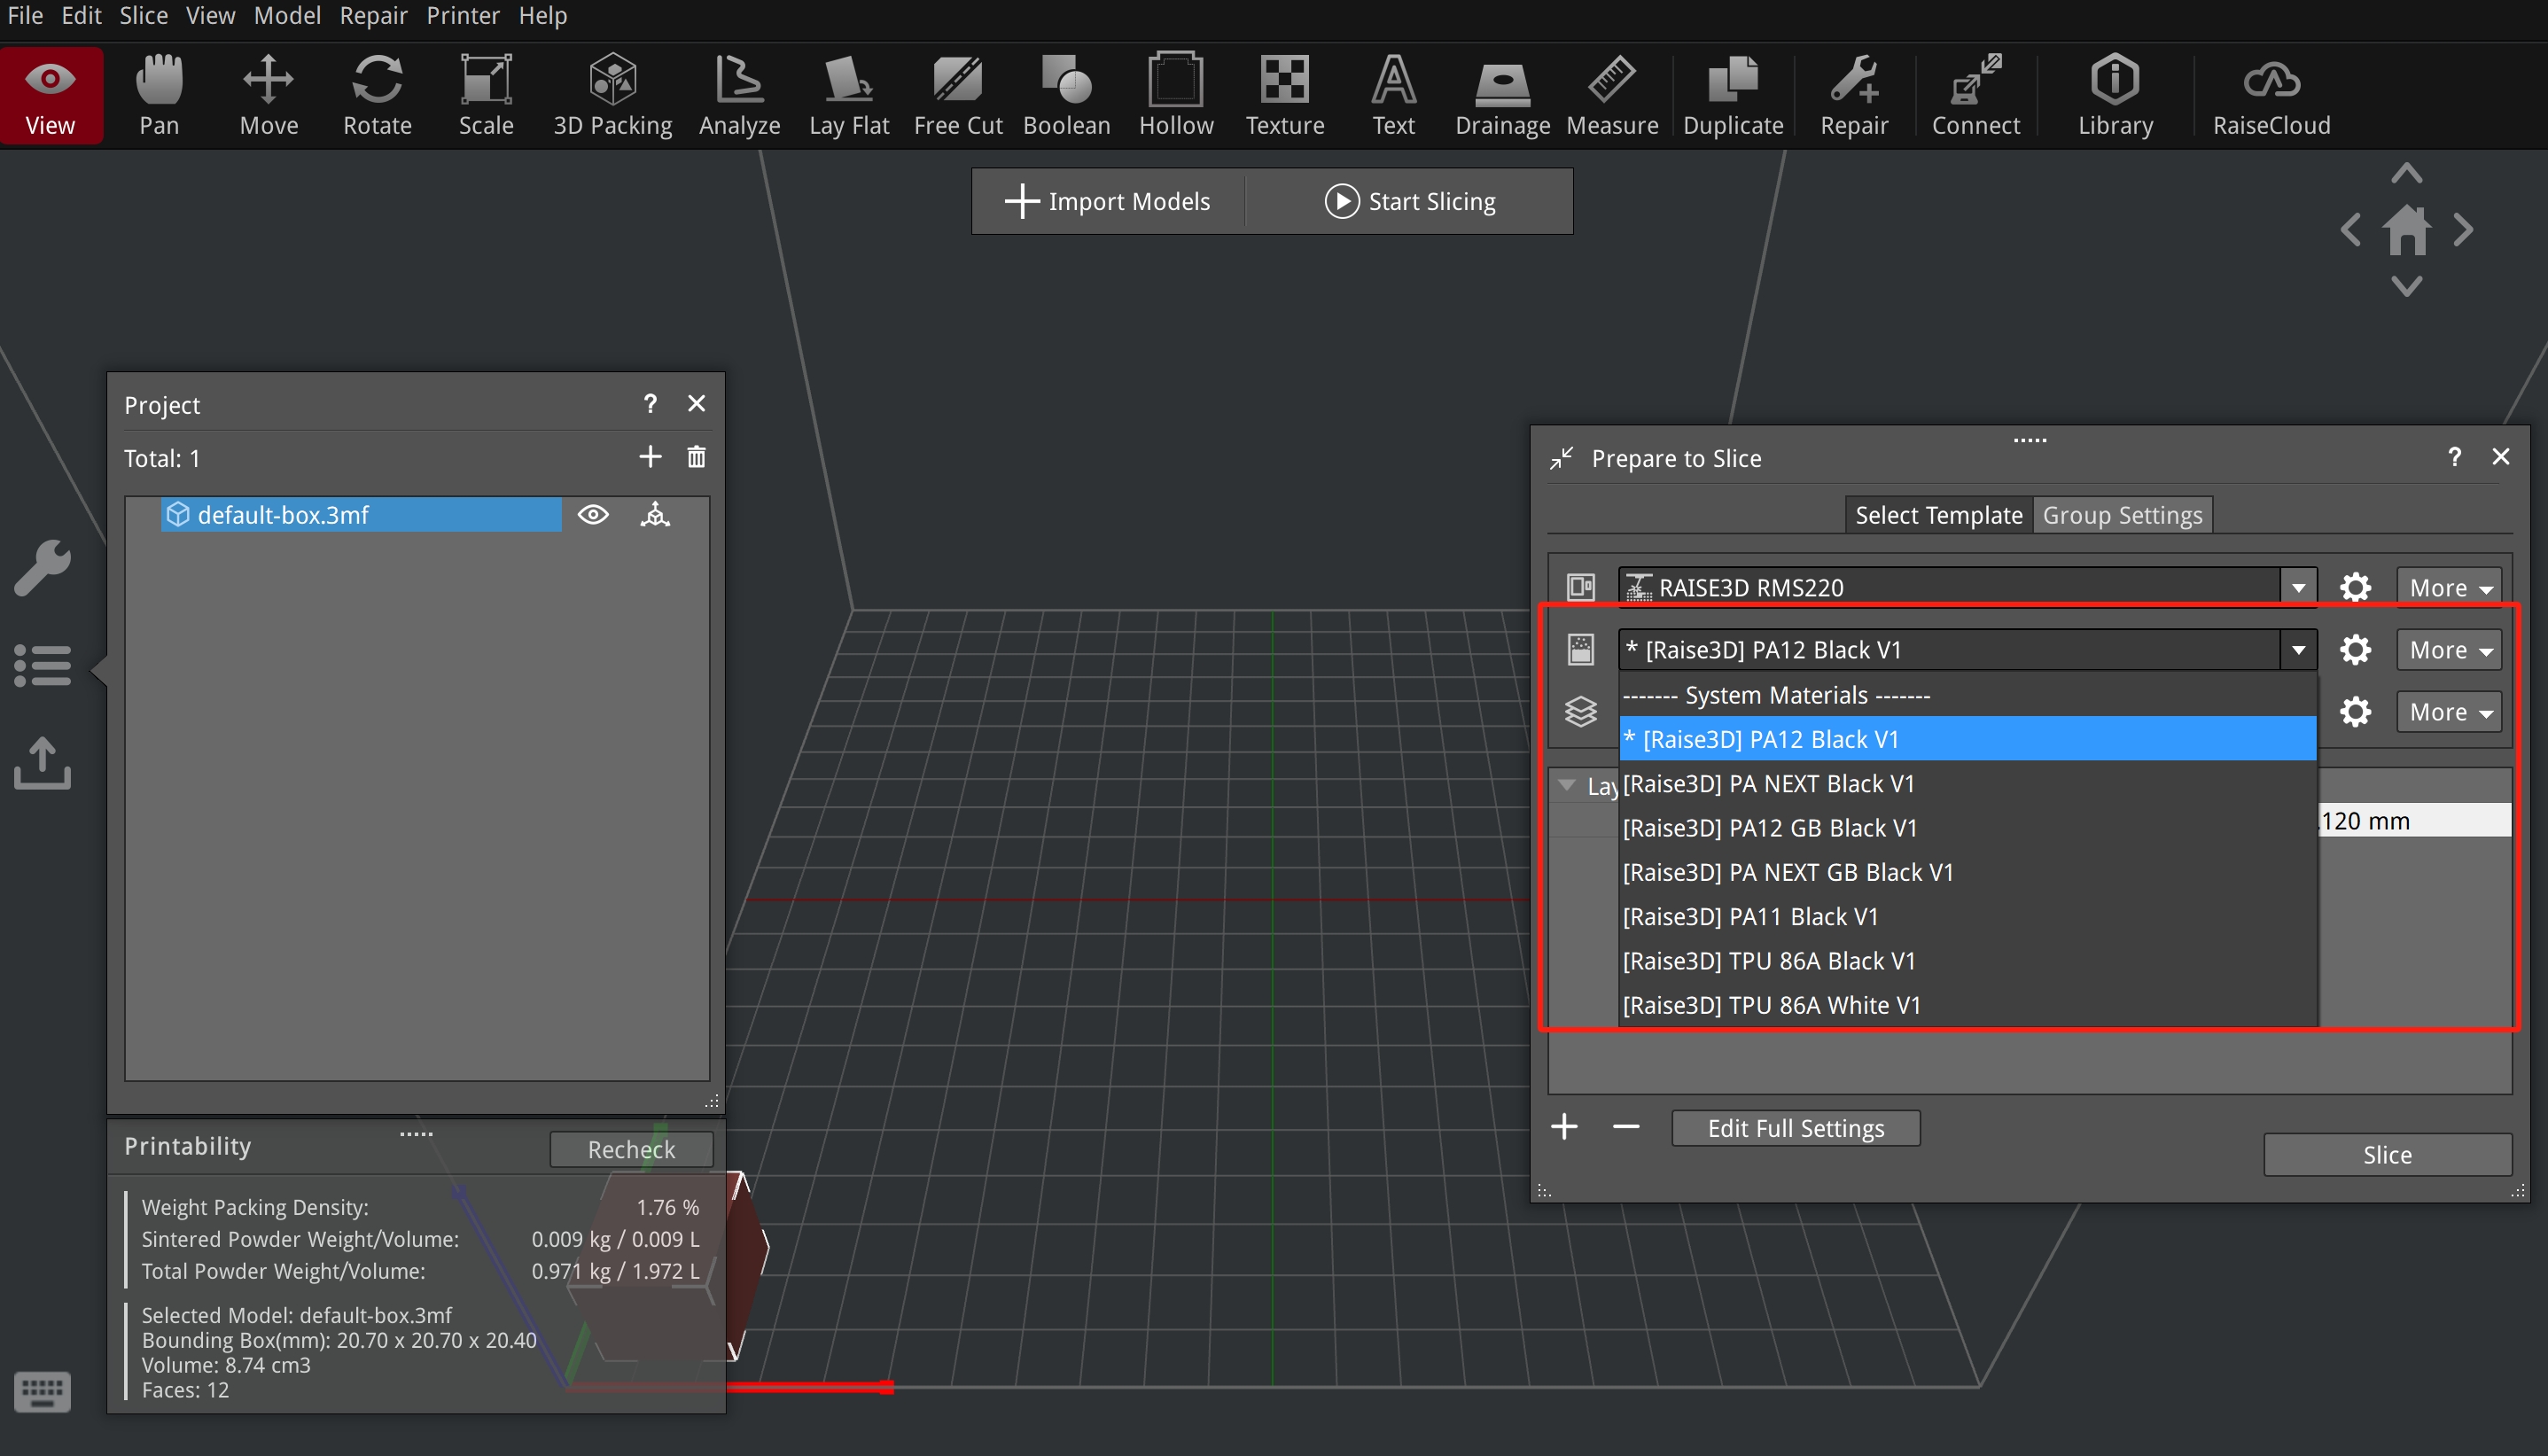
Select the matching material type and print template in the right menu bar. You can set the button for more Settings.
-
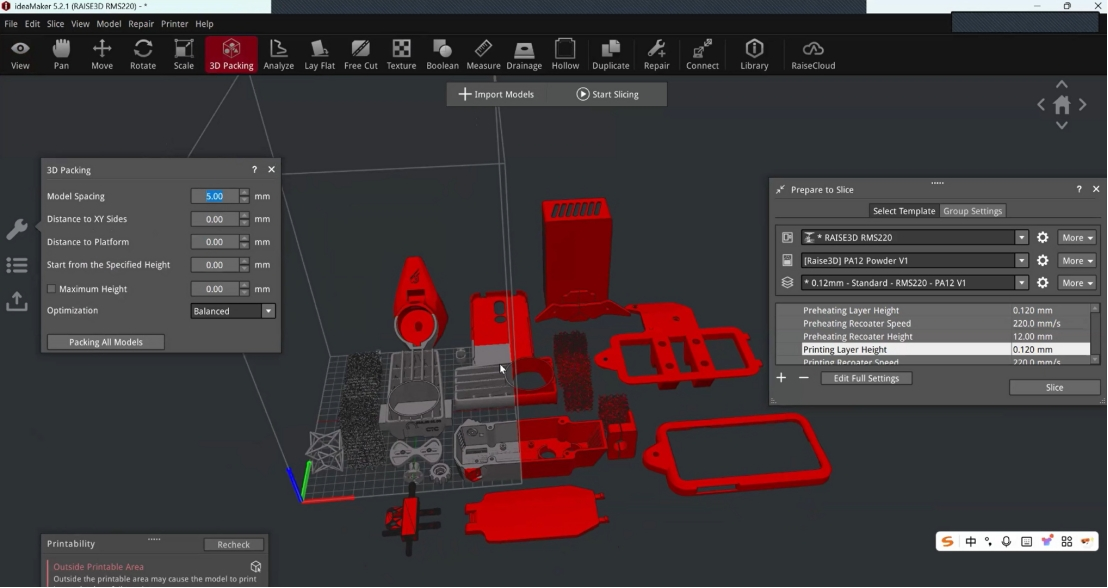
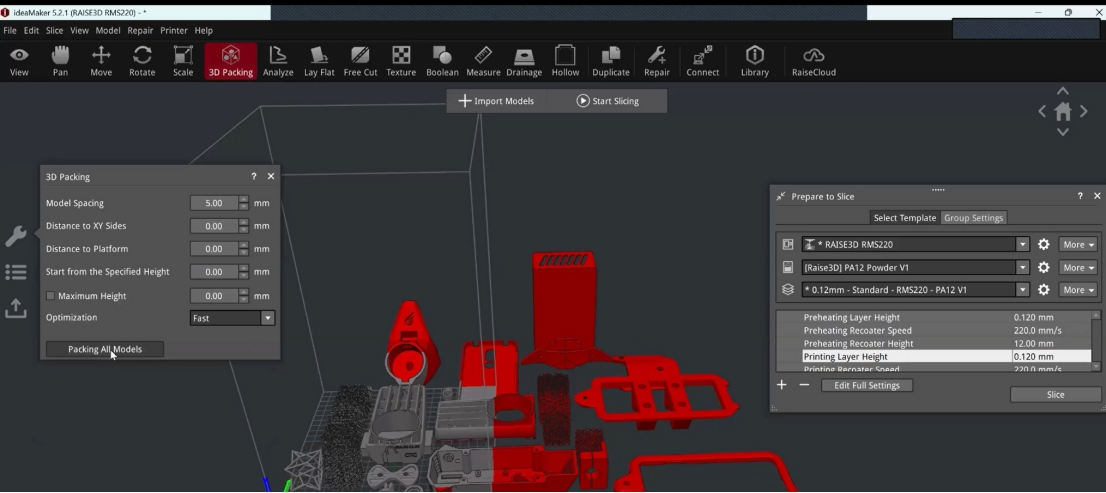
Click the "3D Layout" button in the toolbar. ideaMaker will enter the model layout. Click the "Wrench" button on the left side of the interface to set the corresponding packaging rules for each model file, that is, define whether the model can be moved and/or rotated during the packaging process.
Note: Please log in to a Raise3D or RaiseCloud account to perform this operation.
-
The ideaMaker has two built-in modes, Fast Mode and Balanced Mode. You can choose the packaging policy you want according to your needs.
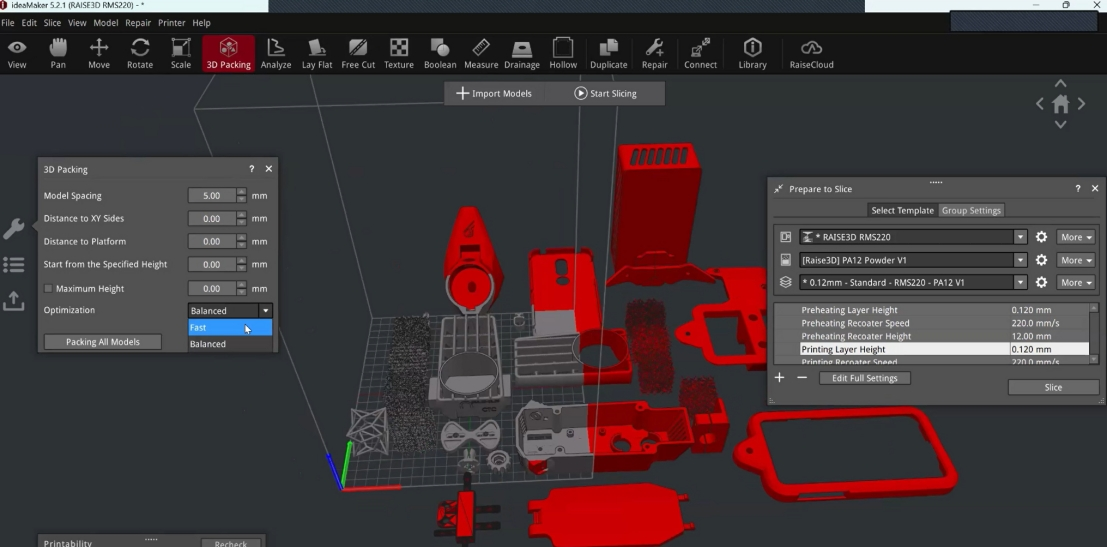
Fast Mode: The model can only rotate within 90 degrees.
Balanced Mode: The model has more degrees of freedom in rotation.
ideaMaker currently defaults to fast mode. -
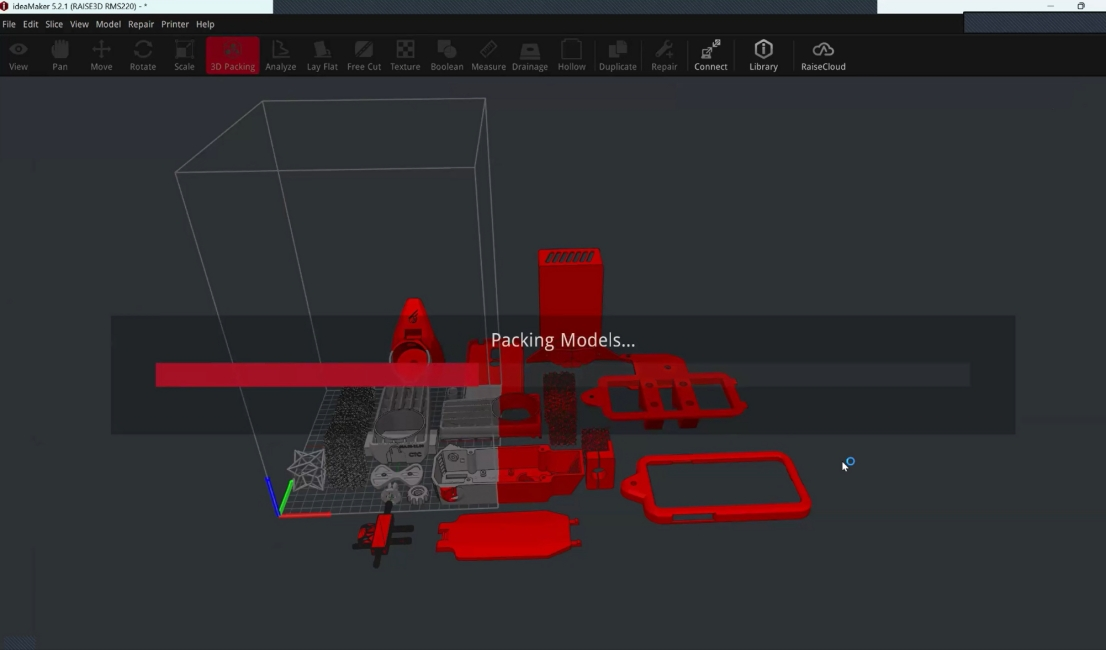
Click Packing all models.
-
Then click "Start slicing" to start slicing. For more Settings, please refer to the ideaMaker manual.
-
After the slicing is complete, you can preview the sliced model. You can click the "Export to Local" button above or the triangle arrow on the right to export to local, upload to printer, or upload to RaiseCloud to upload the.slscode file to the printer.