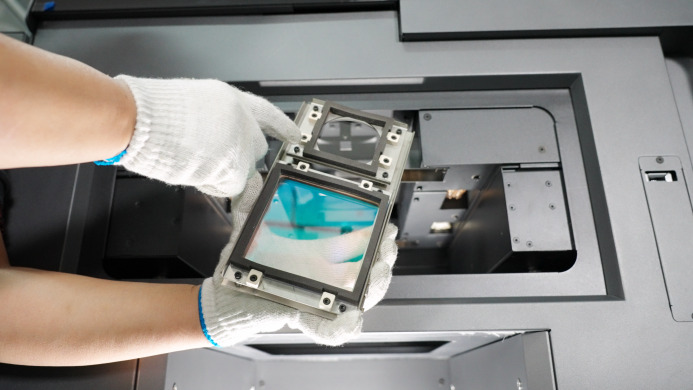
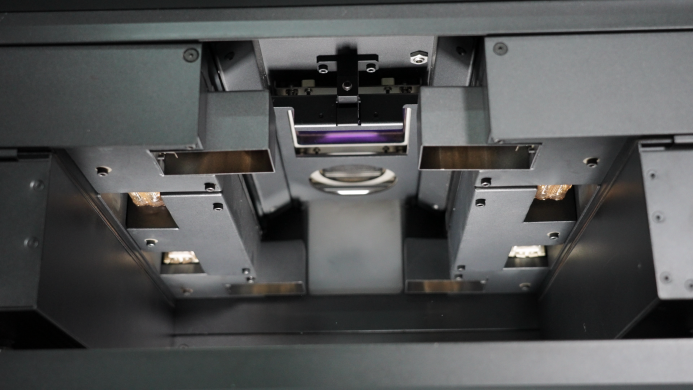
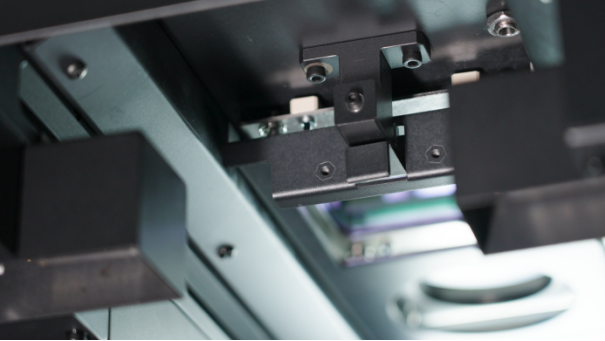
- Optical Window primarily protect the mirrors in laser scanning systems, preventing contamination or damage from powders and dust to ensure precise beam scanning and print quality. The optical window is located above the printing cavity.
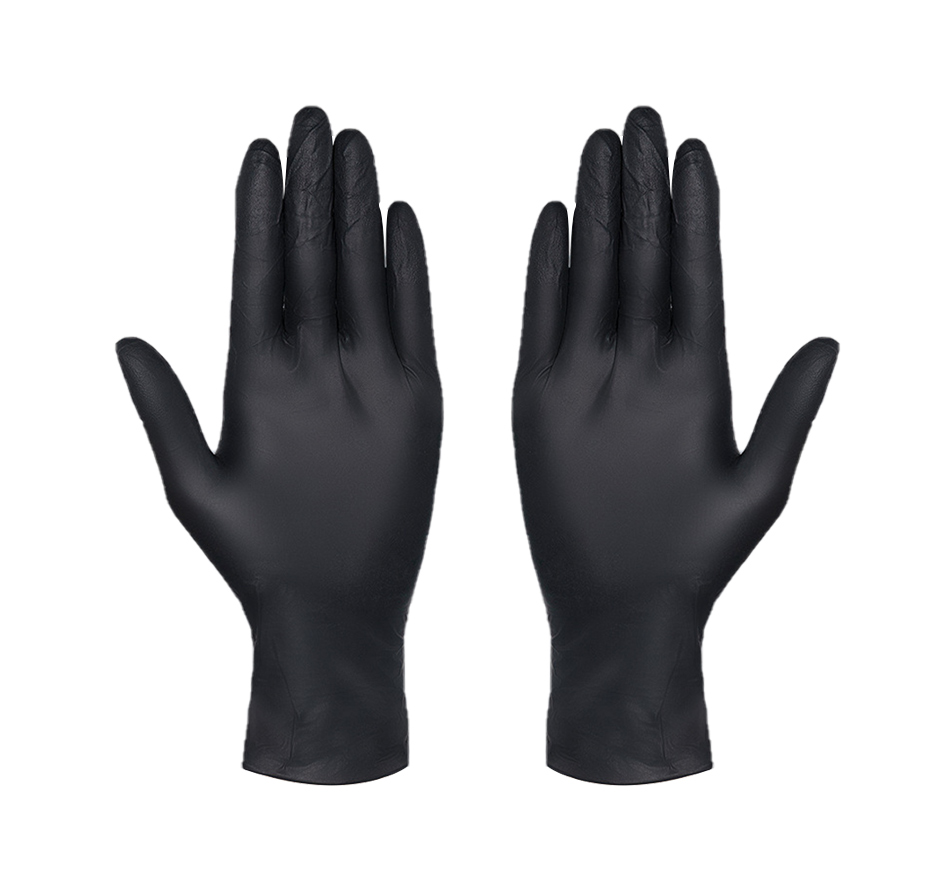
- Wear a new, clean pair of nitrile gloves, as powder, skin oils, and other contaminants can soil the glass.
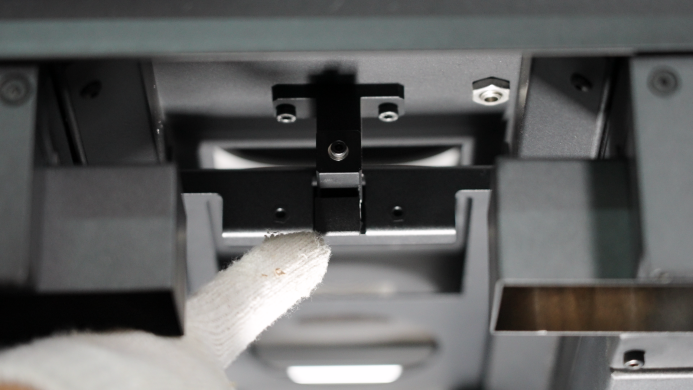
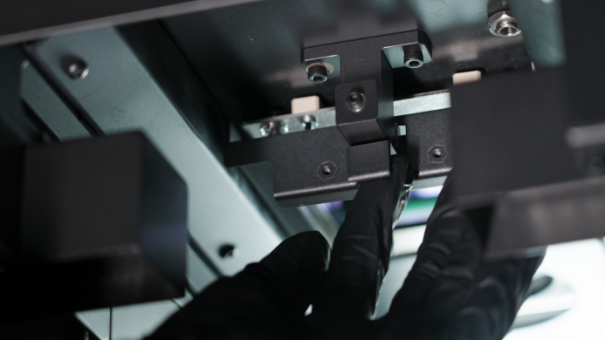
- There is a clip on the optical window. Pry open the clip to remove it.
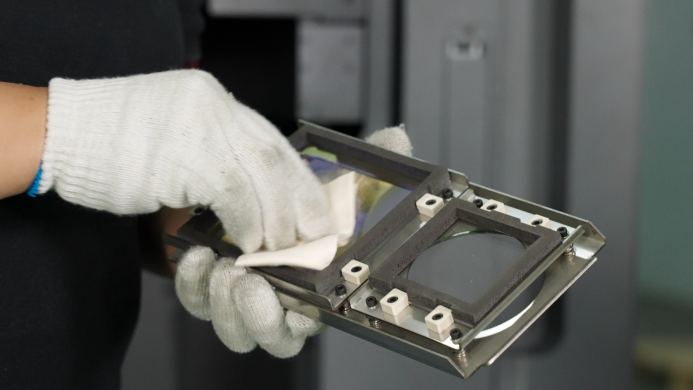
- Place the optical window on a clean, flat surface with the gasket facing upwards.
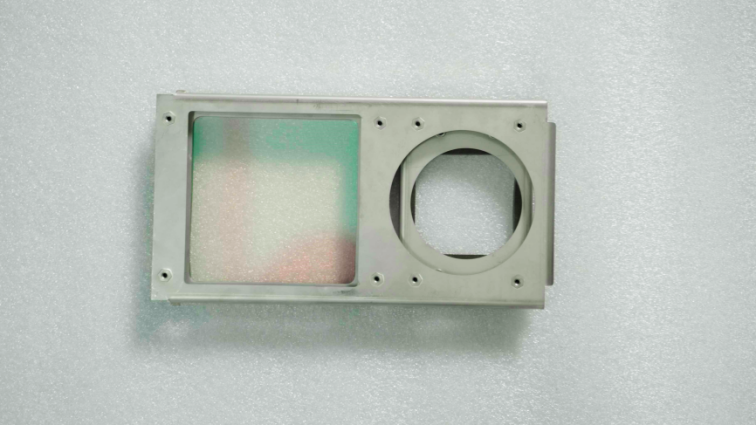
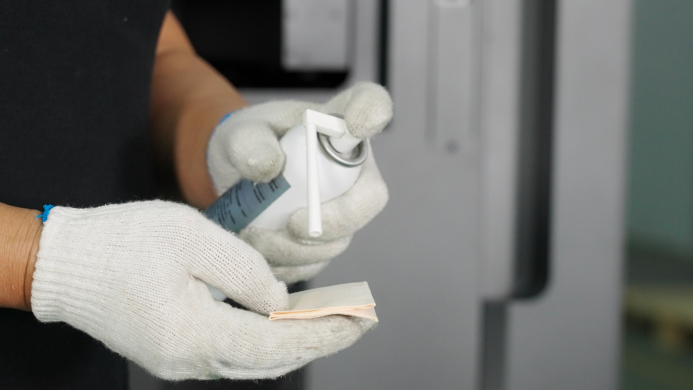
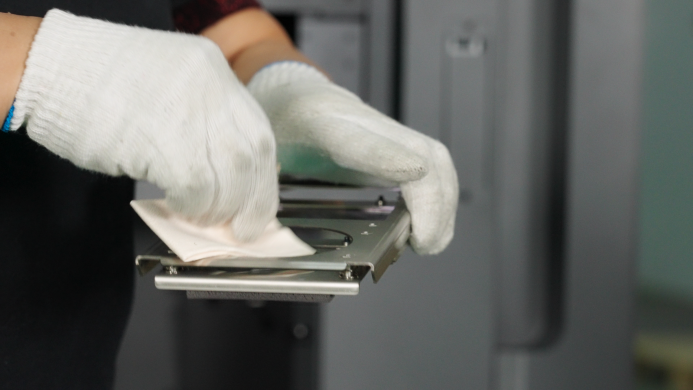
- Using a lint-free cloth dampened with AR-grade alcohol, gently wipe the optical window clockwise. While the alcohol is still slightly damp, wipe it again with a dry lint-free cloth to ensure no streaks are left. If there are small particles or fibers on the surface, blow them away with an air blower.
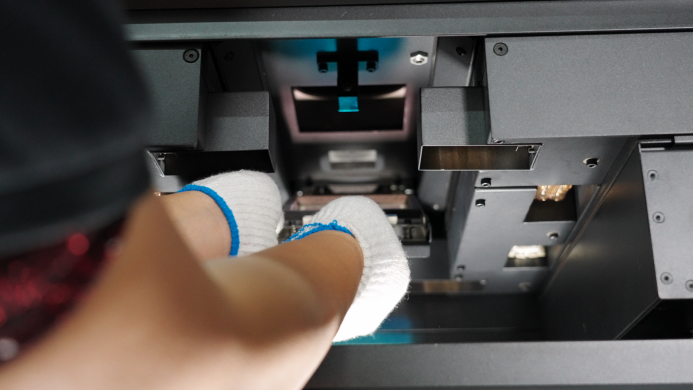
- Insert the optical window into the printer cavity and install it onto the clip. Make sure the groove on the clip aligns with the optical window. The side of the optical window with the screws should face upwards. Then close the clip. You will hear a "click" sound when it is successfully installed.