¶ About Build Unit 220
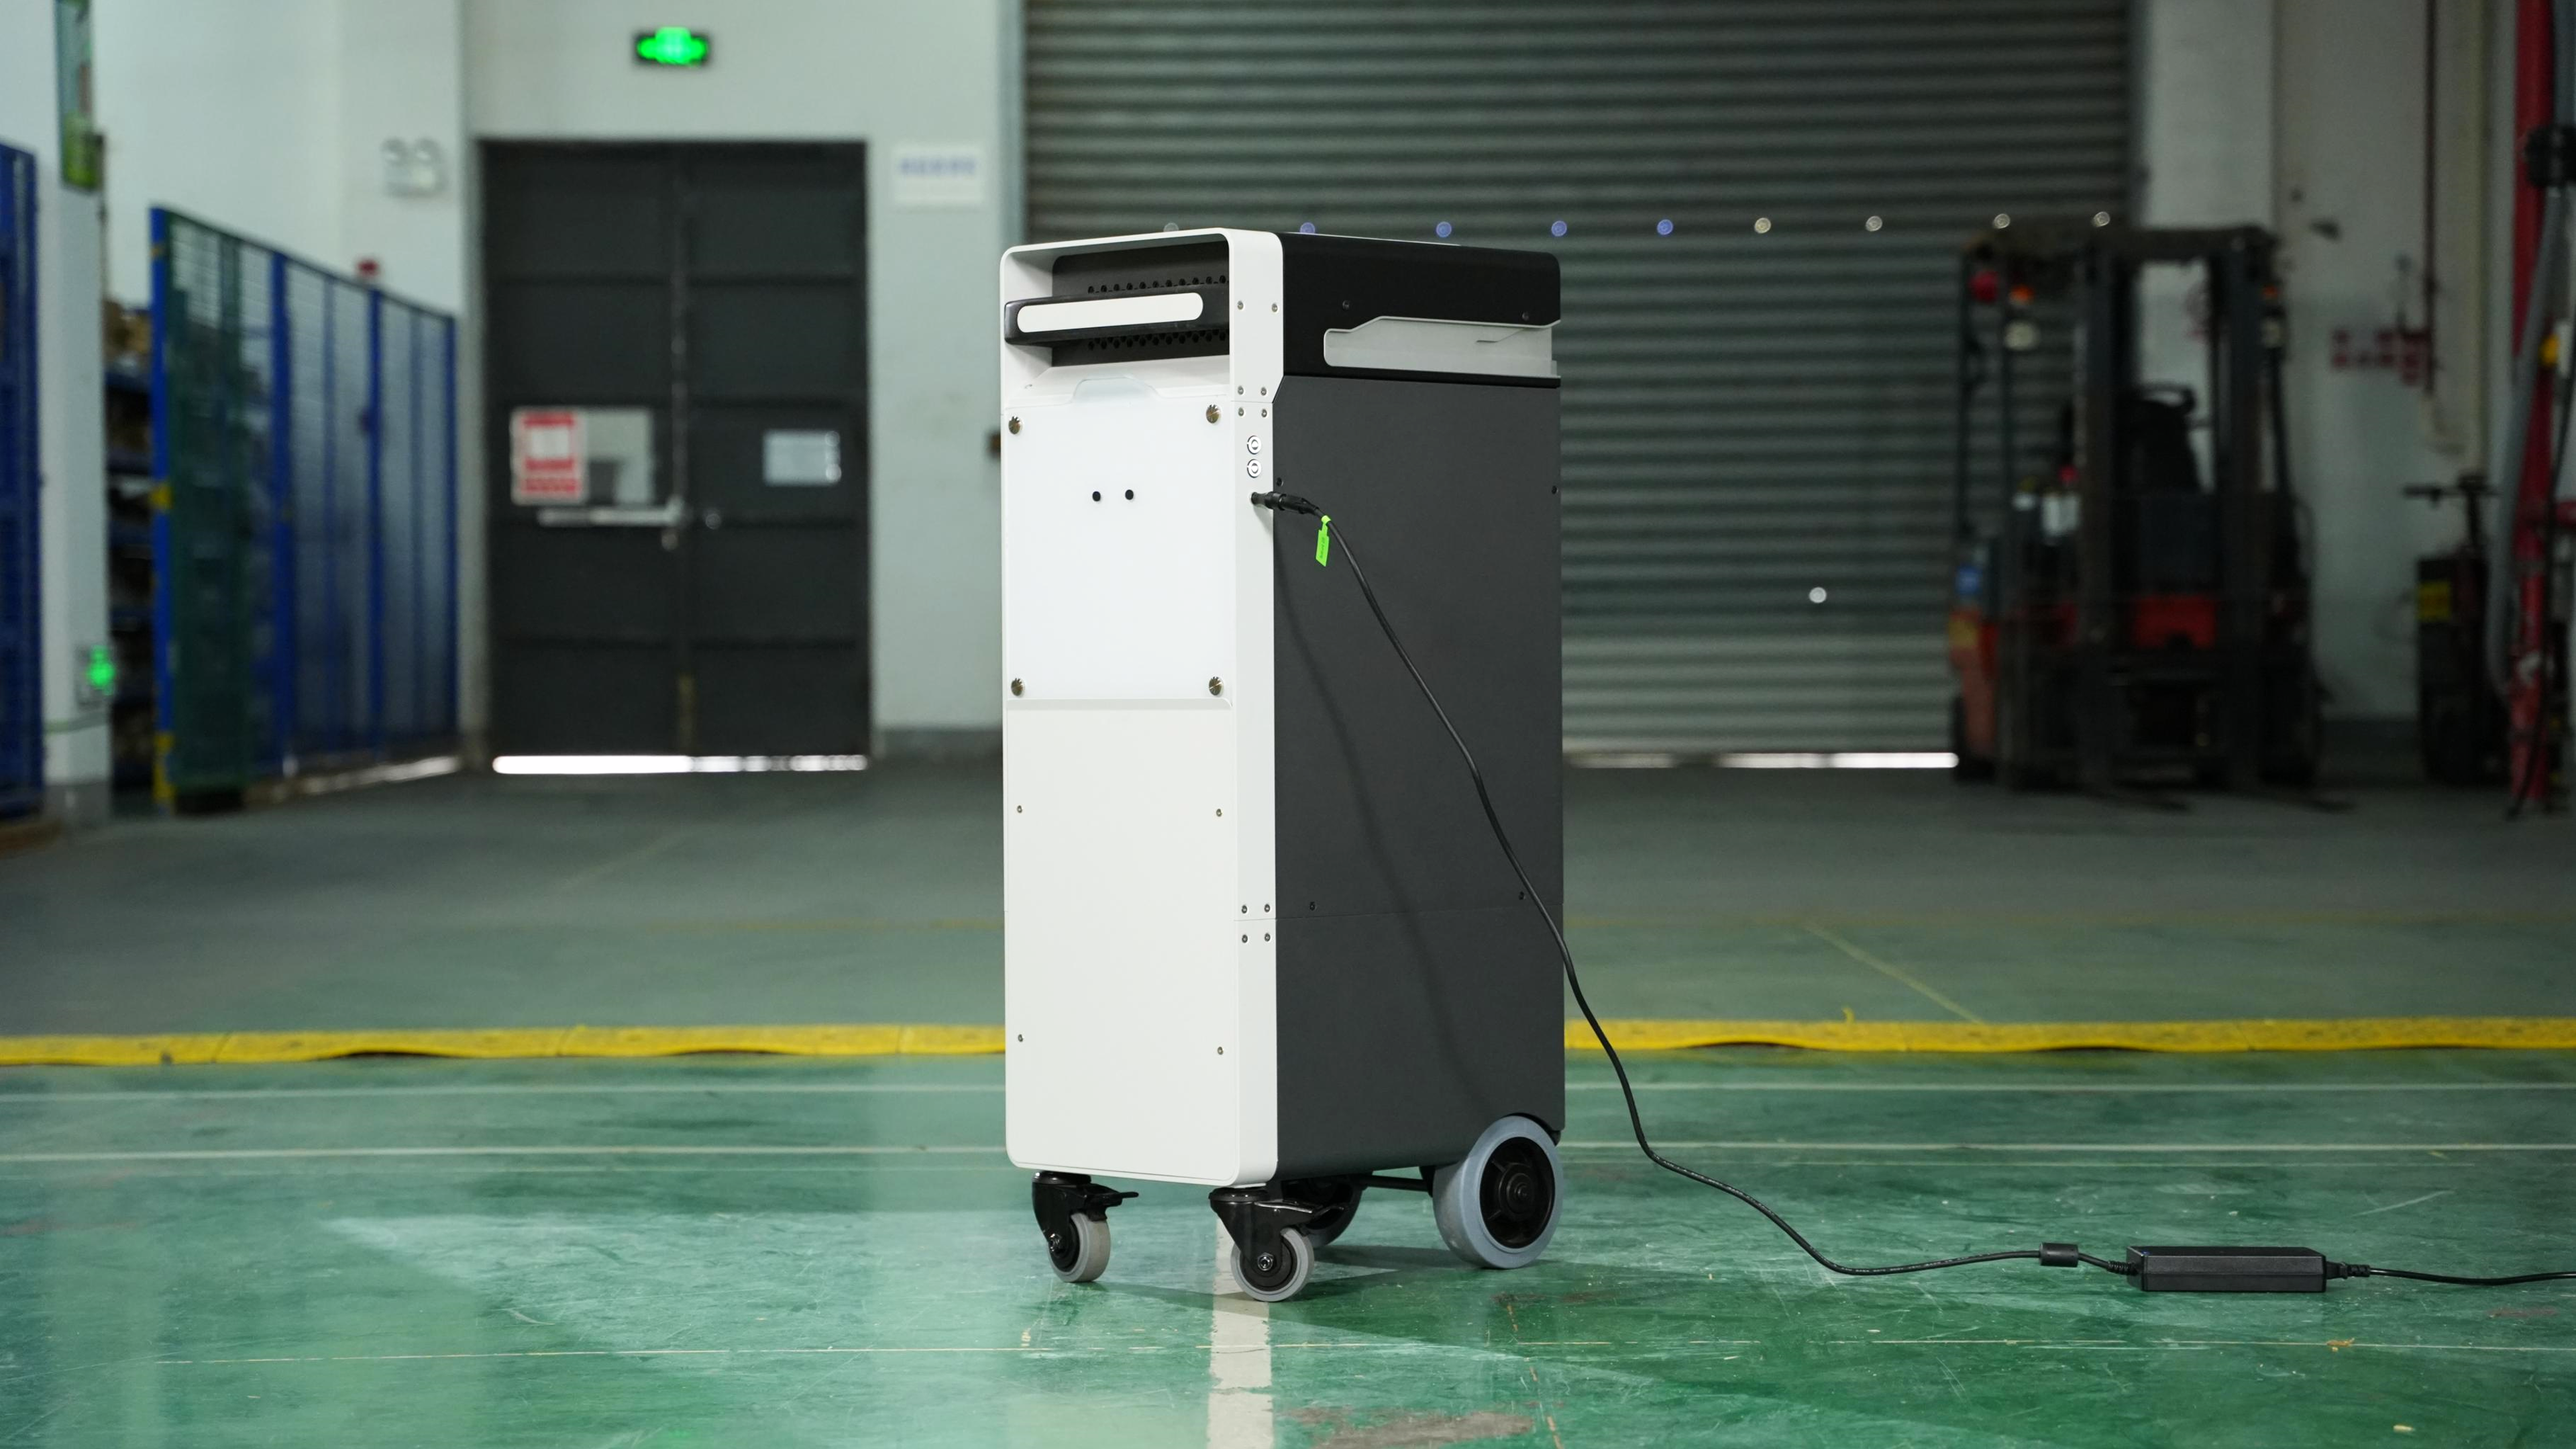
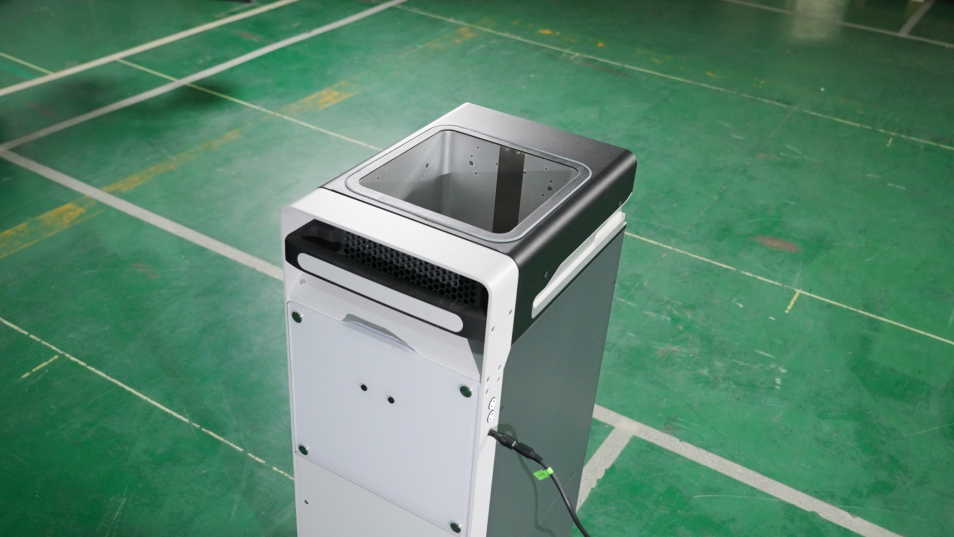
The Build Unit 220 is a key component in the printing process. Before printing, the Build Unit 220 needs to be pushed into the RMS220 printer cavity. During printing, powder is spread onto the surface of the Build Unit 220's forming platform by a powder spreading roller. A laser sinters the powder on the forming platform, which gradually descends to collect the sintered powder cake and any unsintered powder. After printing, you can remove the Build Unit 220 from the RMS220 printer and place it in the C220-P cleaning station for cooling, parts removal, and material recovery.
¶ Technical Specifications
| Item | Specification |
|---|---|
| Model | Build Unit 220 |
| Dimensions (W × D × H) | 536.5 × 333 × 1005 mm |
| Model | Build Unit 220 |
| Net Weight | 62 kg (excluding powder) |
| Power Supply | 100~240VAC, 50/60Hz, 160.08W |
¶ Product Illustration
| No. | Name | Description |
|---|---|---|
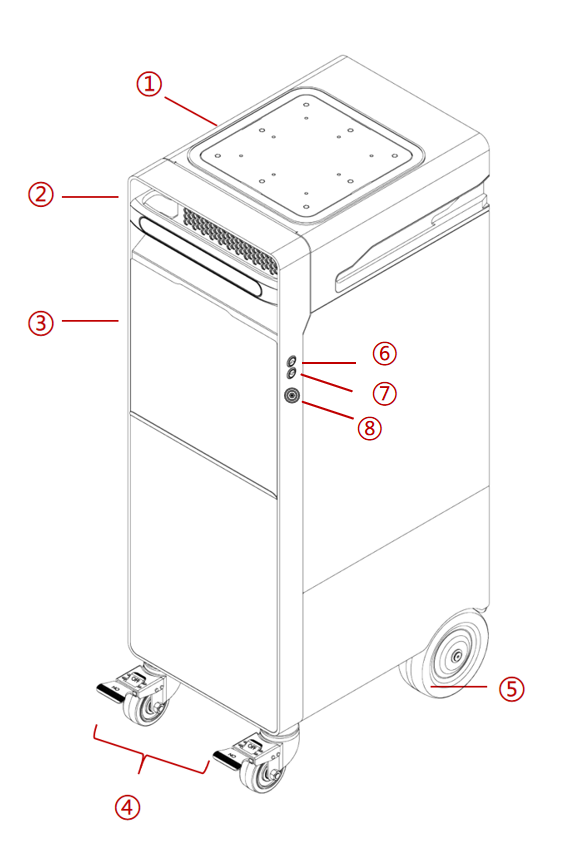
| 1 | Build Platform | The platform that supports the powder pack during printing; it descends layer by layer along the Z-axis during the printing process. |
| 2 | Handle | Used for moving the Build Unit 220. |
| 3 | Build Unit 220 Cover Plate | When the Build Unit 220 is cooling outside the printer, this cover prevents heat loss from the top of the unit, powder spillage, and contamination of the powder pack by foreign objects. |
| 4 | Swivel Casters | 2 pieces; used for moving the Build Unit 220, with swivel capability and brakes. |
| 5 | Fixed Casters | 2 pieces; used for moving the Build Unit 220. |
| 6 | Build Platform Up Button | Button used to raise the build platform. |
| 7 | Build Platform Down Button | Button used to lower the build platform. |
| 8 | Power Port | Used to connect the 24V power adapter. |
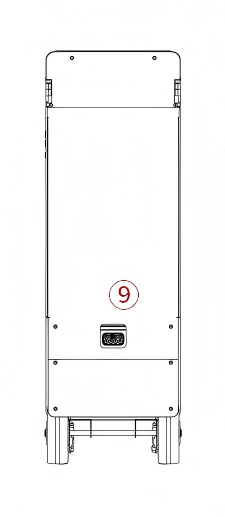
| 9 | Power Port | Used to connect to RMS220. |
¶ Function Introduction
The Build Unit 220 provides the following functionality:
Adjustable Build Platform: The right side of the Build Unit 220 features “⬆” and “⬇” buttons. Pressing these buttons raises or lowers the build platform.
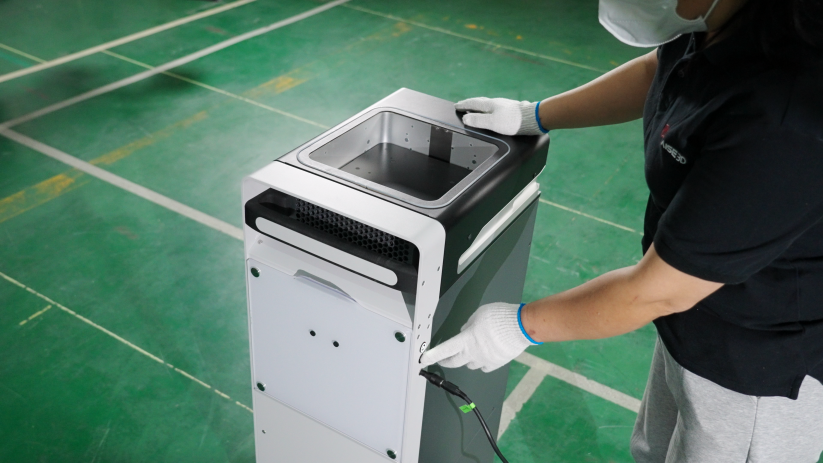
Activate cooling function: Once the Build Unit 220 is connected to an external power source, the cooling function will automatically activate. The internal fan of the Build Unit 220 will start running to help cool the model after printing, shortening the cooling time.
¶ Build Unit 220 Installation
-
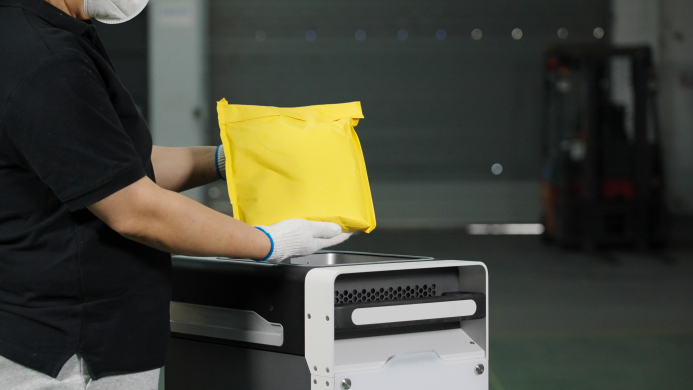
Take out the 24V power adapter.
-
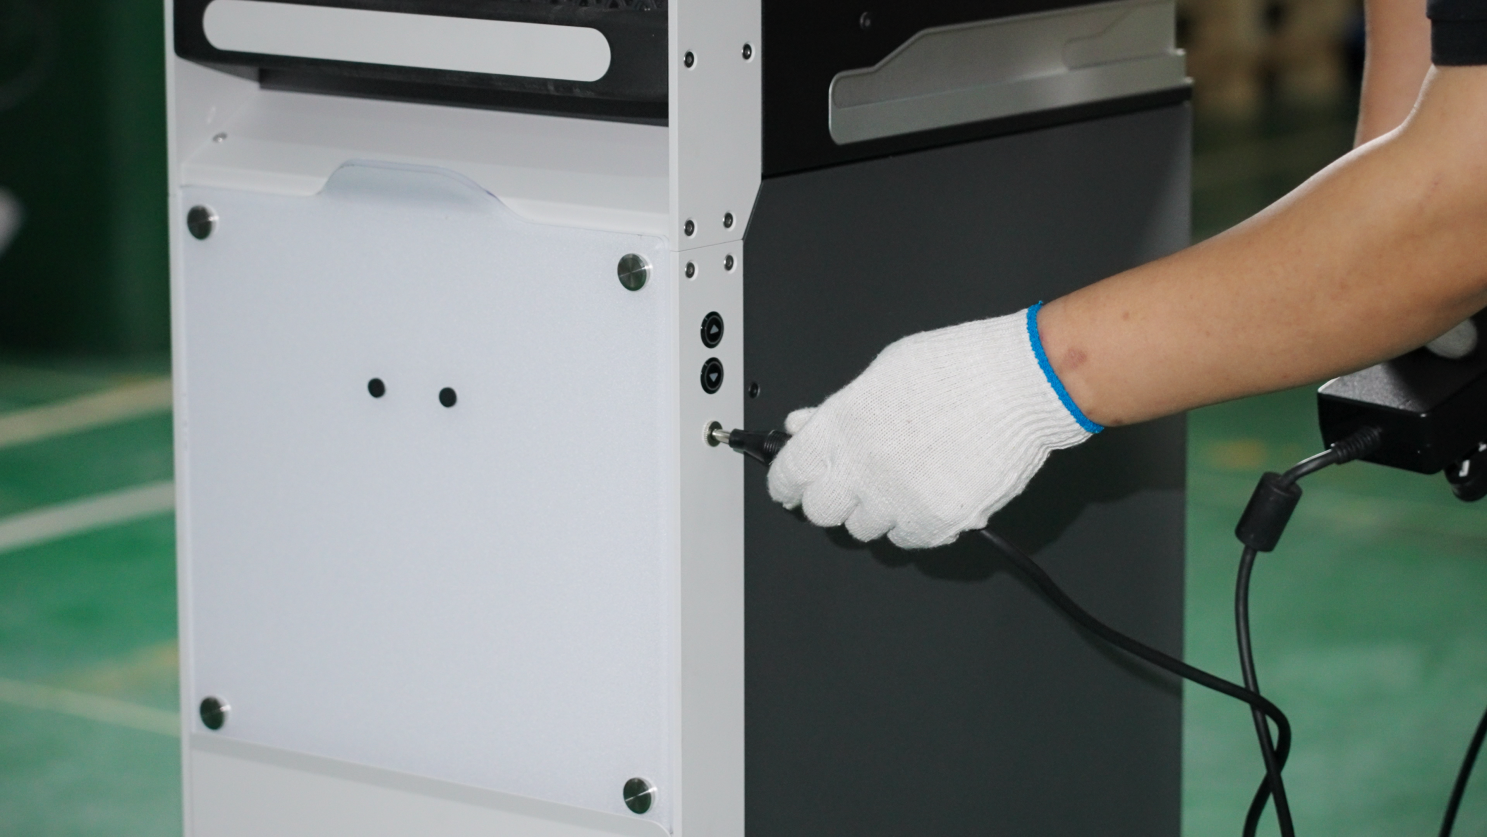
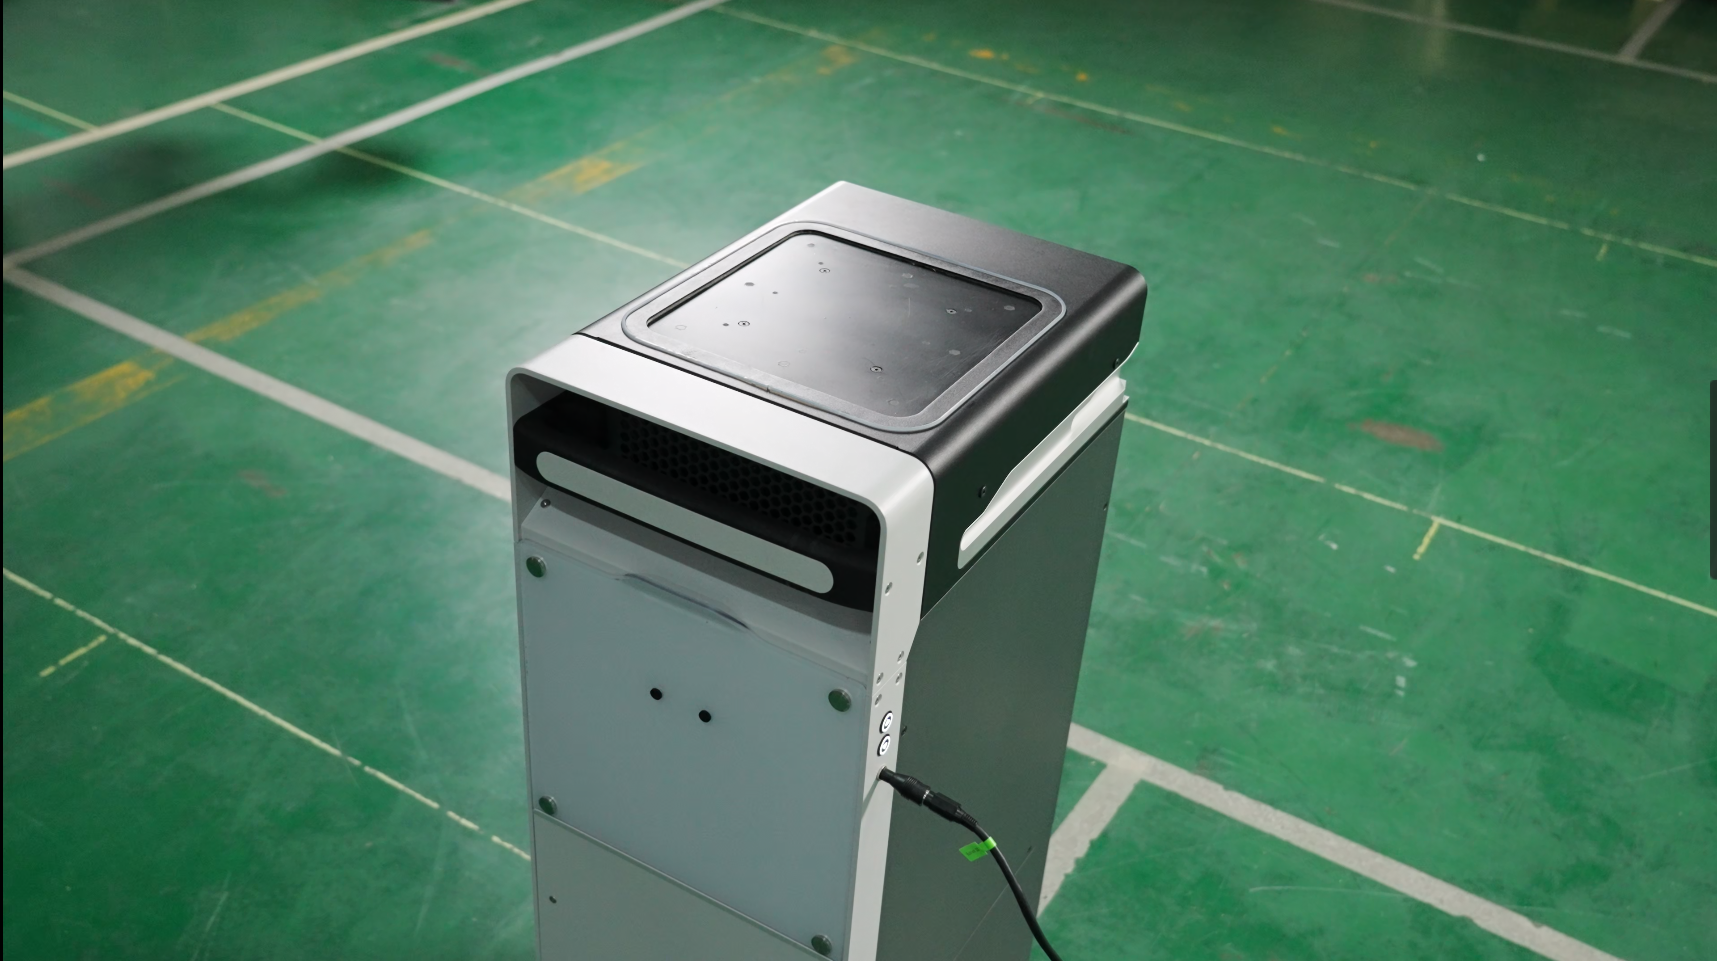
Connect the 24V power adapter to the port on the right side of Build Unit 220. Connect the other end to a power source. Build Unit 220 is now powered on.
¶ Pre-printing Preparation
-
Before printing, the build platform needs to be raised to its highest position. If you have not purchased the Raise3D C220-P toner cleaning station, connect the 24V power adapter to the Build Unit 220, press the "⬆" button to raise the print platform to its highest position, and then unplug the 24V power adapter.
-
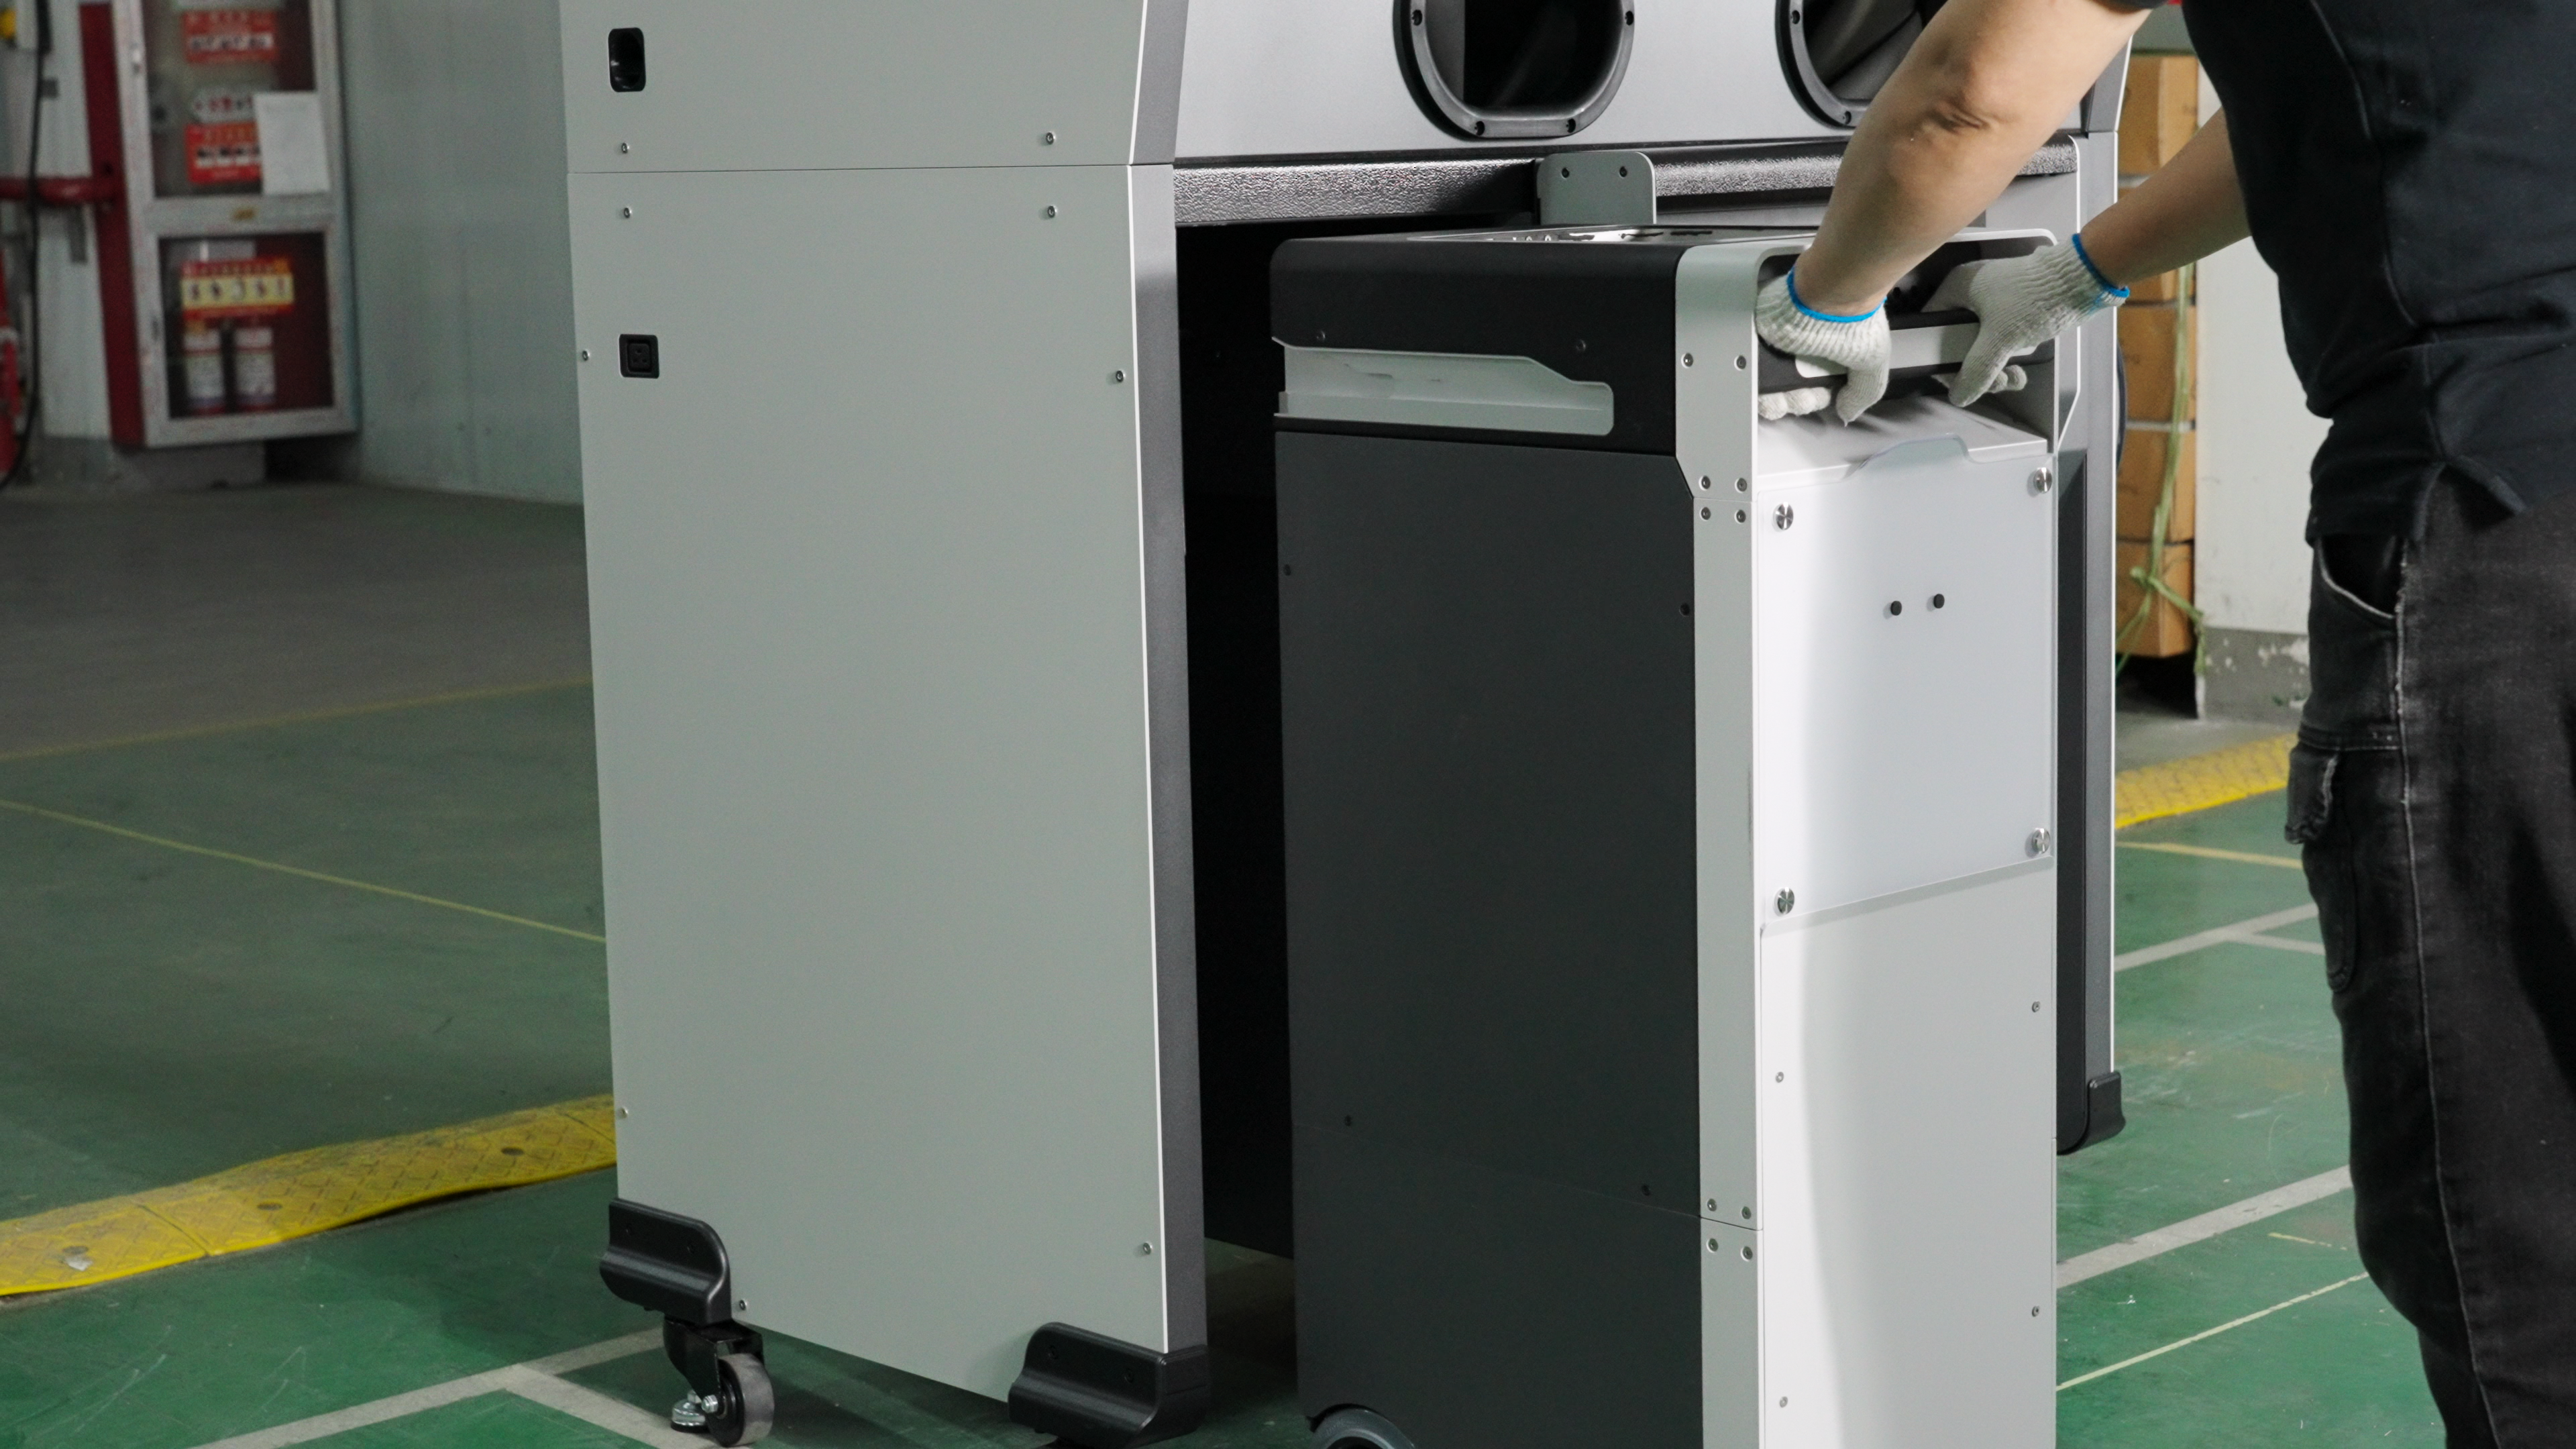
If you have purchased the Raise3D C220-P Cleaning Station, push Build Unit 220 into the C220-P. Ensure that Build Unit 220 is fully pushed into.
Note: The screen will then display whether Build Unit 220 has been fully pushed in.
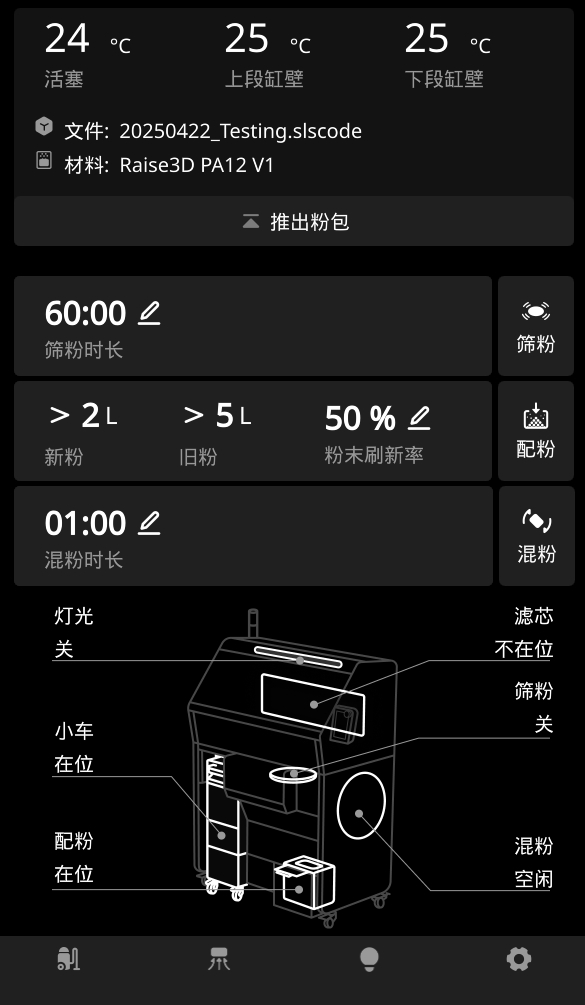
- After fully inserting the Build Unit 220, press and hold the "↑" button on the toner cleaning station until the build platform reaches its highest position and the printing platform can no longer rise. Then, eject the build platform from the cleaning station.