¶ Tools
Before unpacking and assembling the printer, please prepare the following necessary tools:
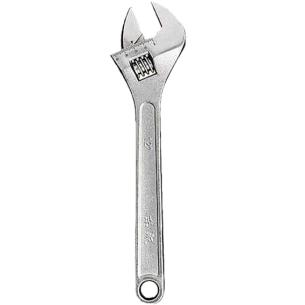
- Open-end wrench (19mm)
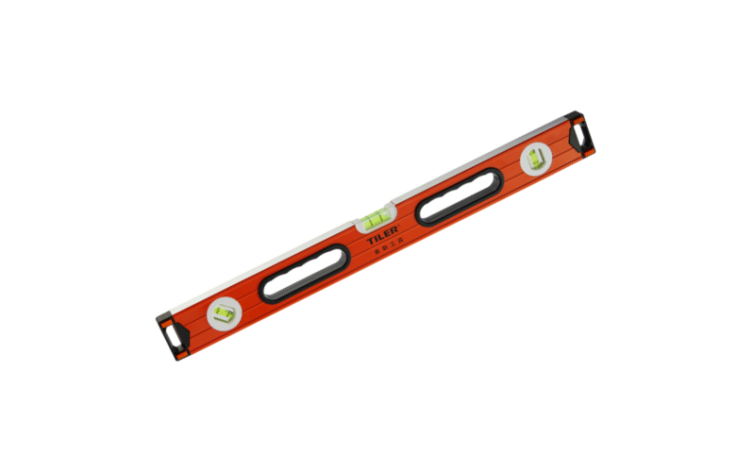
- Level
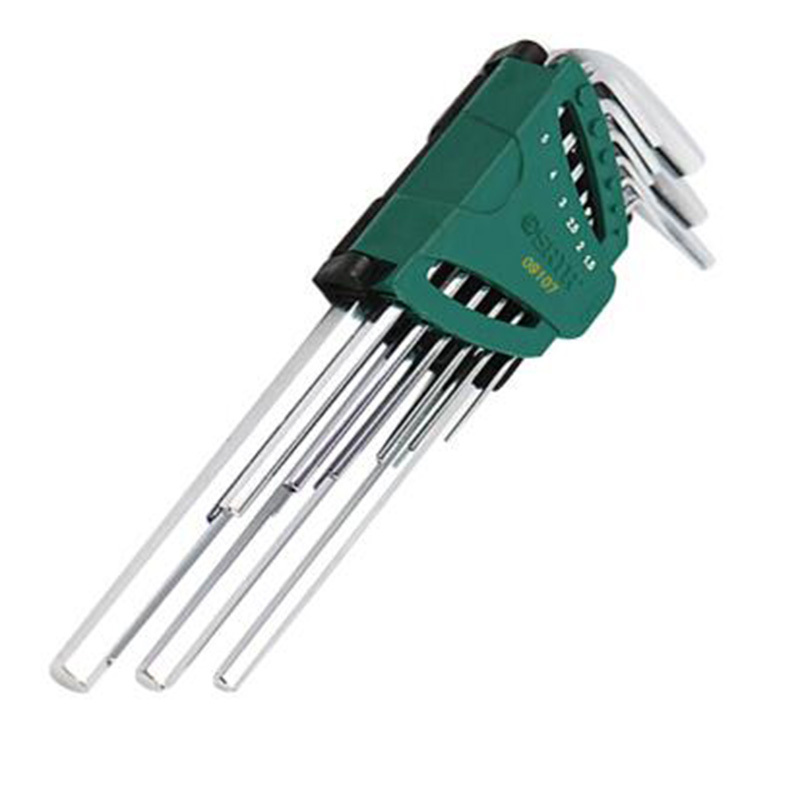
- A set of hex wrench in metric system
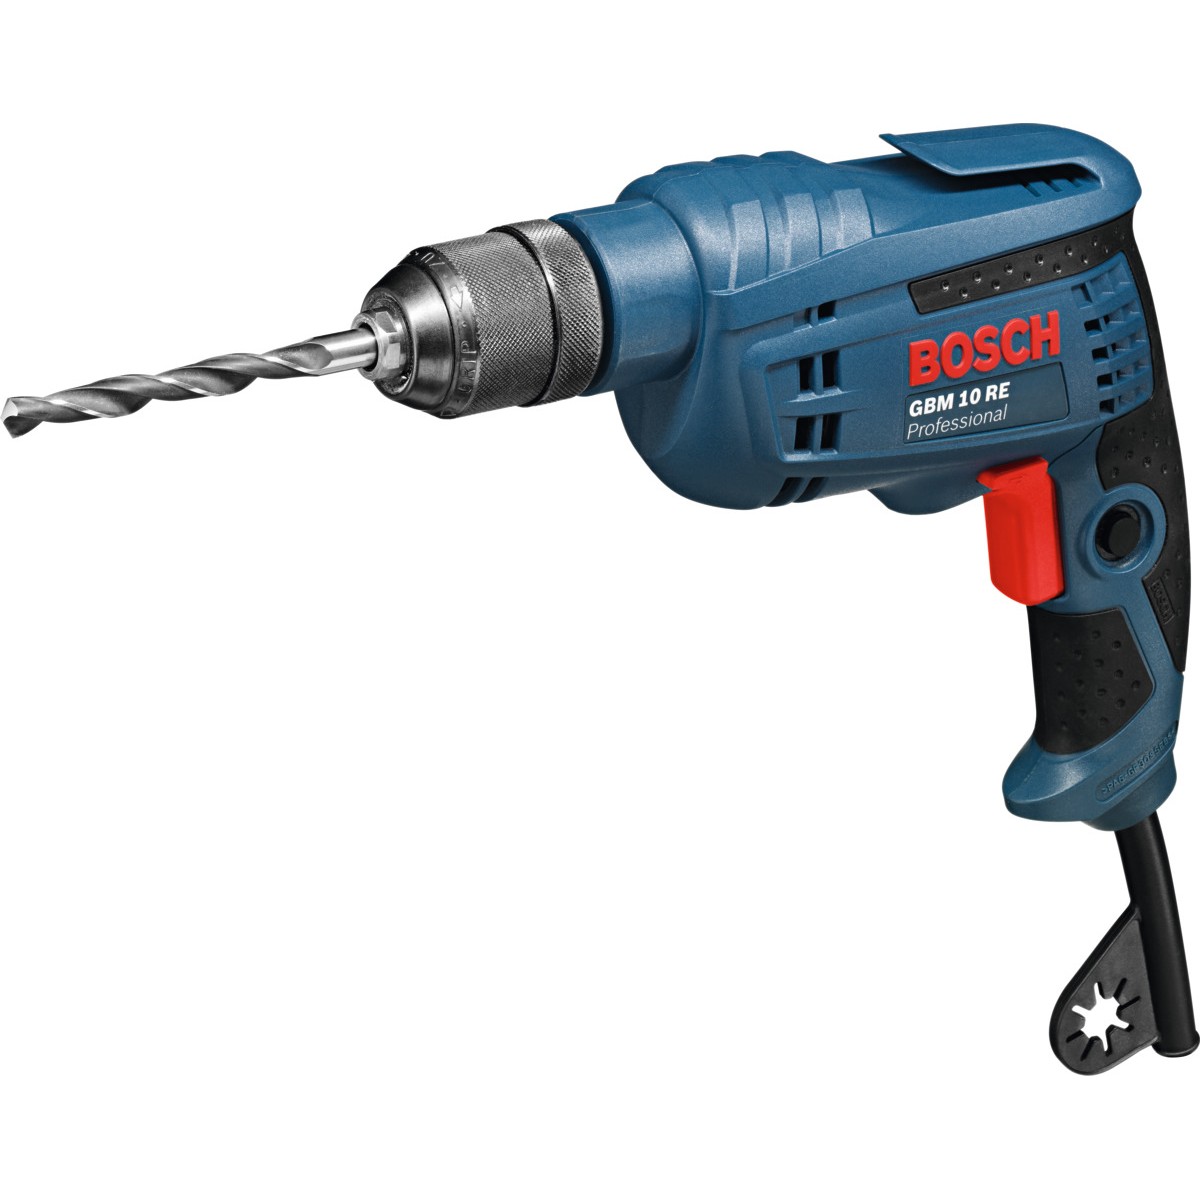
- Electric drill
- Scissors

- Anhydrous ethanol

- Safety Shoe

- Safety And Industrial Gloves

- Eye Protector

¶ Remove The Outer Packaging
-
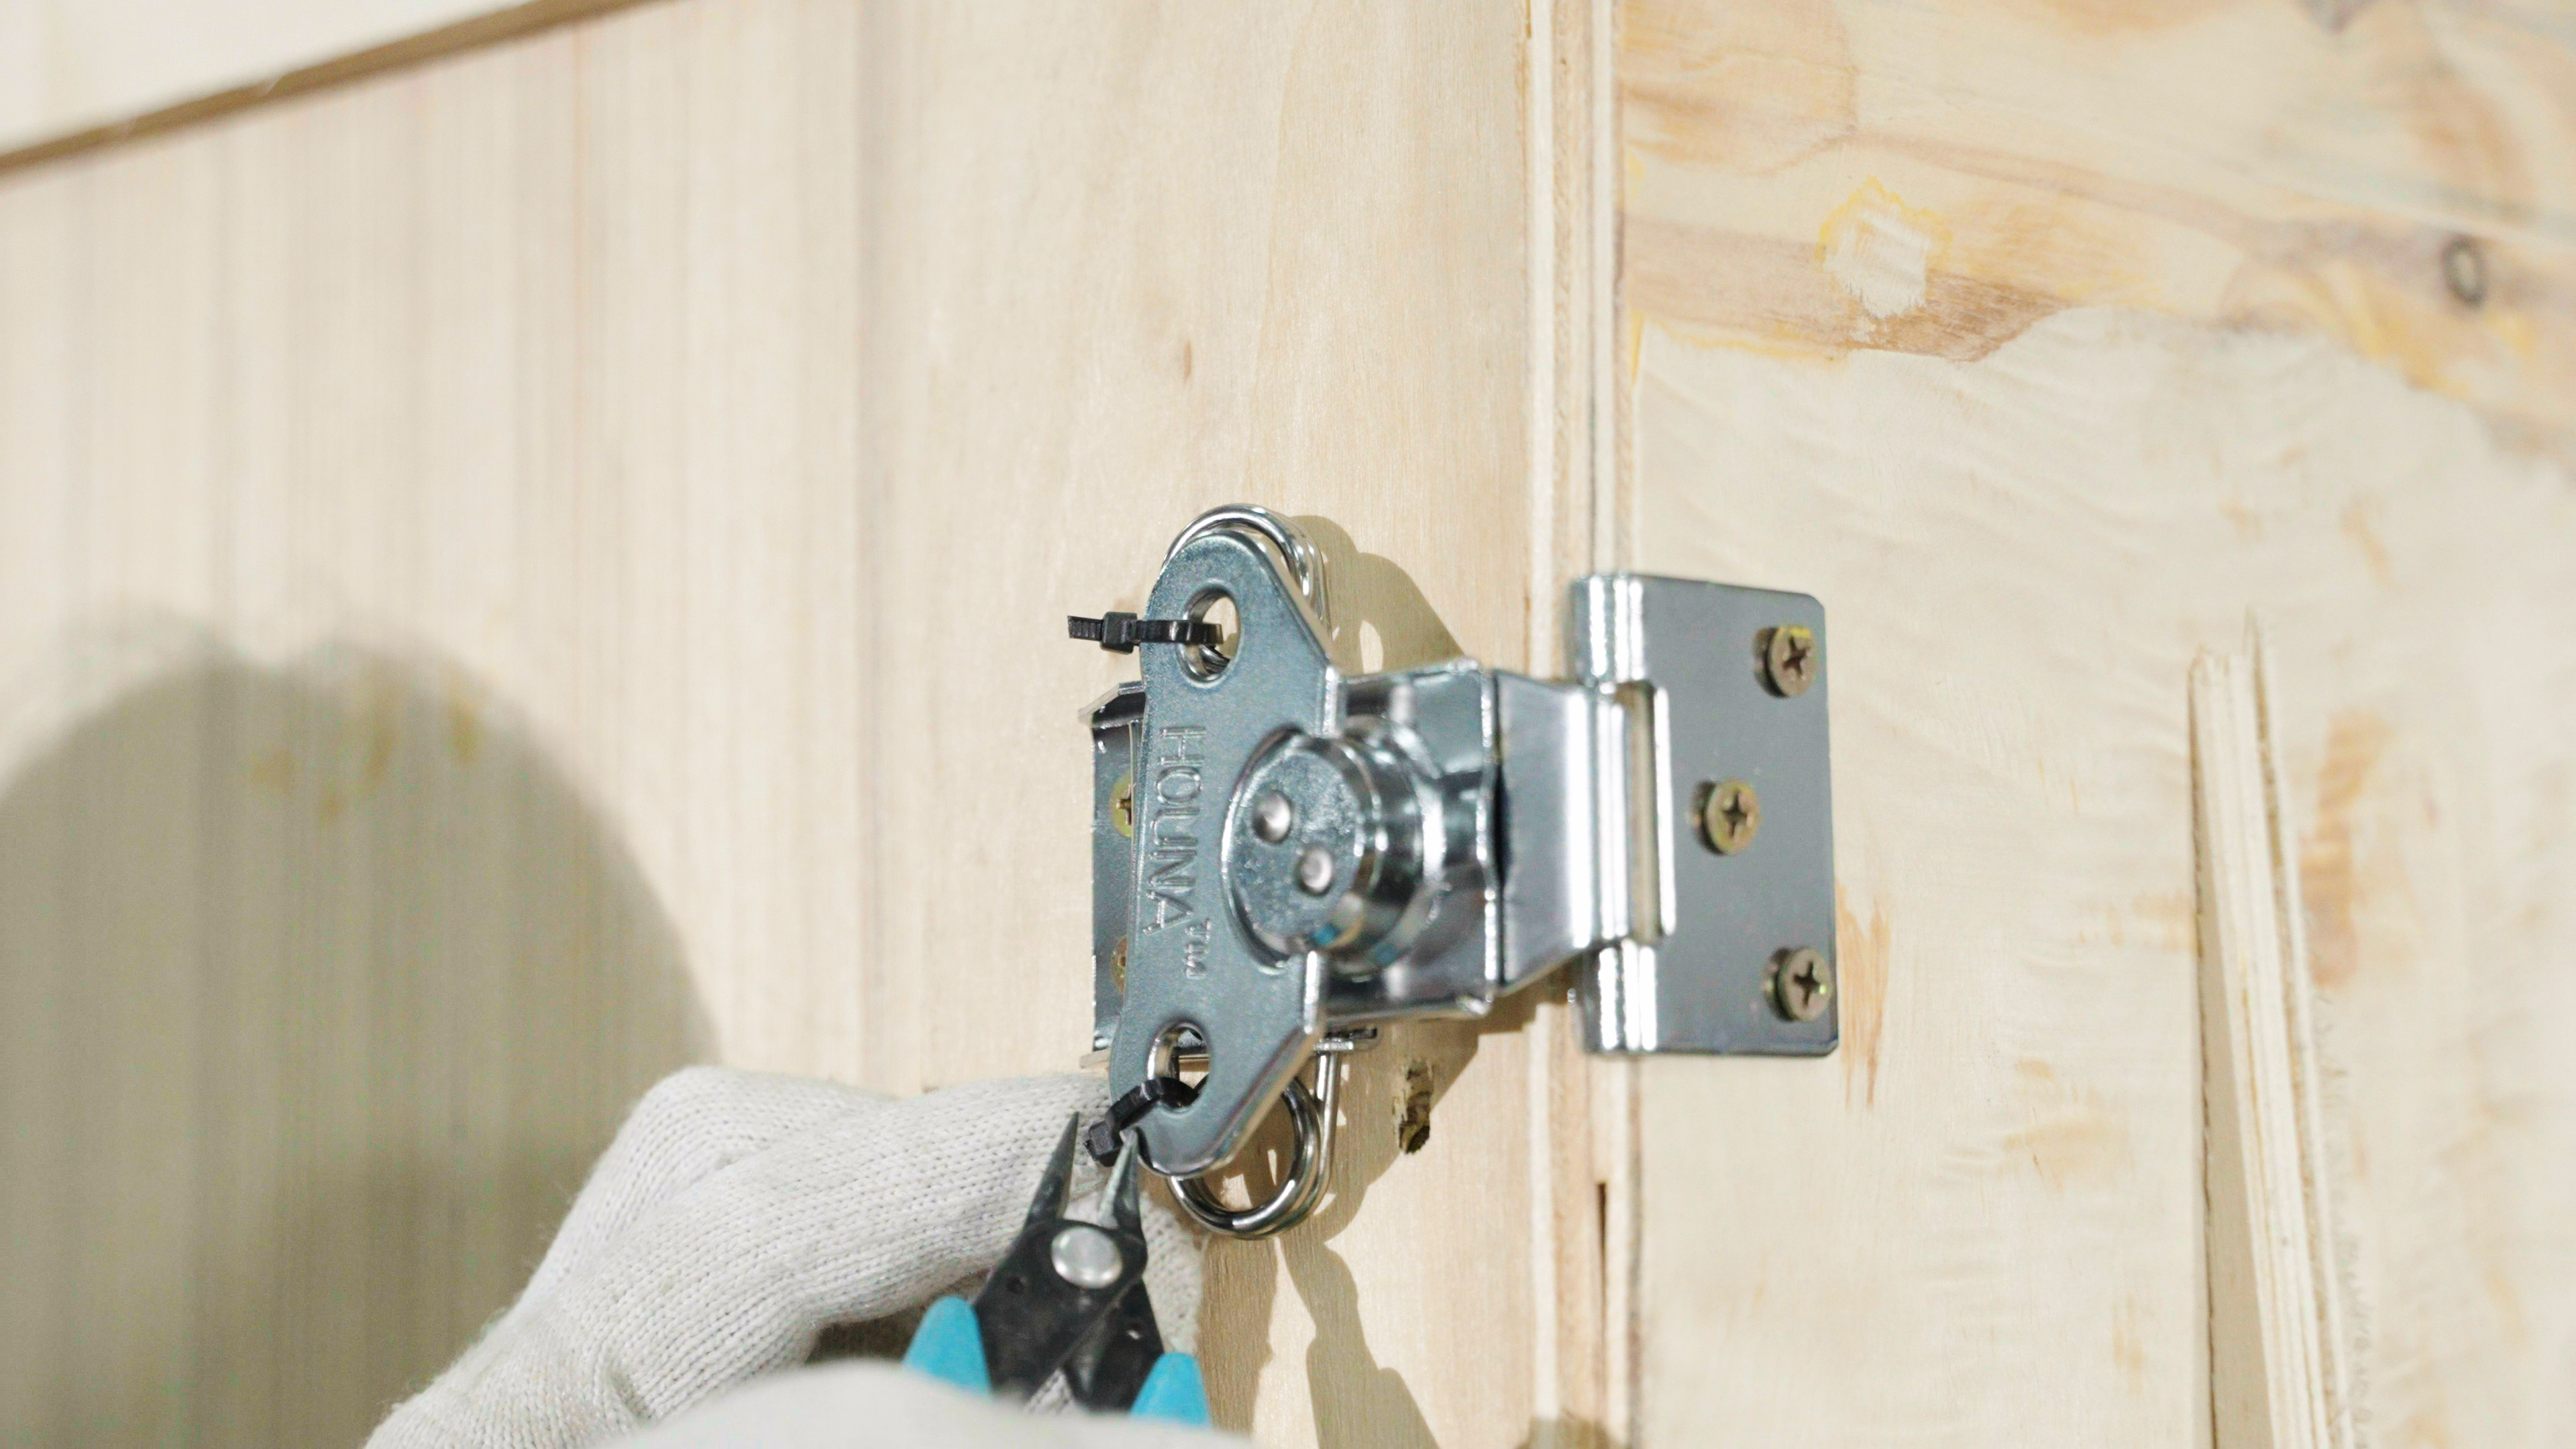
Open the latches. There are 6 latches on the box, 3 on each side. Cut the cable ties with scissors, then twist open the latches.
-
Carefully lower the flap to avoid injury. Remove the protective foam. Use a drill to remove the protective strip on the right side of the wooden box. The power cord is inside the box on the left side.
-
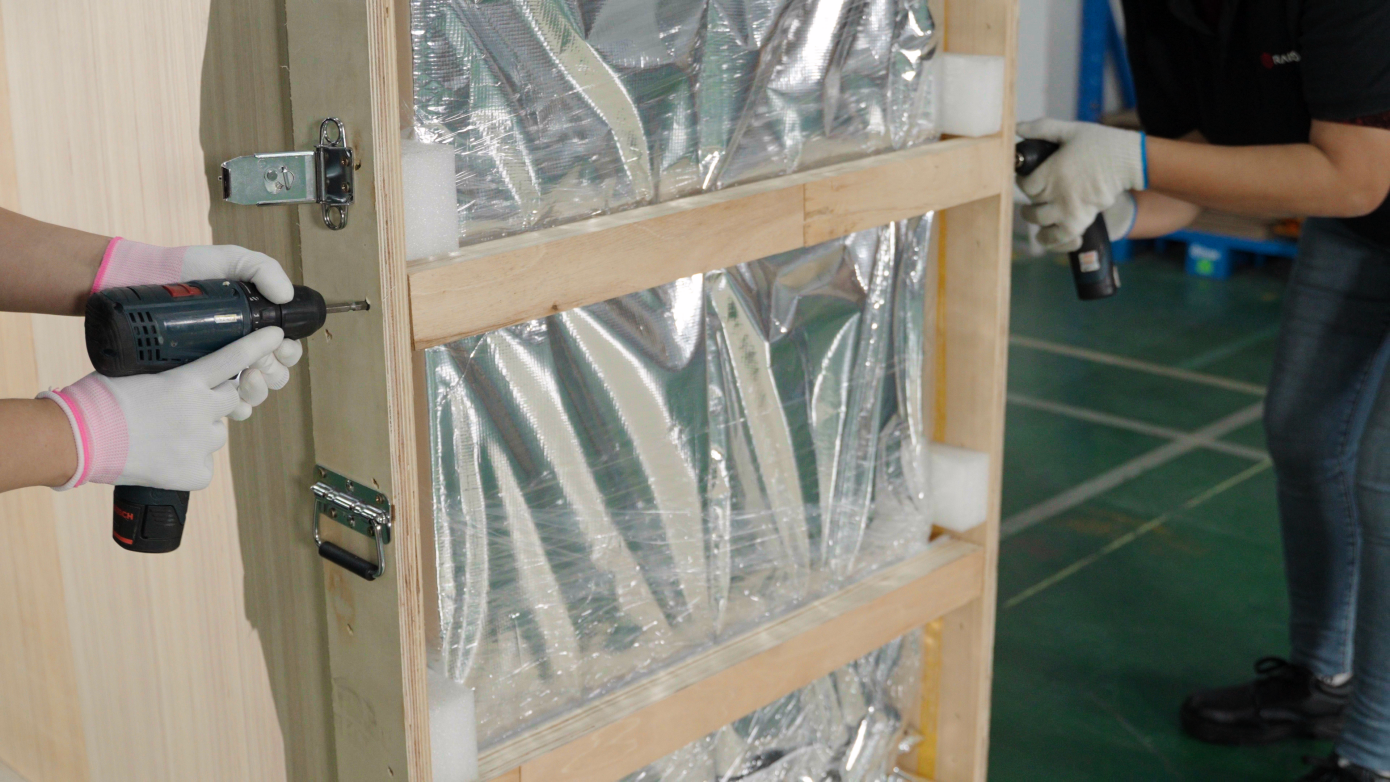
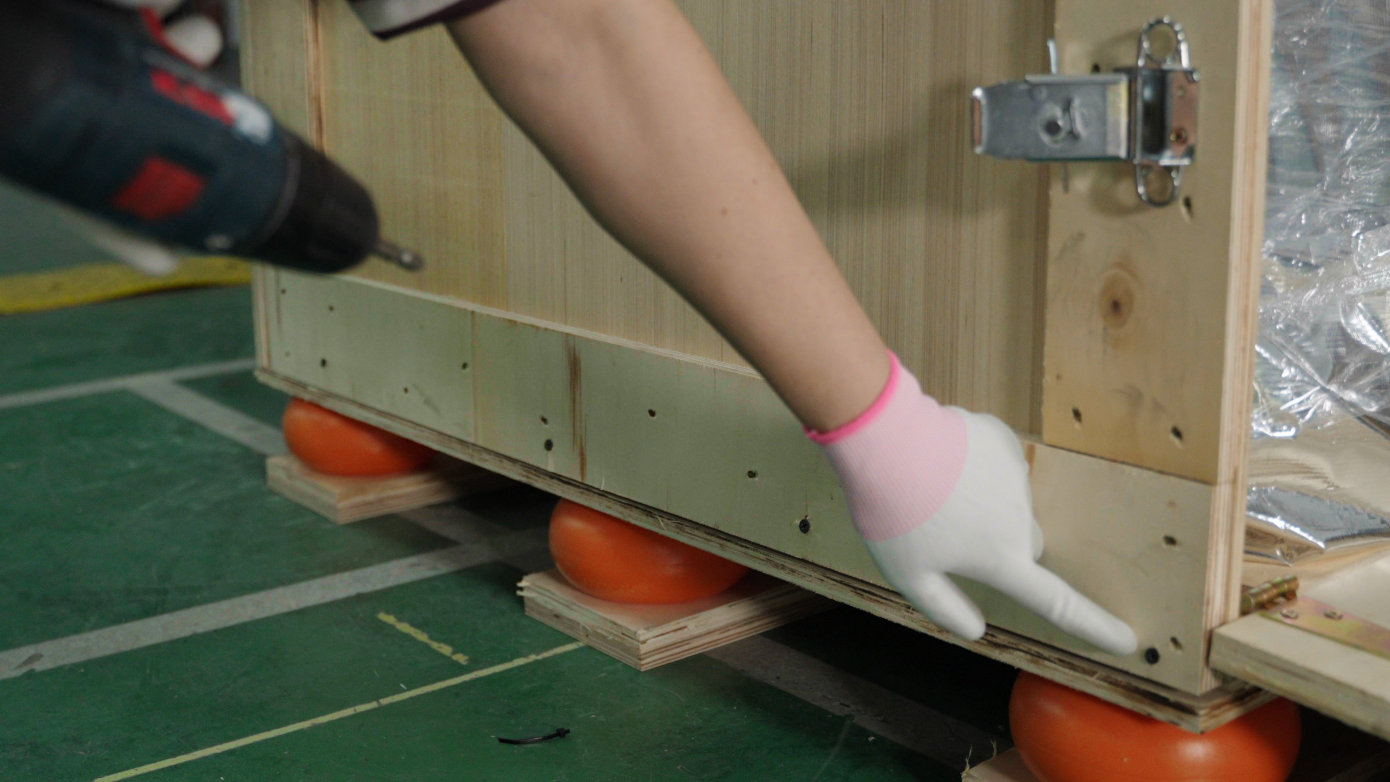
Use an electric drill to remove the fixing screws on the sides and bottom of the back of the wooden box.
-
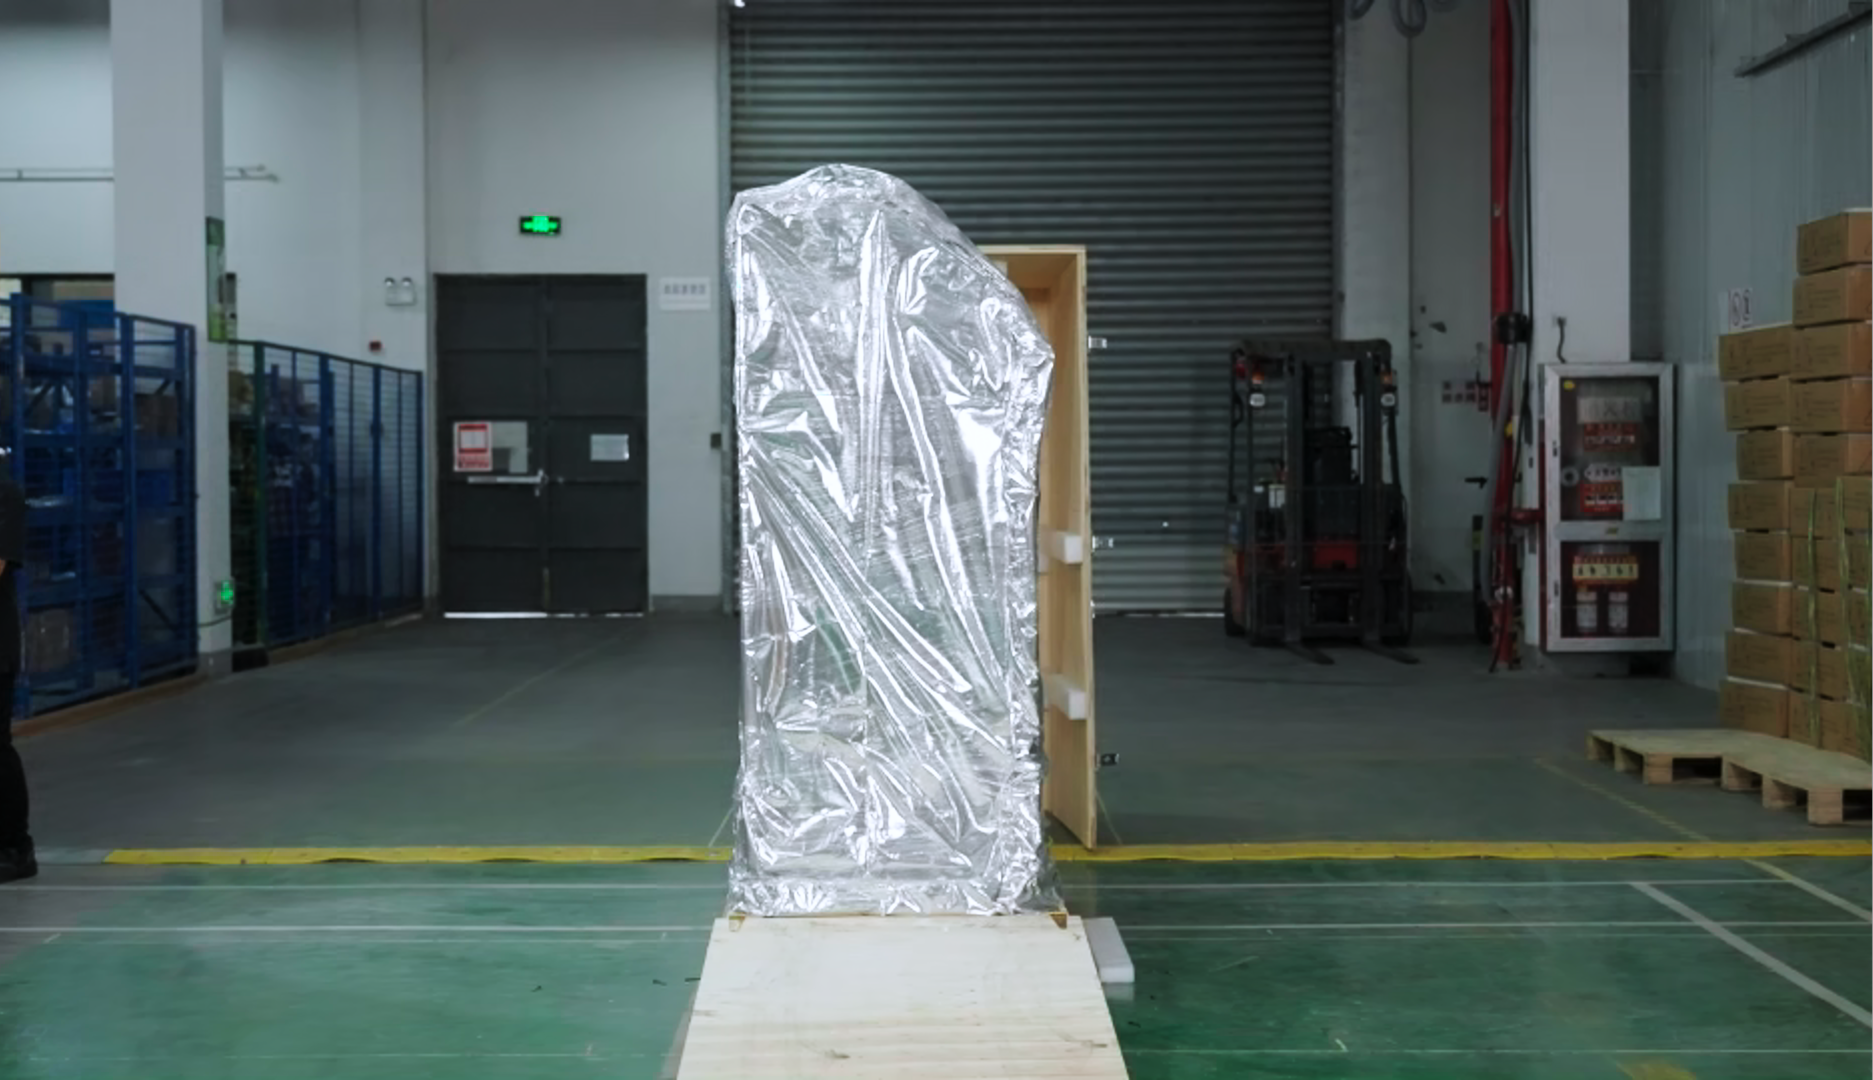
It takes 2-4 people to lift the handles on both sides of the box and move the wooden box away from the equipment.
-
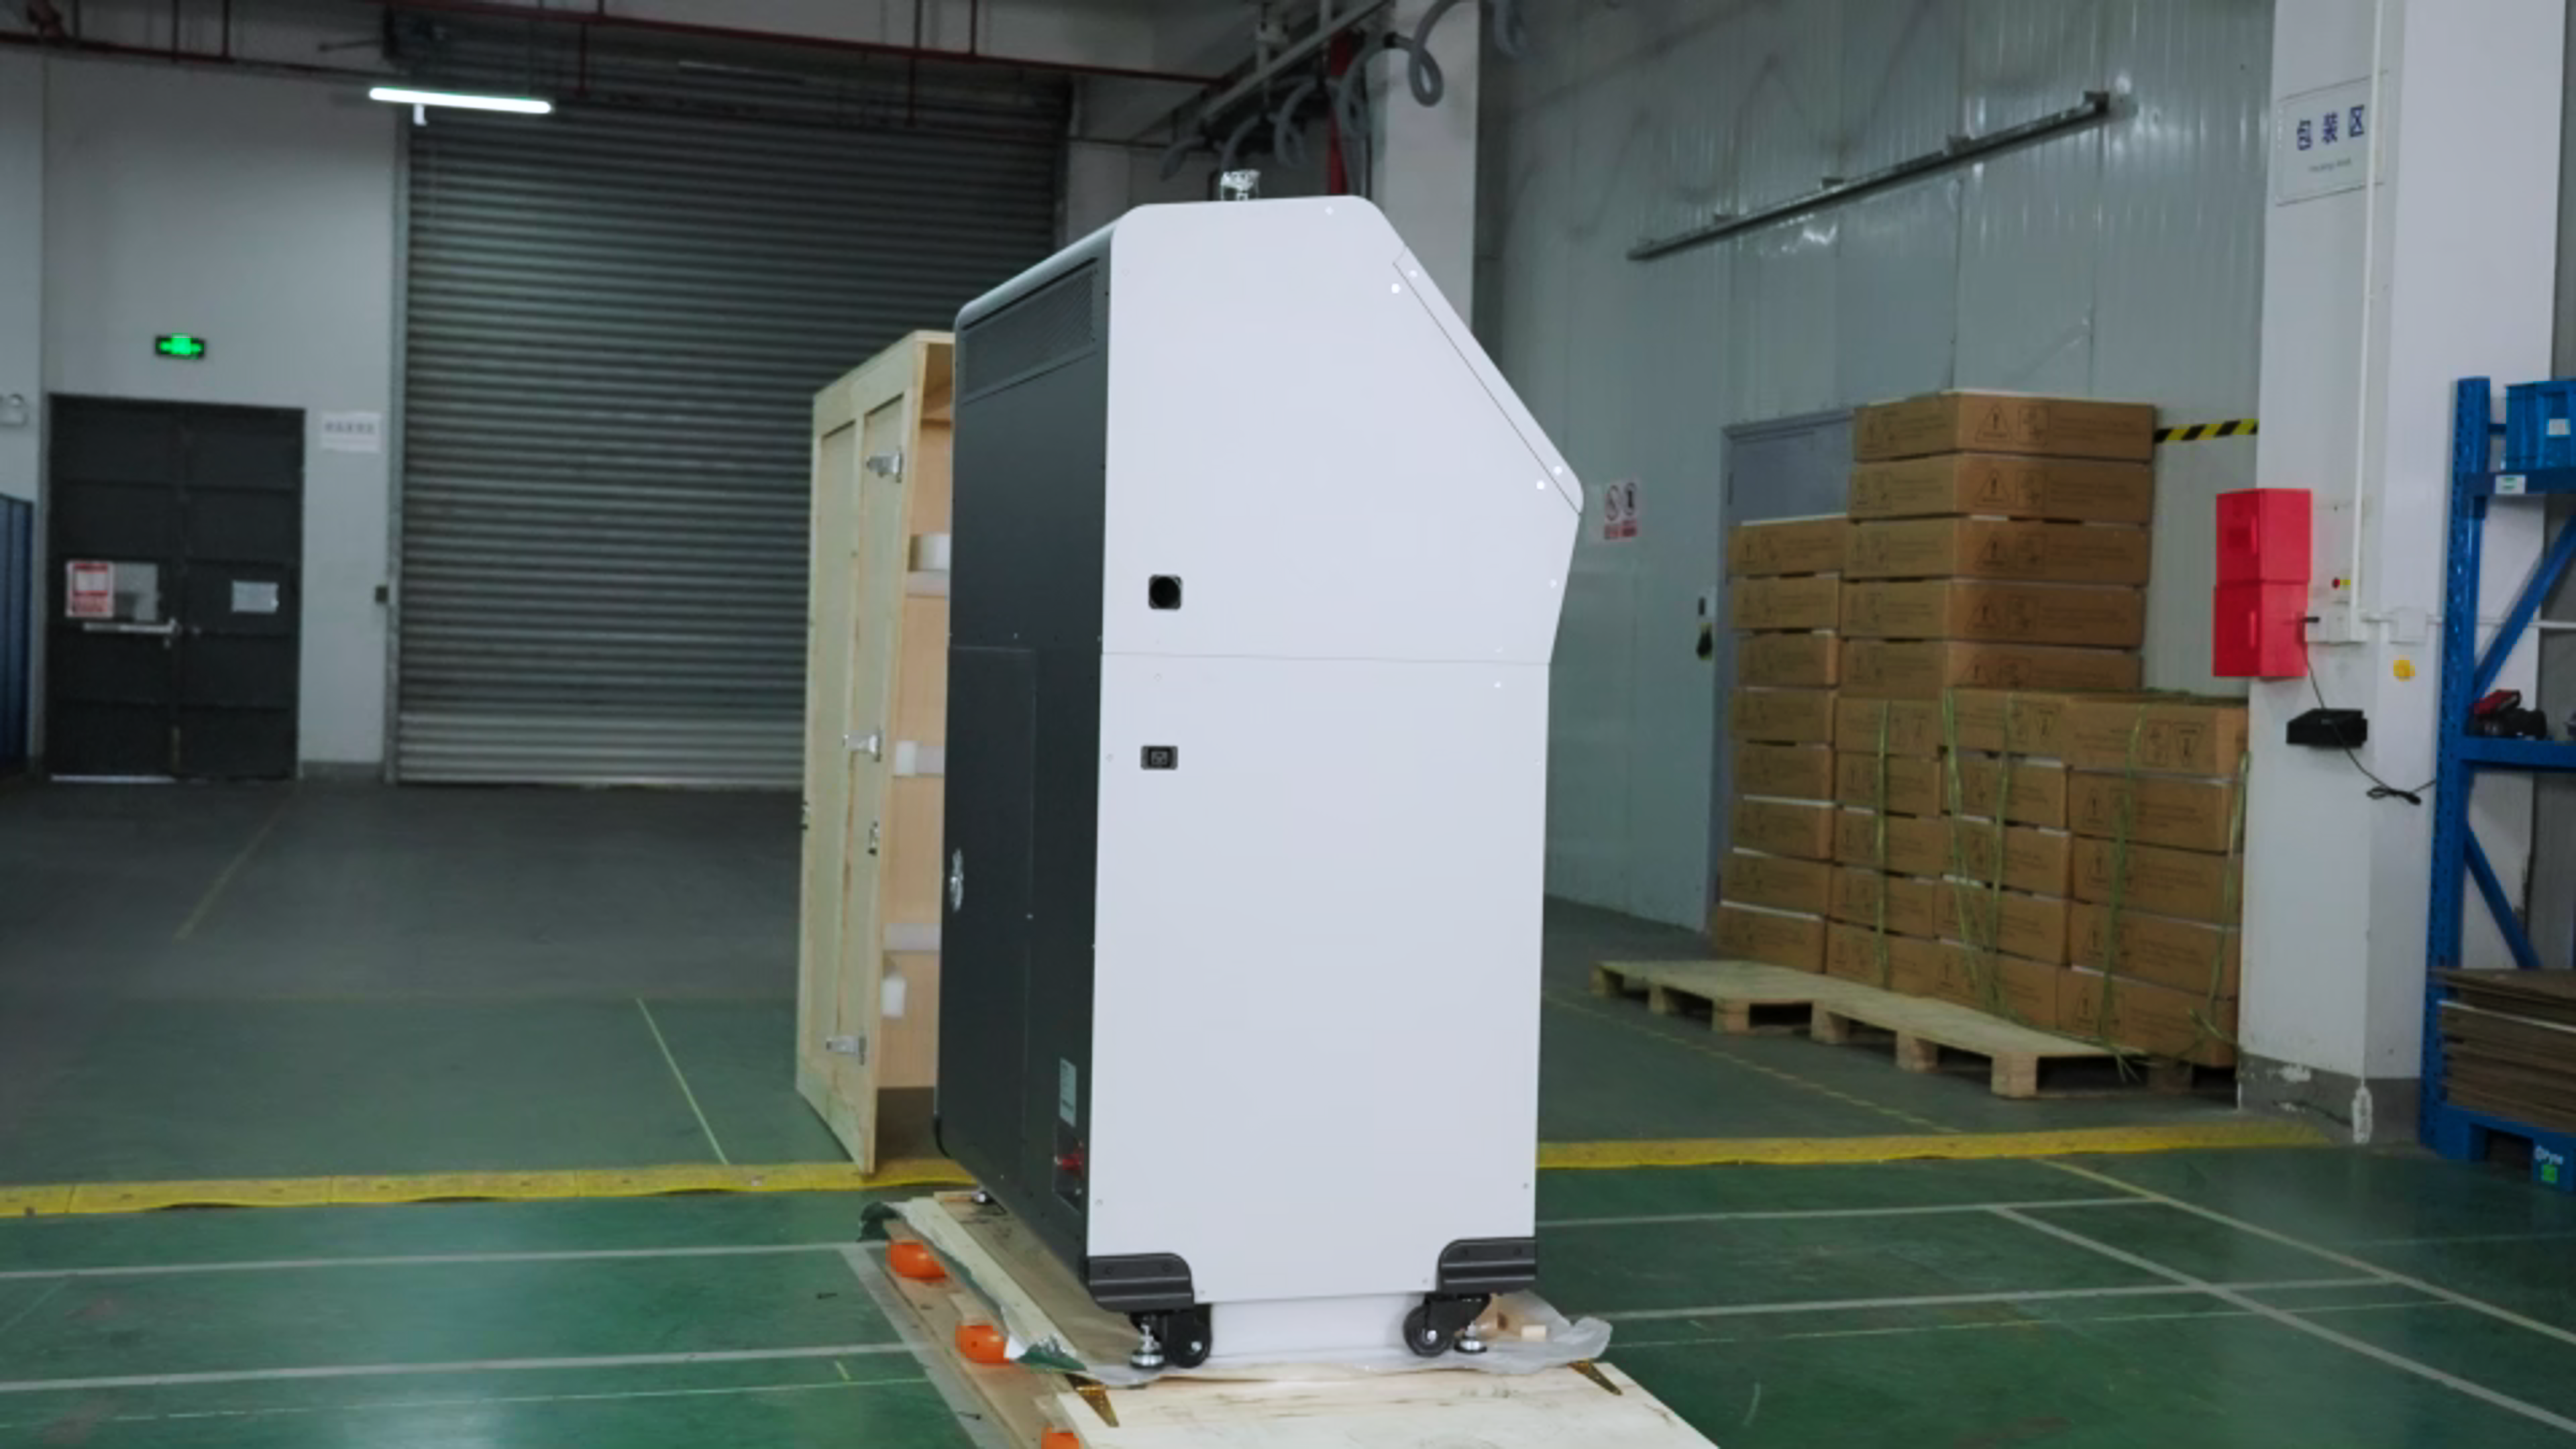
Use scissors to remove the vacuum packaging from the C220-P Cleaning Station.

-
Use an electric drill to remove the four fixed brackets that secure the four foot supports.
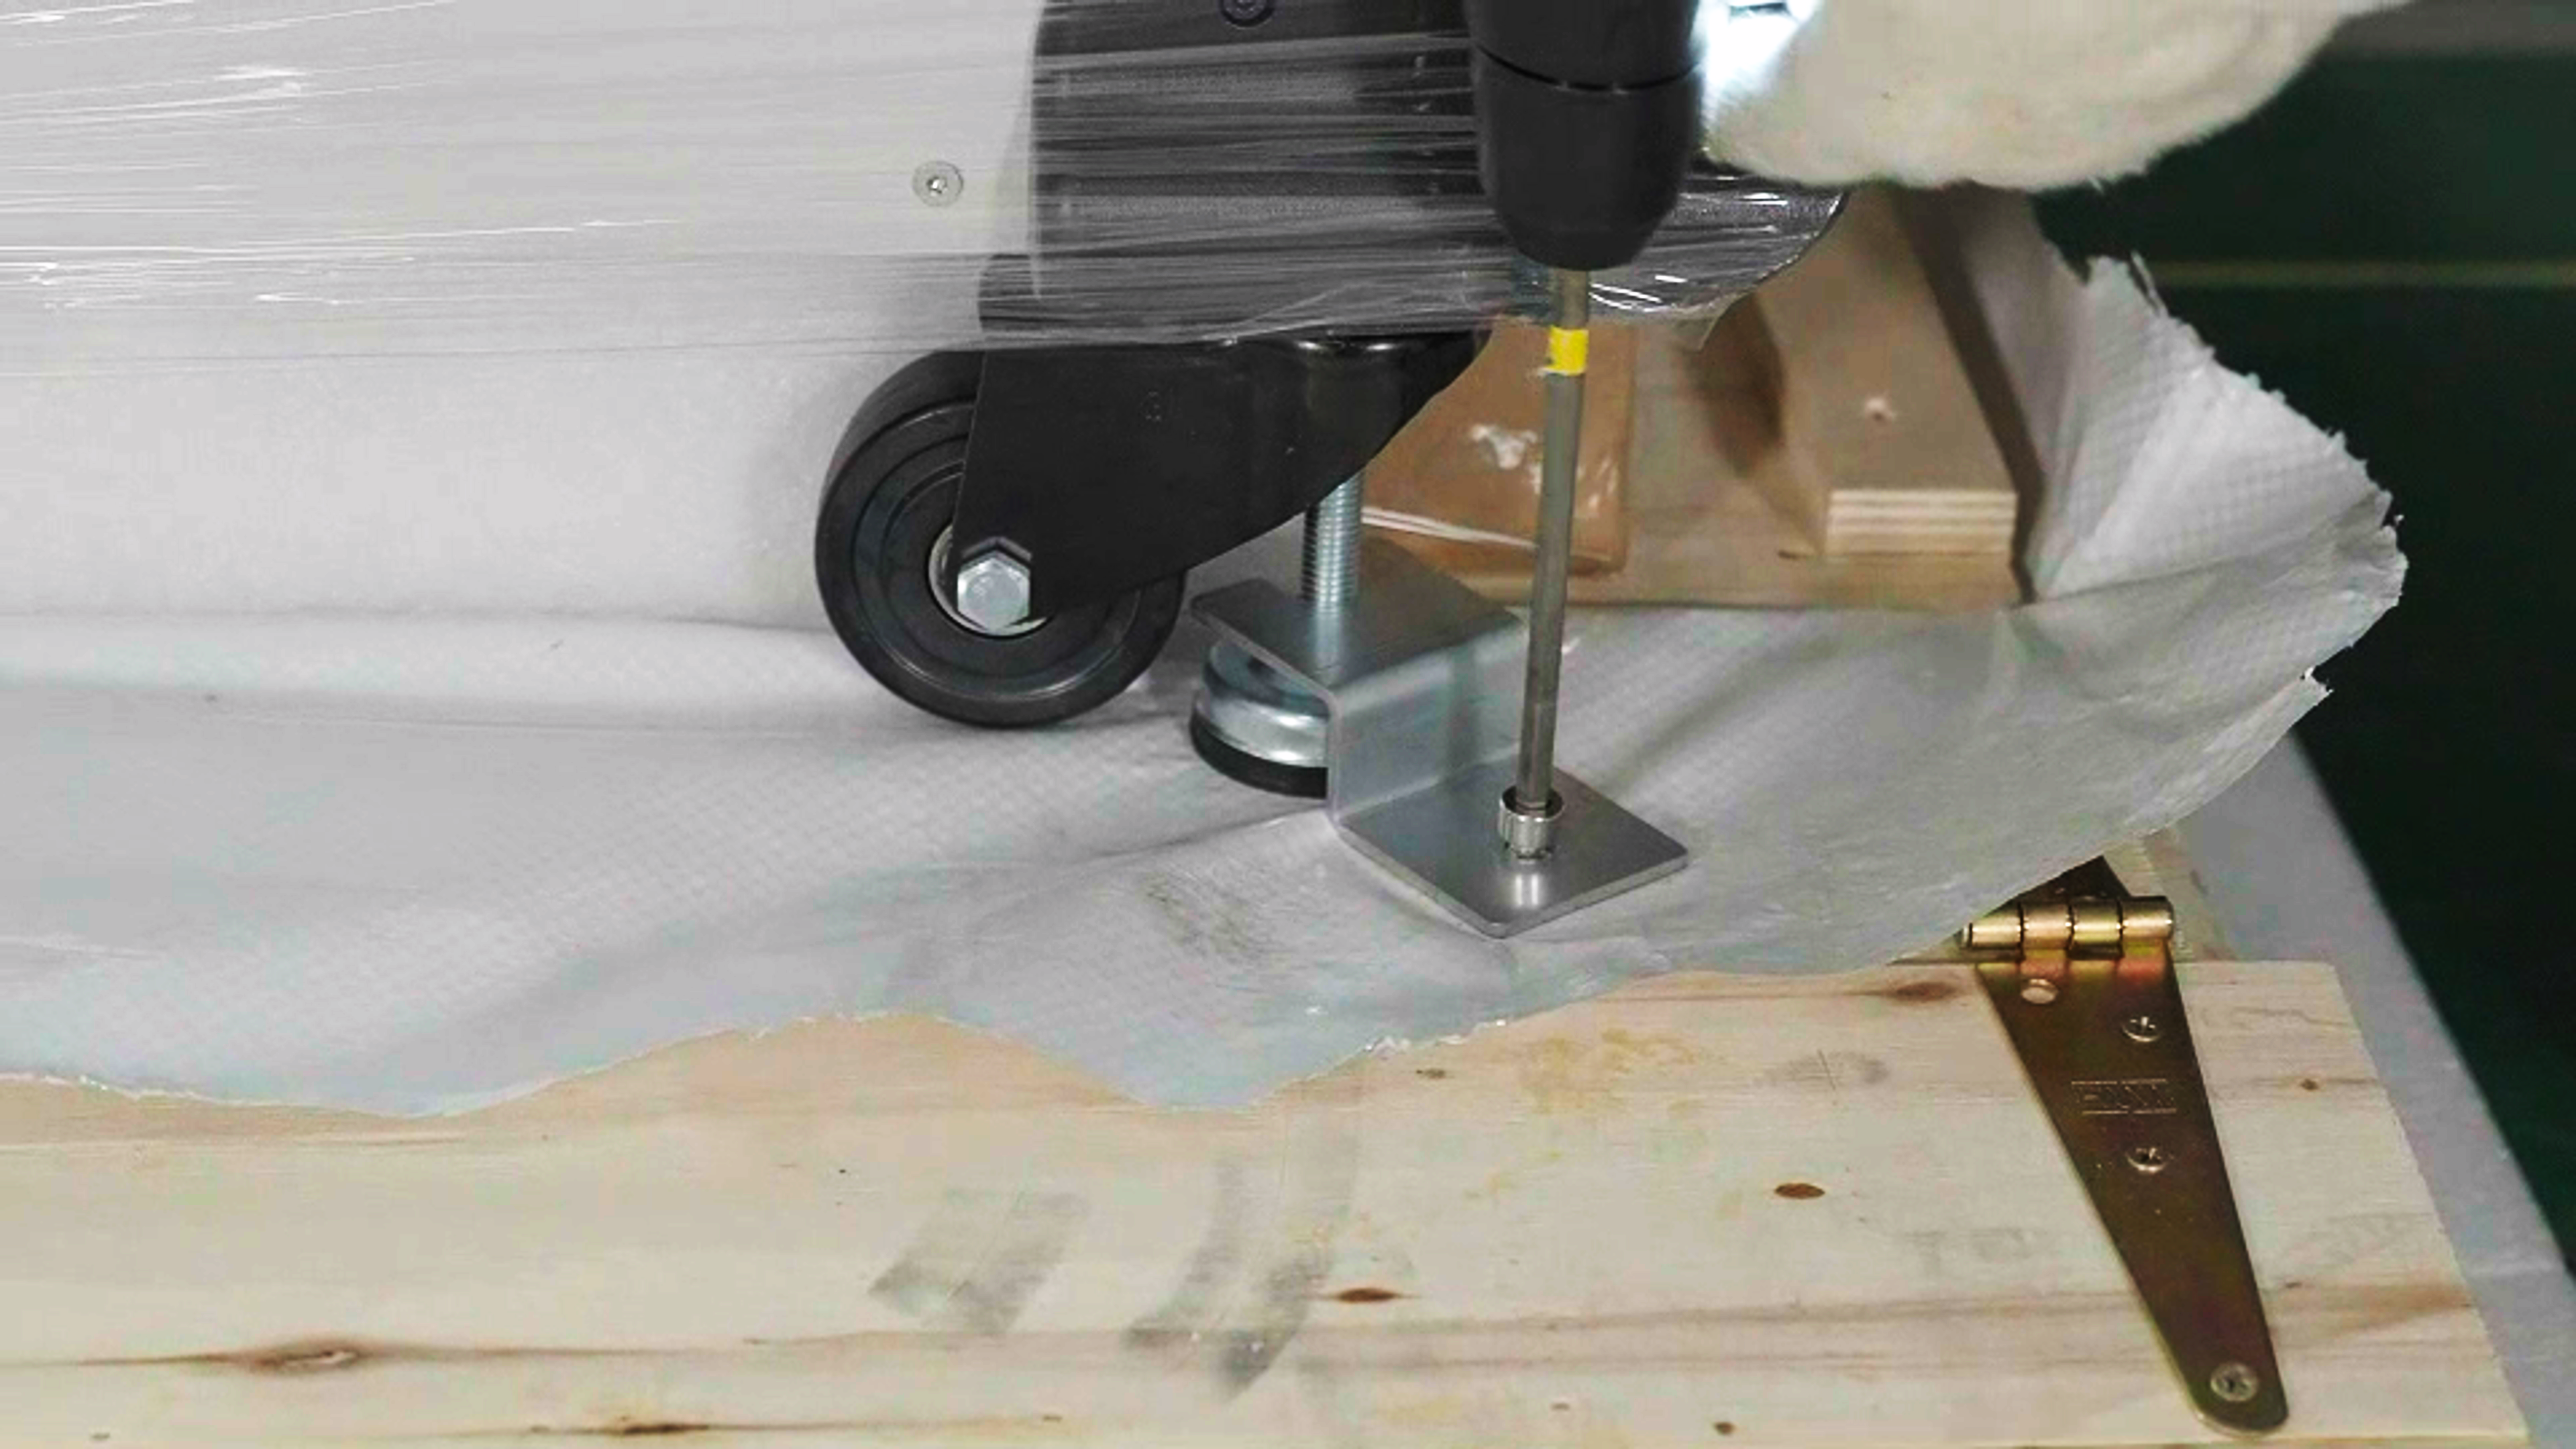
-
Next, you need to raise the C220-P Cleaning Station 's four foot supports to prevent it from hitting the base when moving the C220-P Cleaning Station.
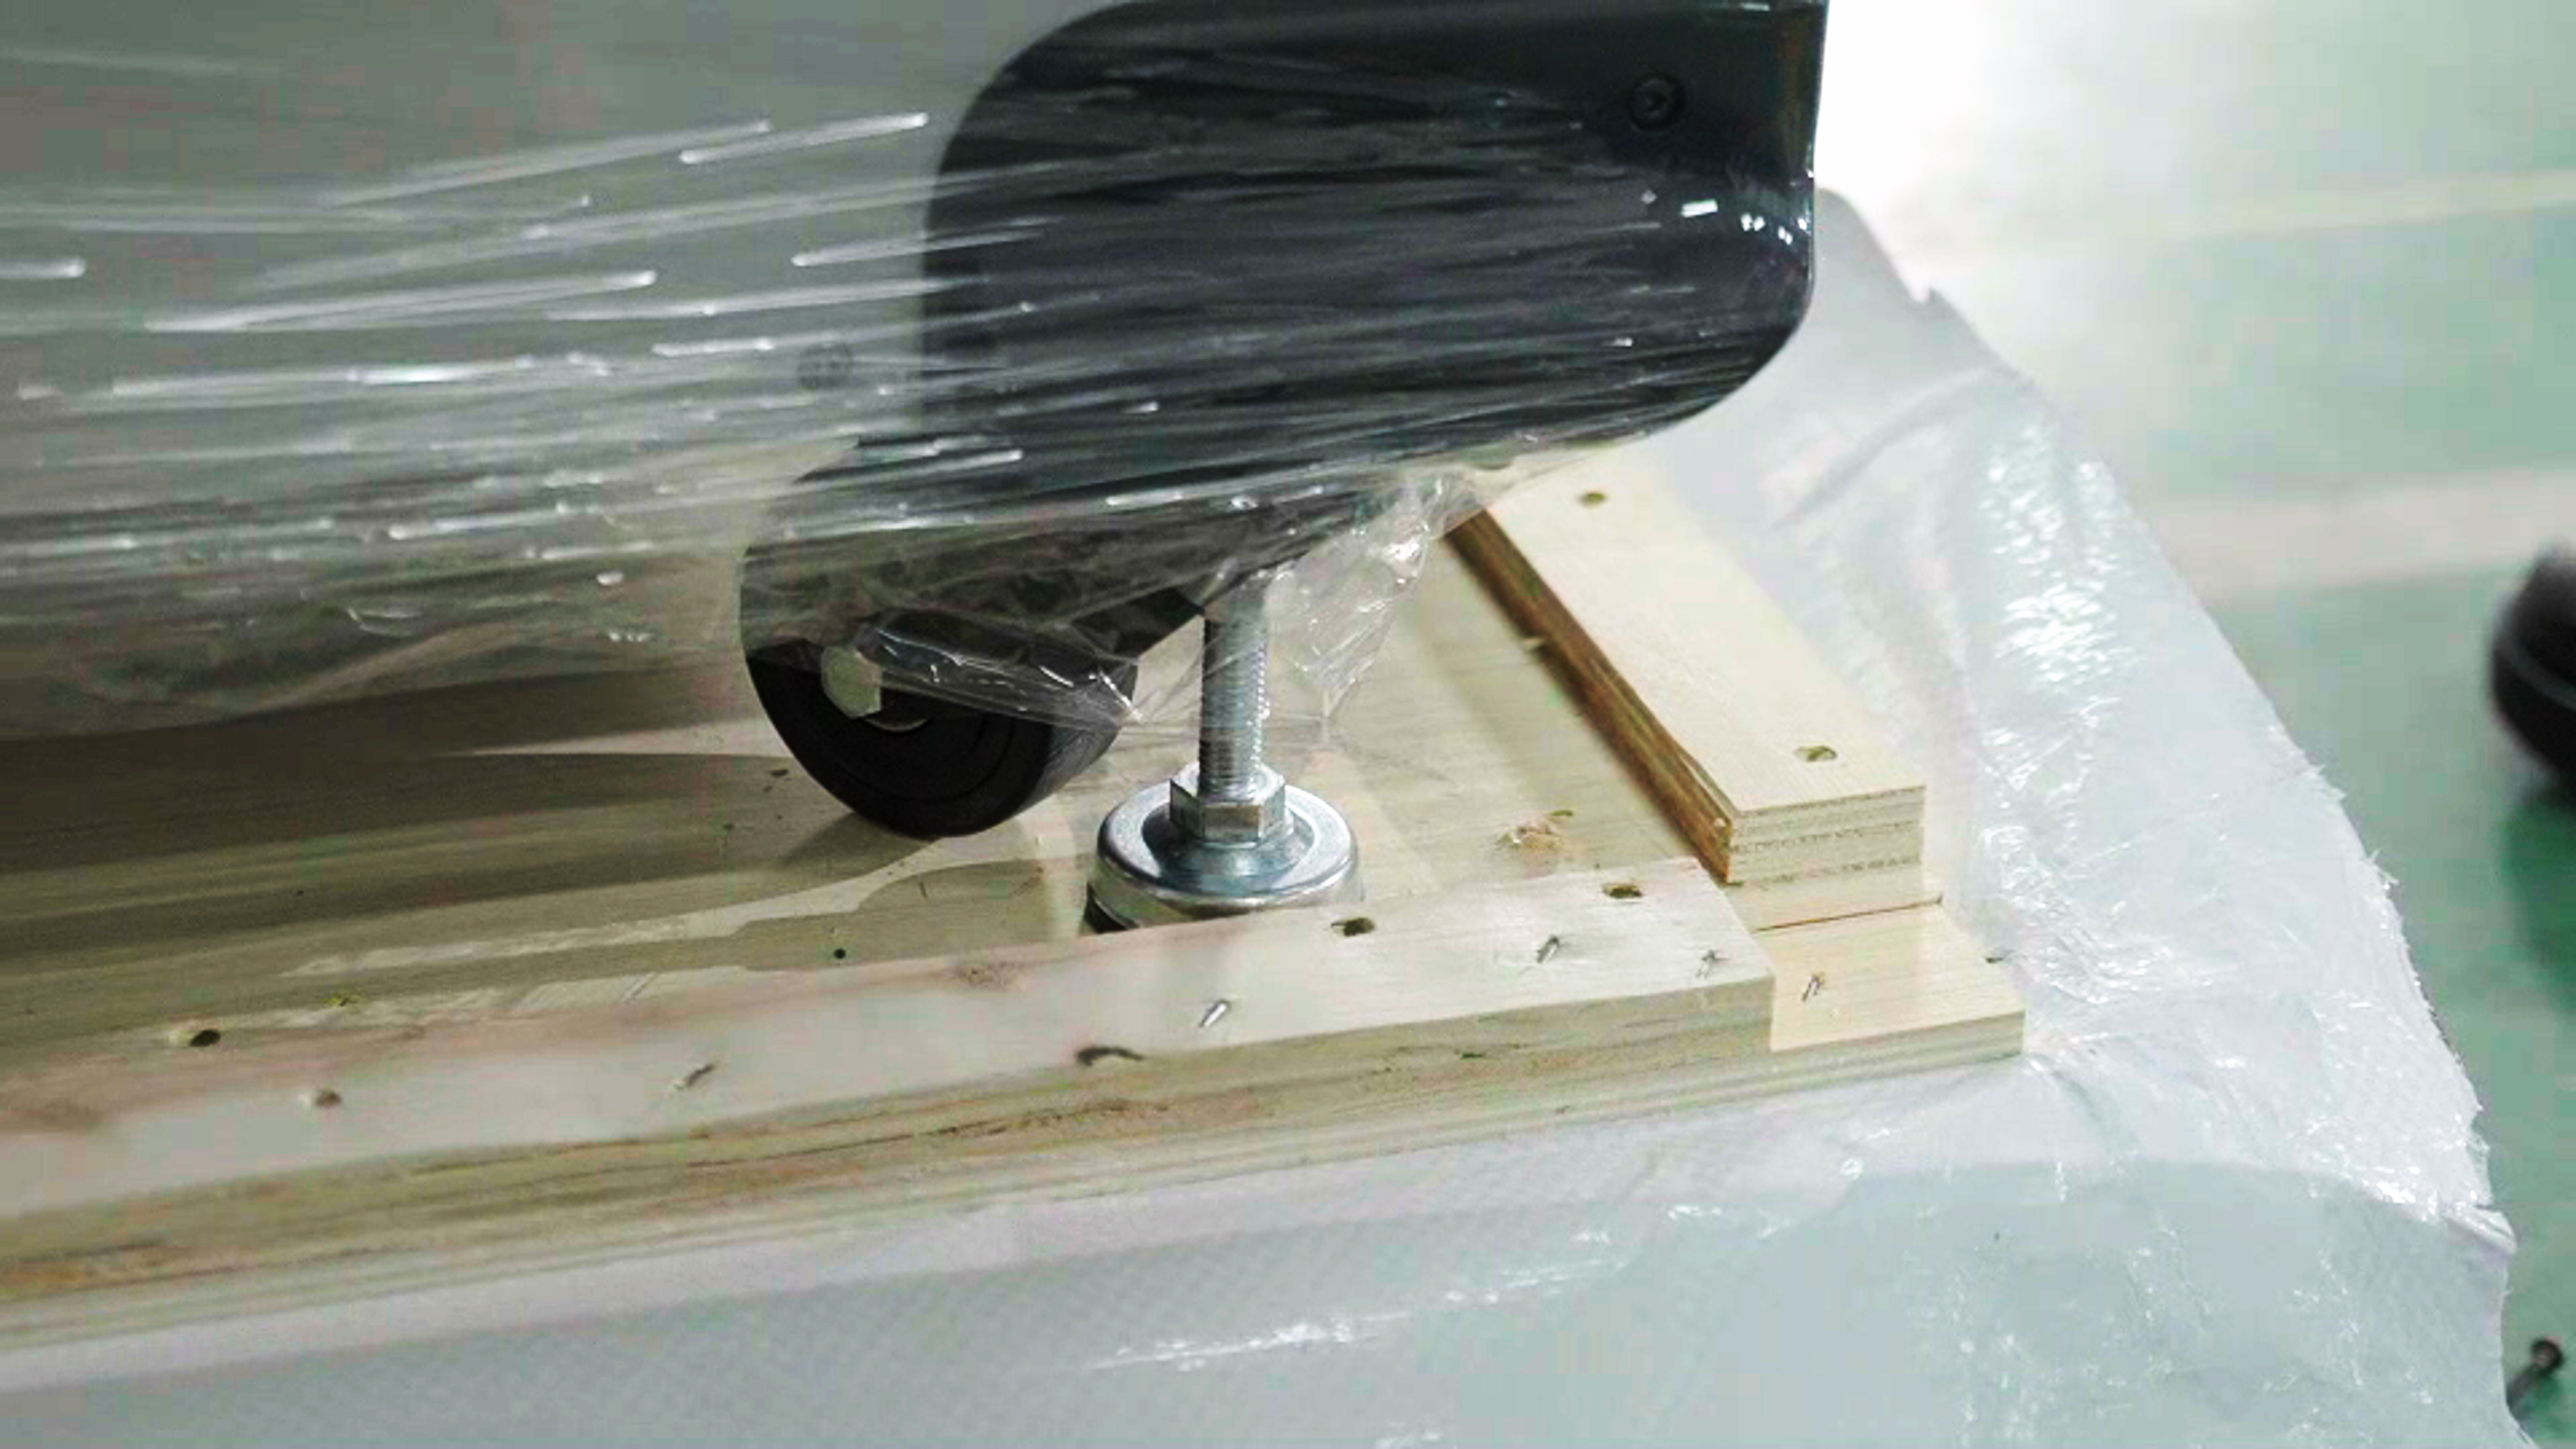
-
First, use an open-end wrench to loosen the top screws downwards. Then, use the open-end wrench to loosen the bottom screws upwards to raise the feet.
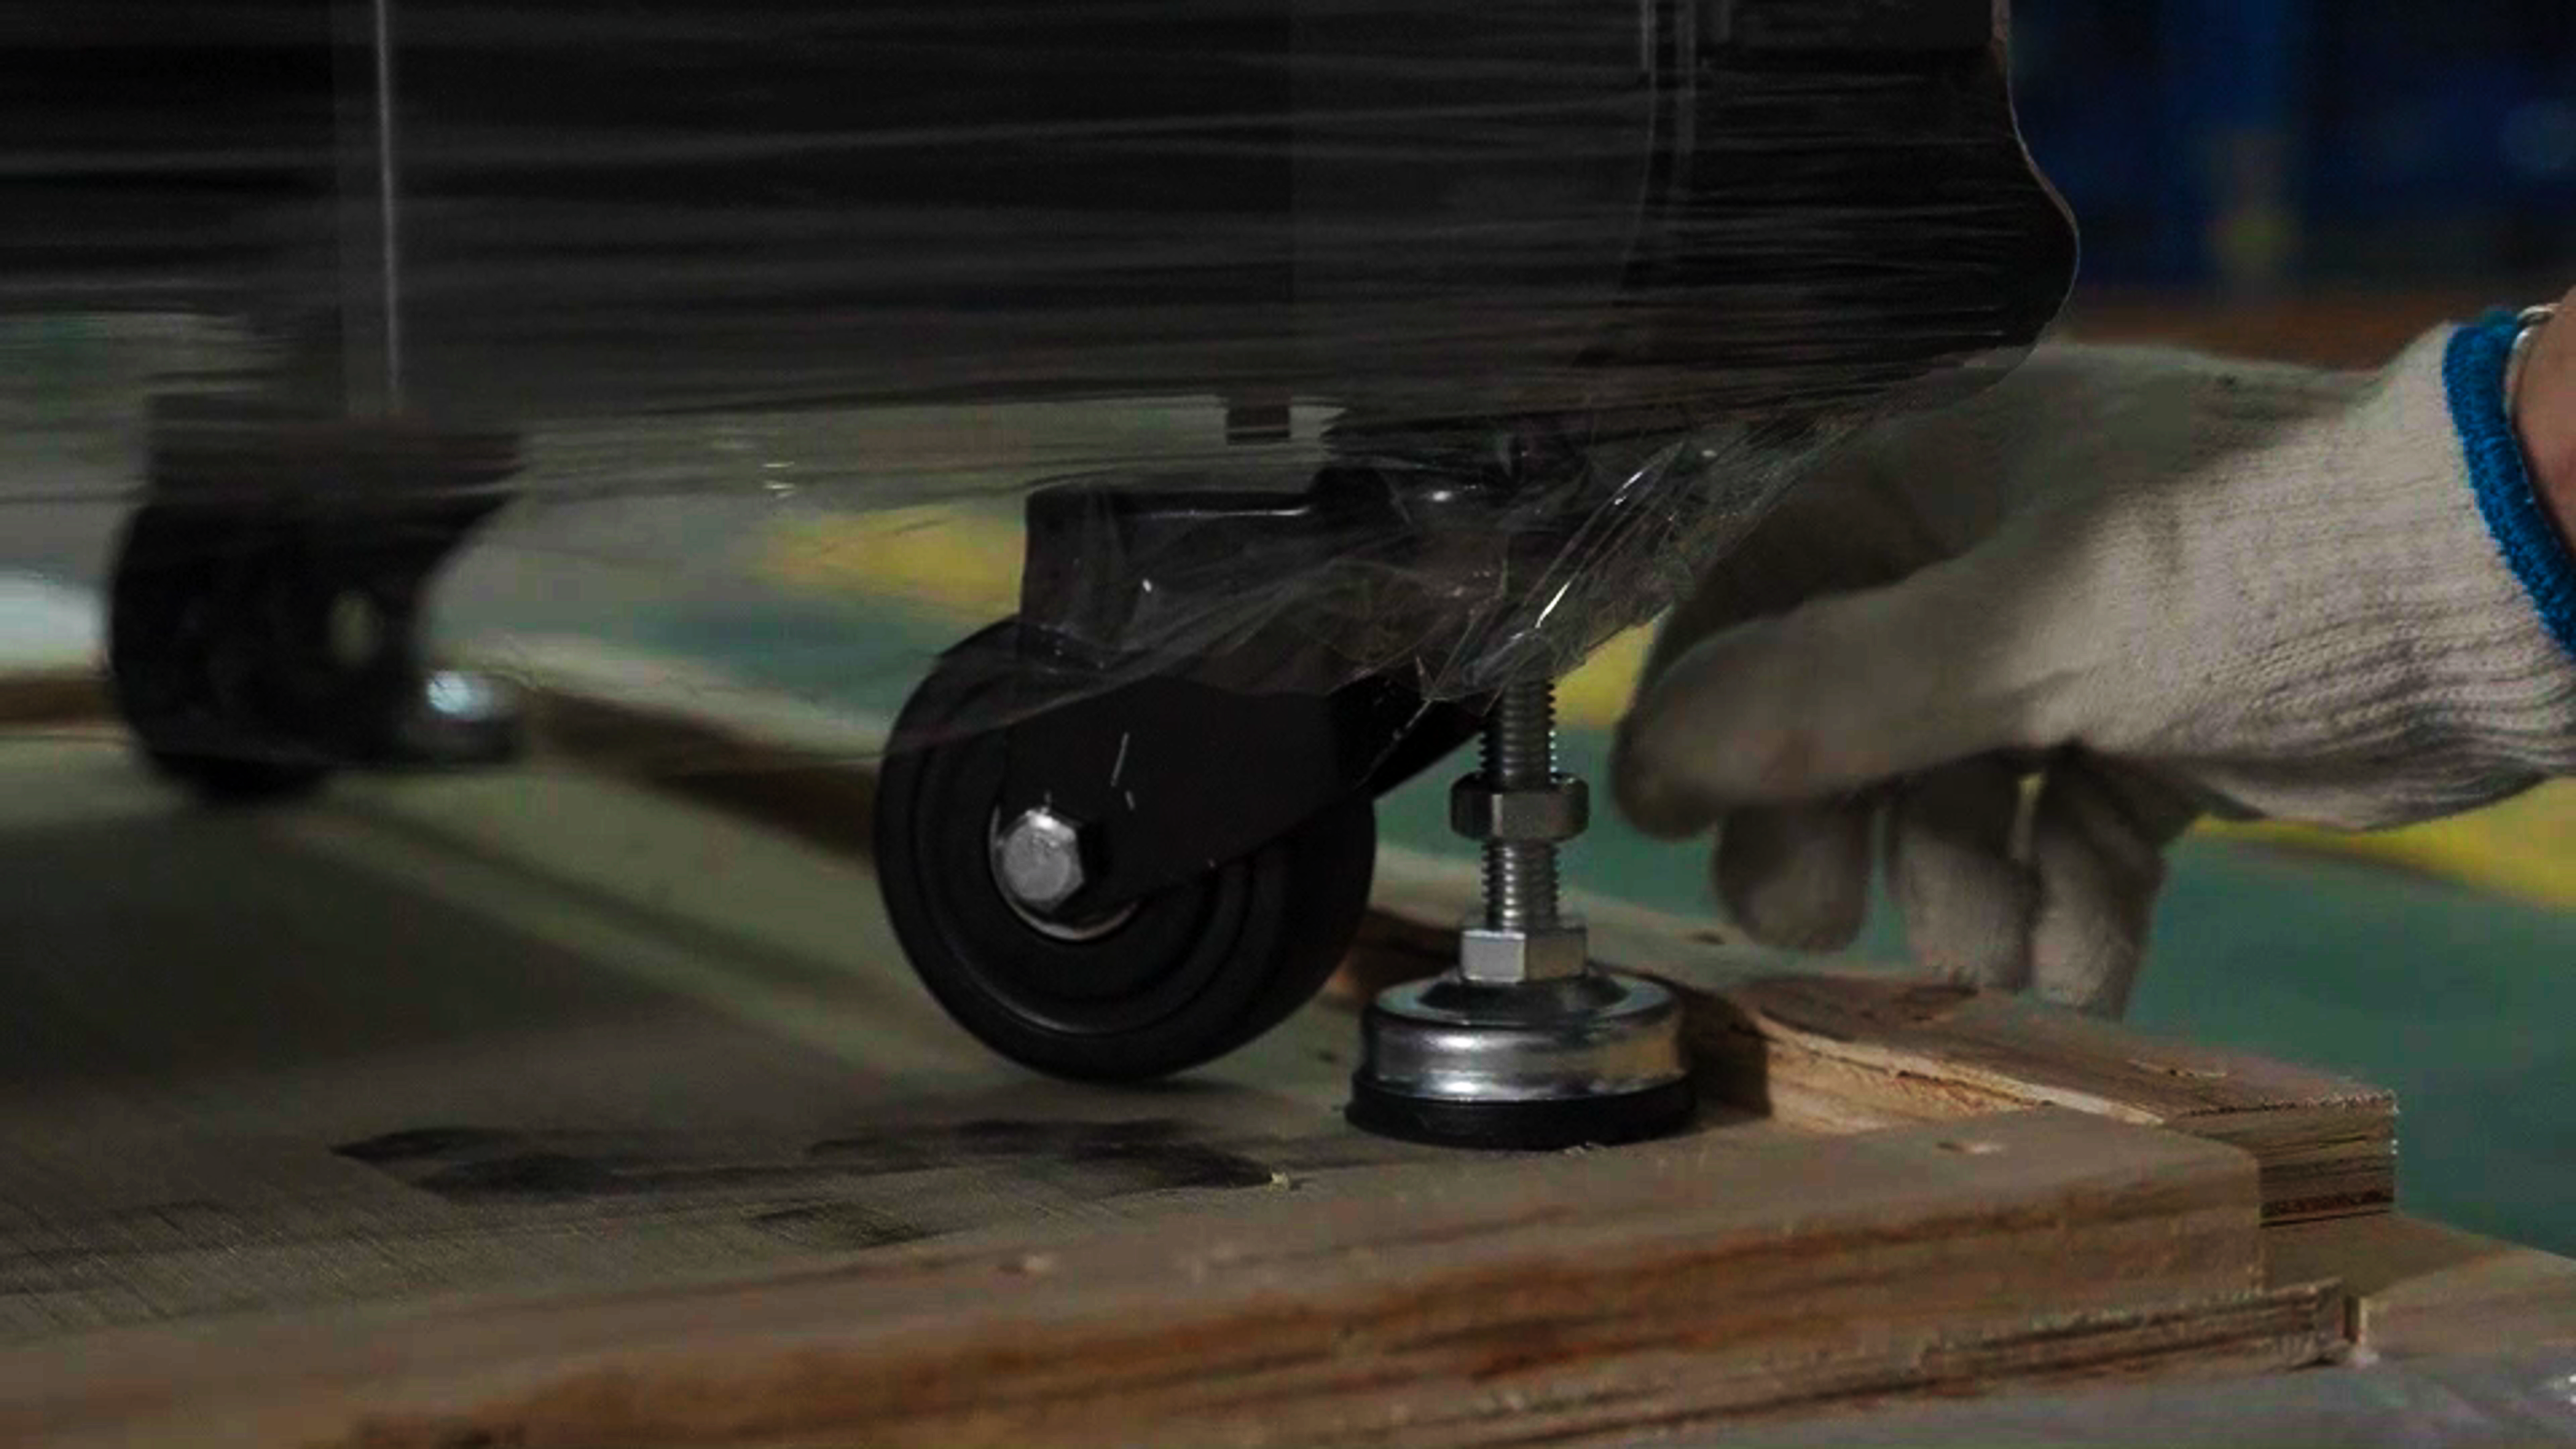
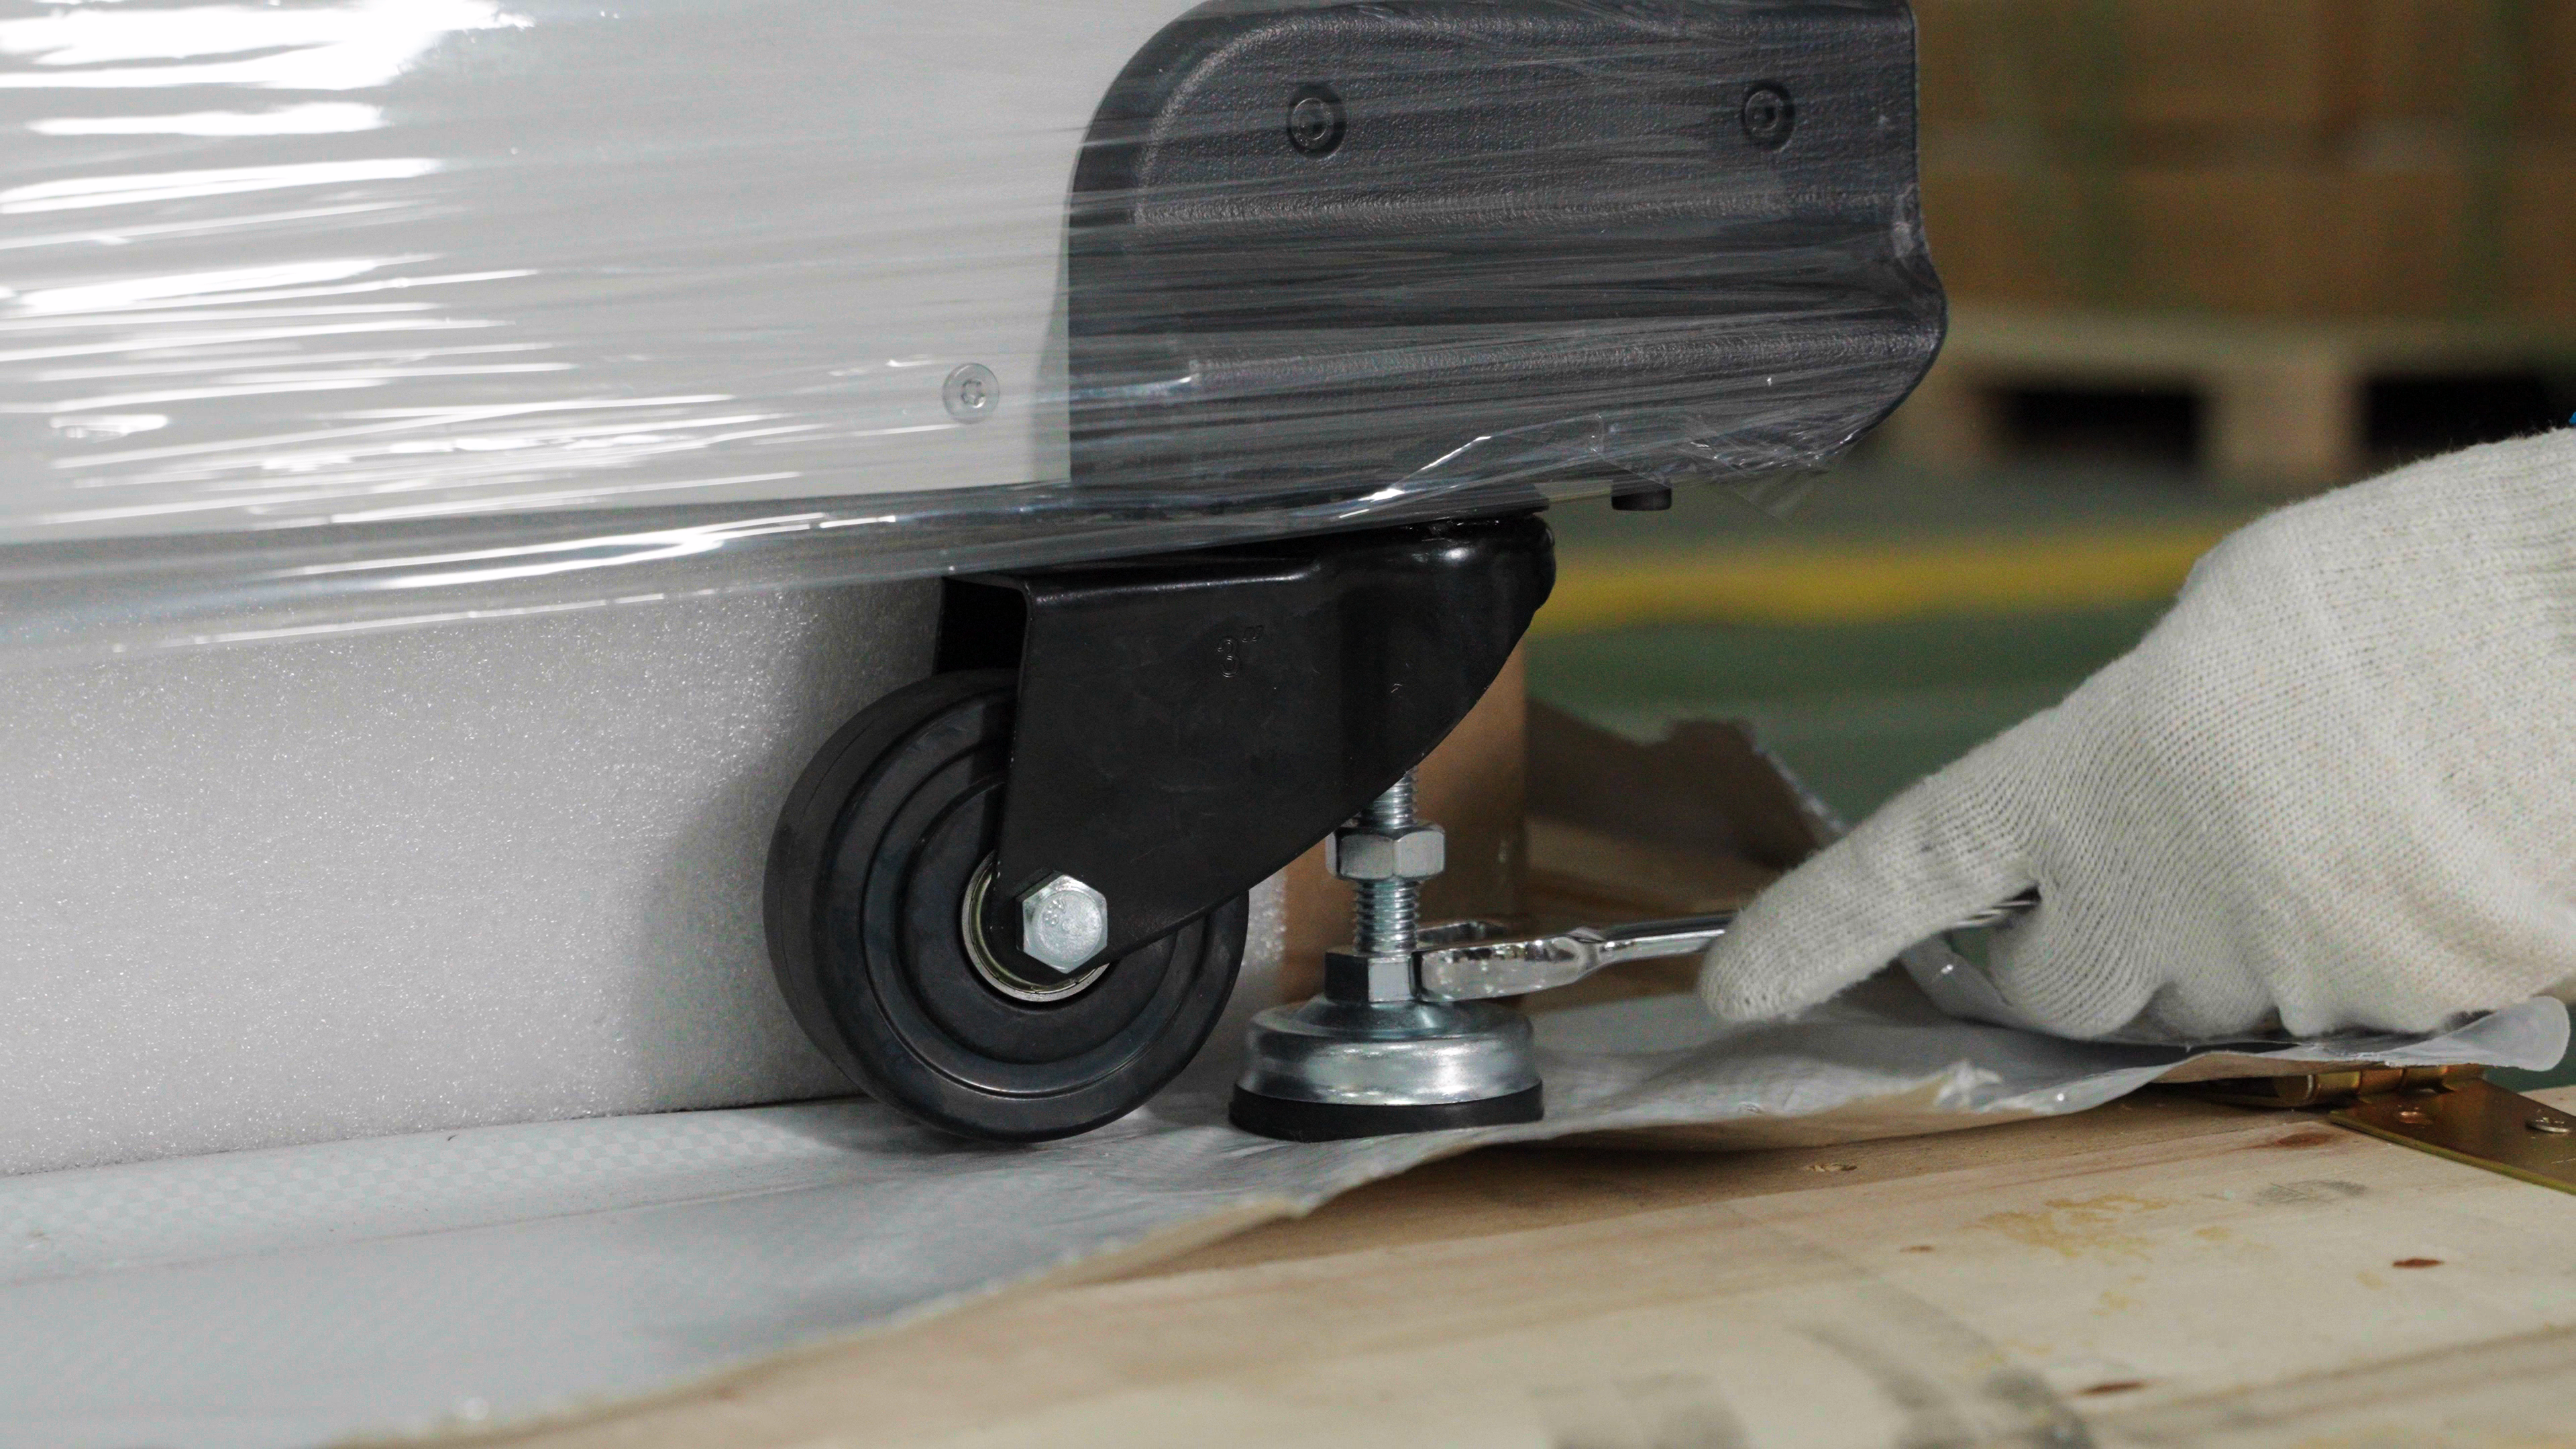
Note: Two people are needed to raise the feet diagonally to prevent the C220-P Cleaning Station from tipping over and causing personal injury.
-
Use scissors to remove the protective film covering the C220-P Cleaning Station.
-
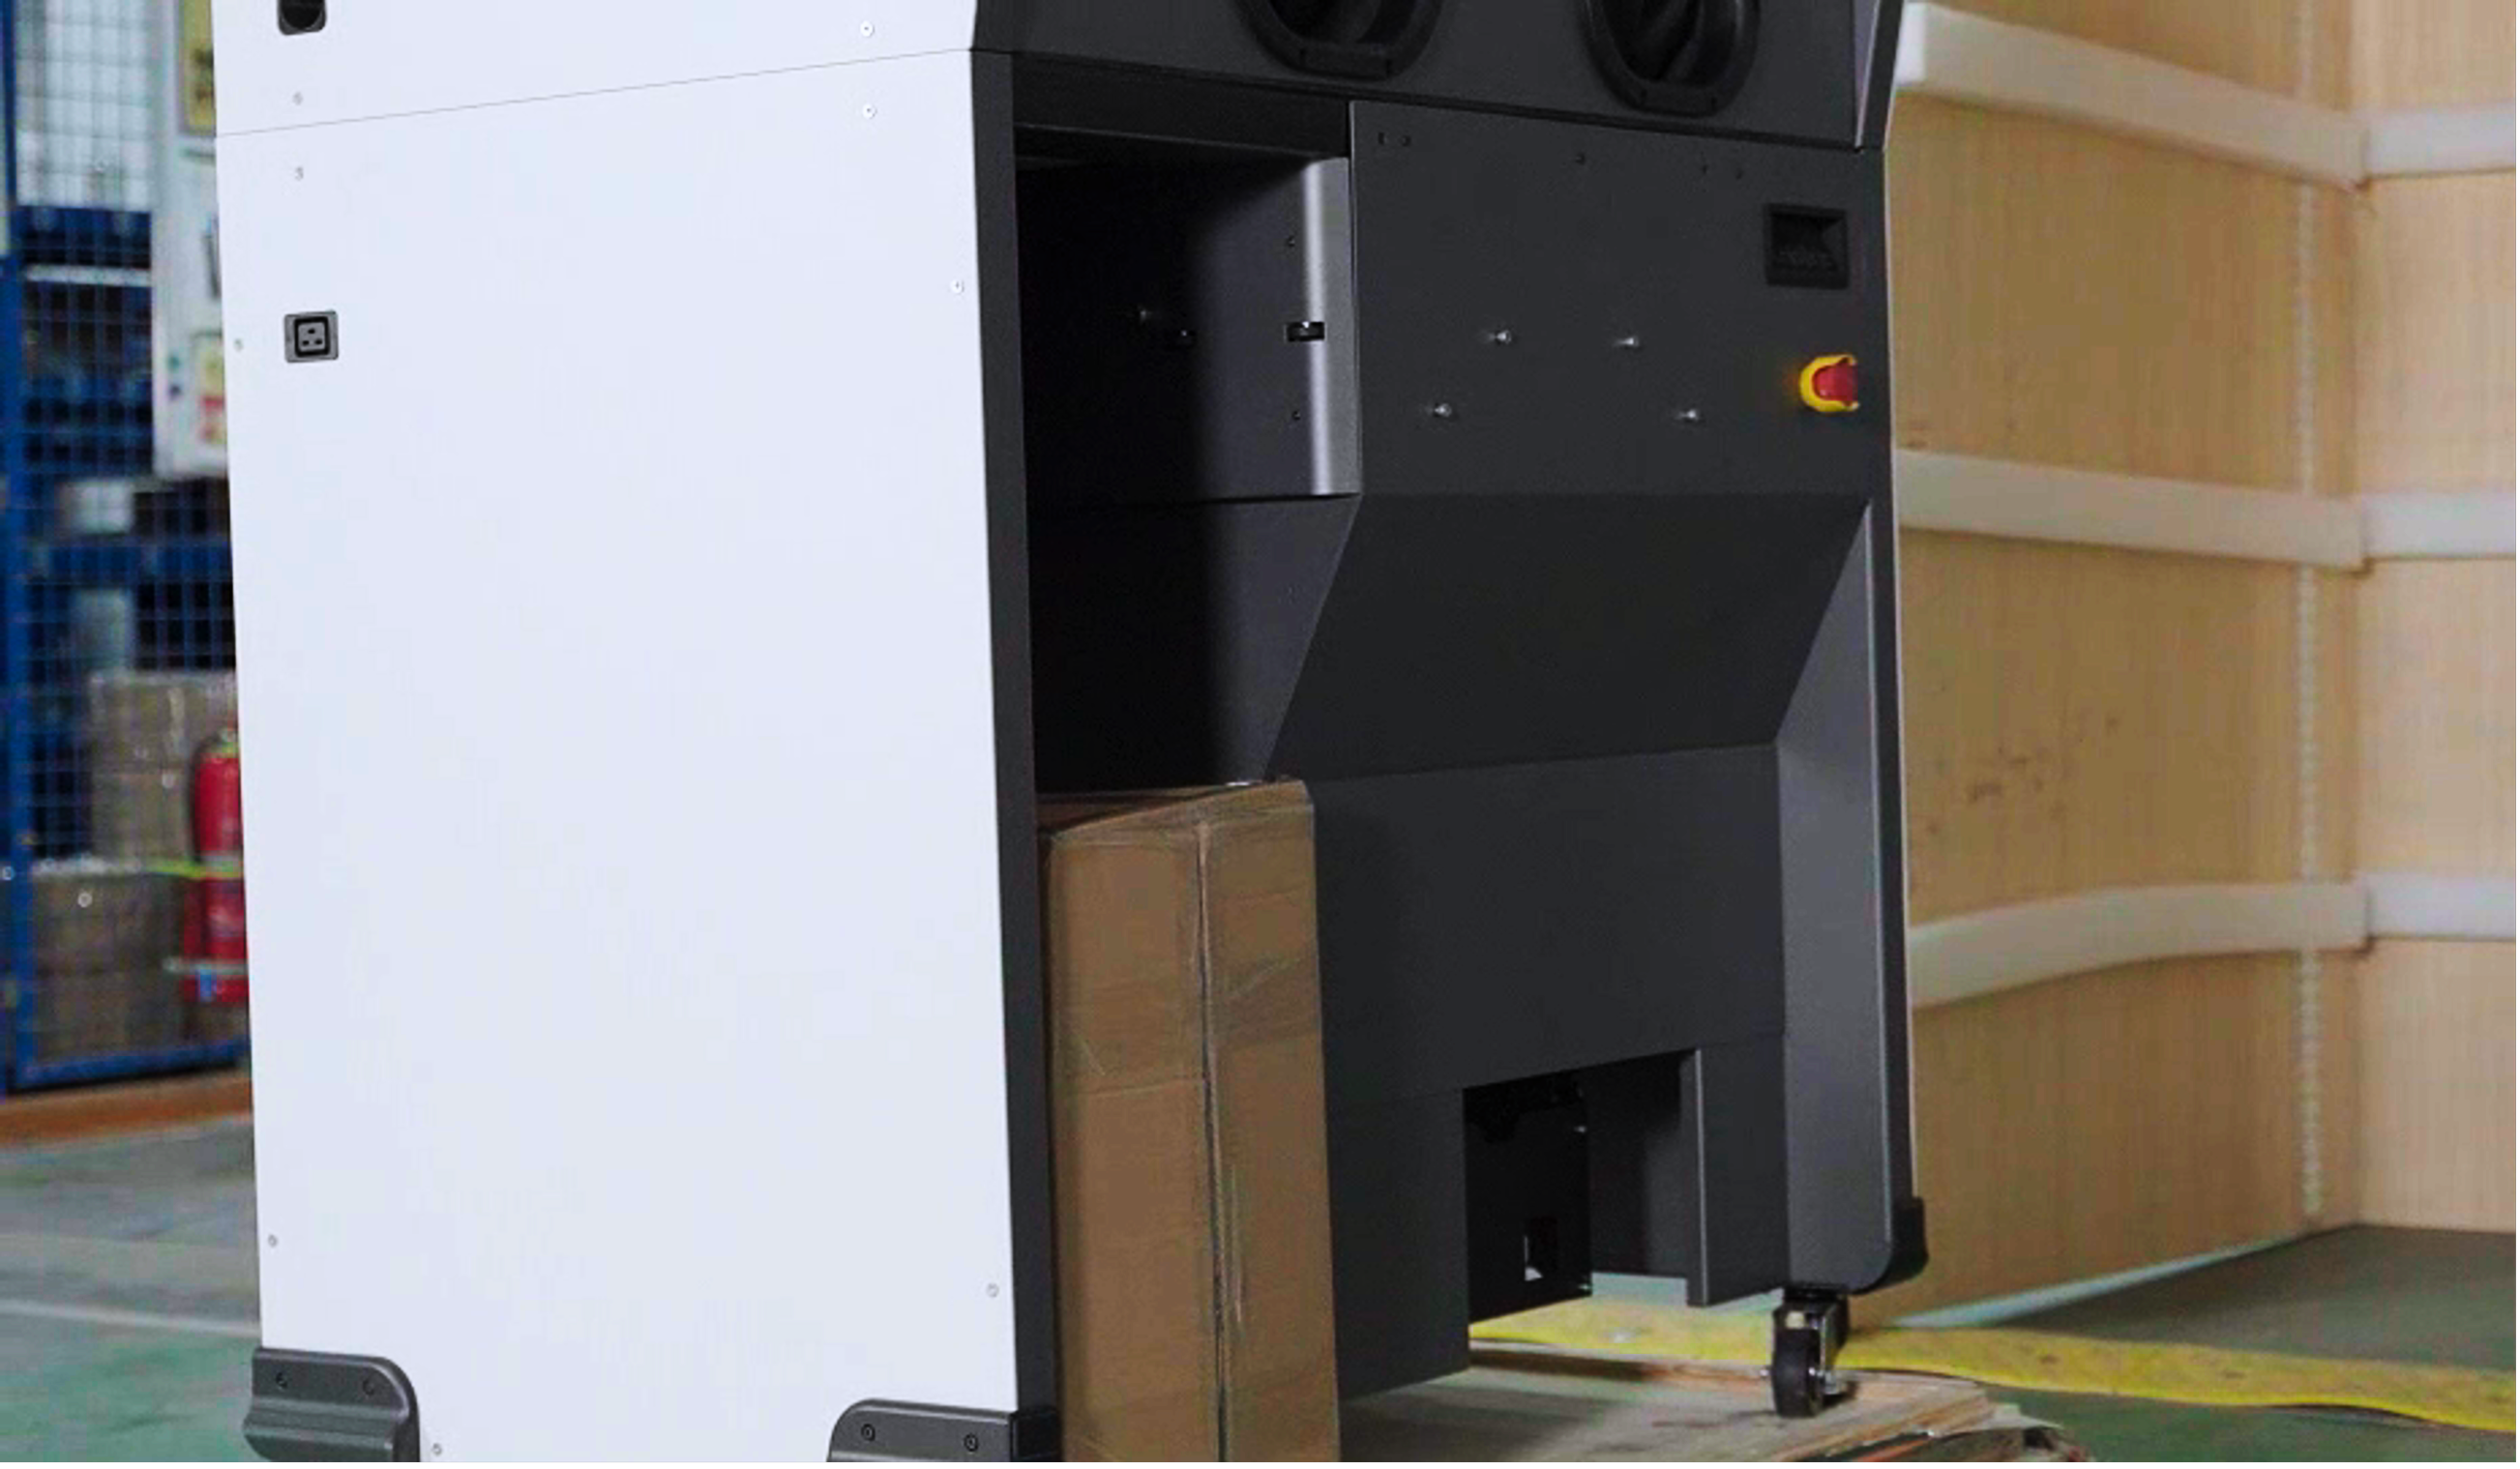
Remove the accessory box under the C220-P Cleaning Station.
-
Unlock the casters and move the C220-P Cleaning Station to an open area for subsequent installation. Be careful not to let the C220-P Cleaning Station bump against the base while moving it.
-
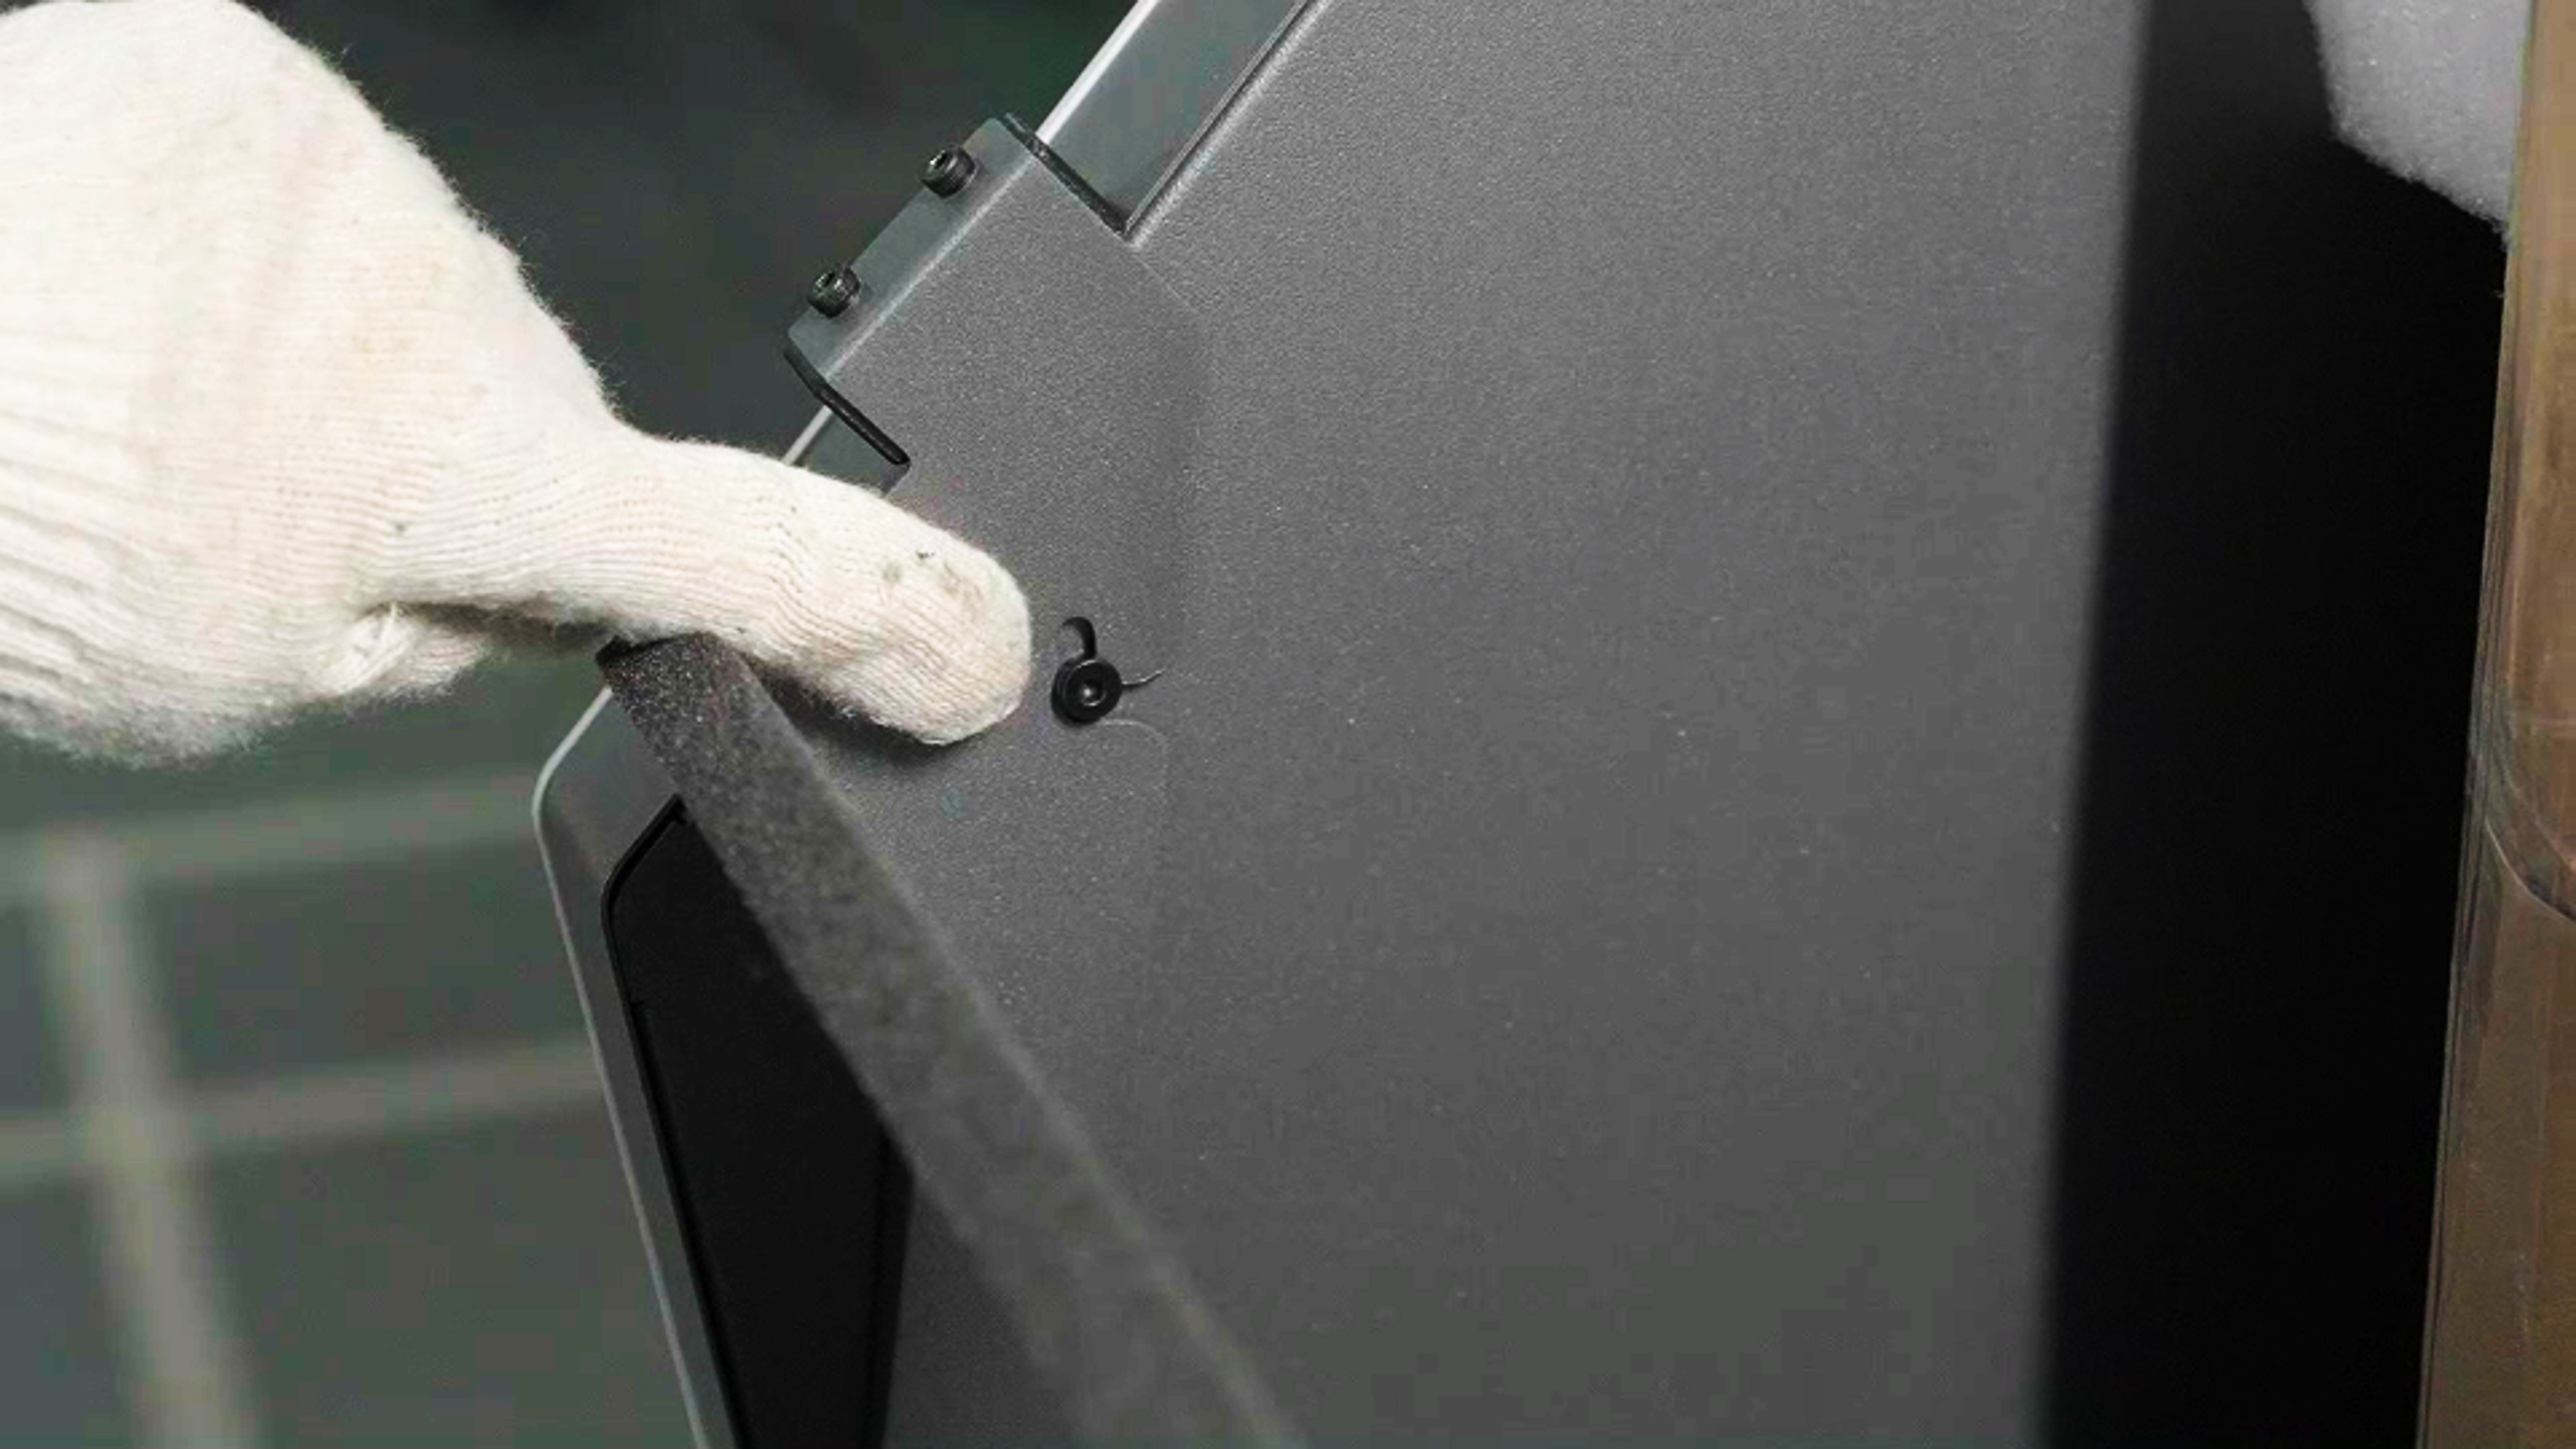
Remove the glove box baffle.
Note: The glove box baffle is stuck on the Cleaning Station. Pay attention to the position of the slot when removing it.
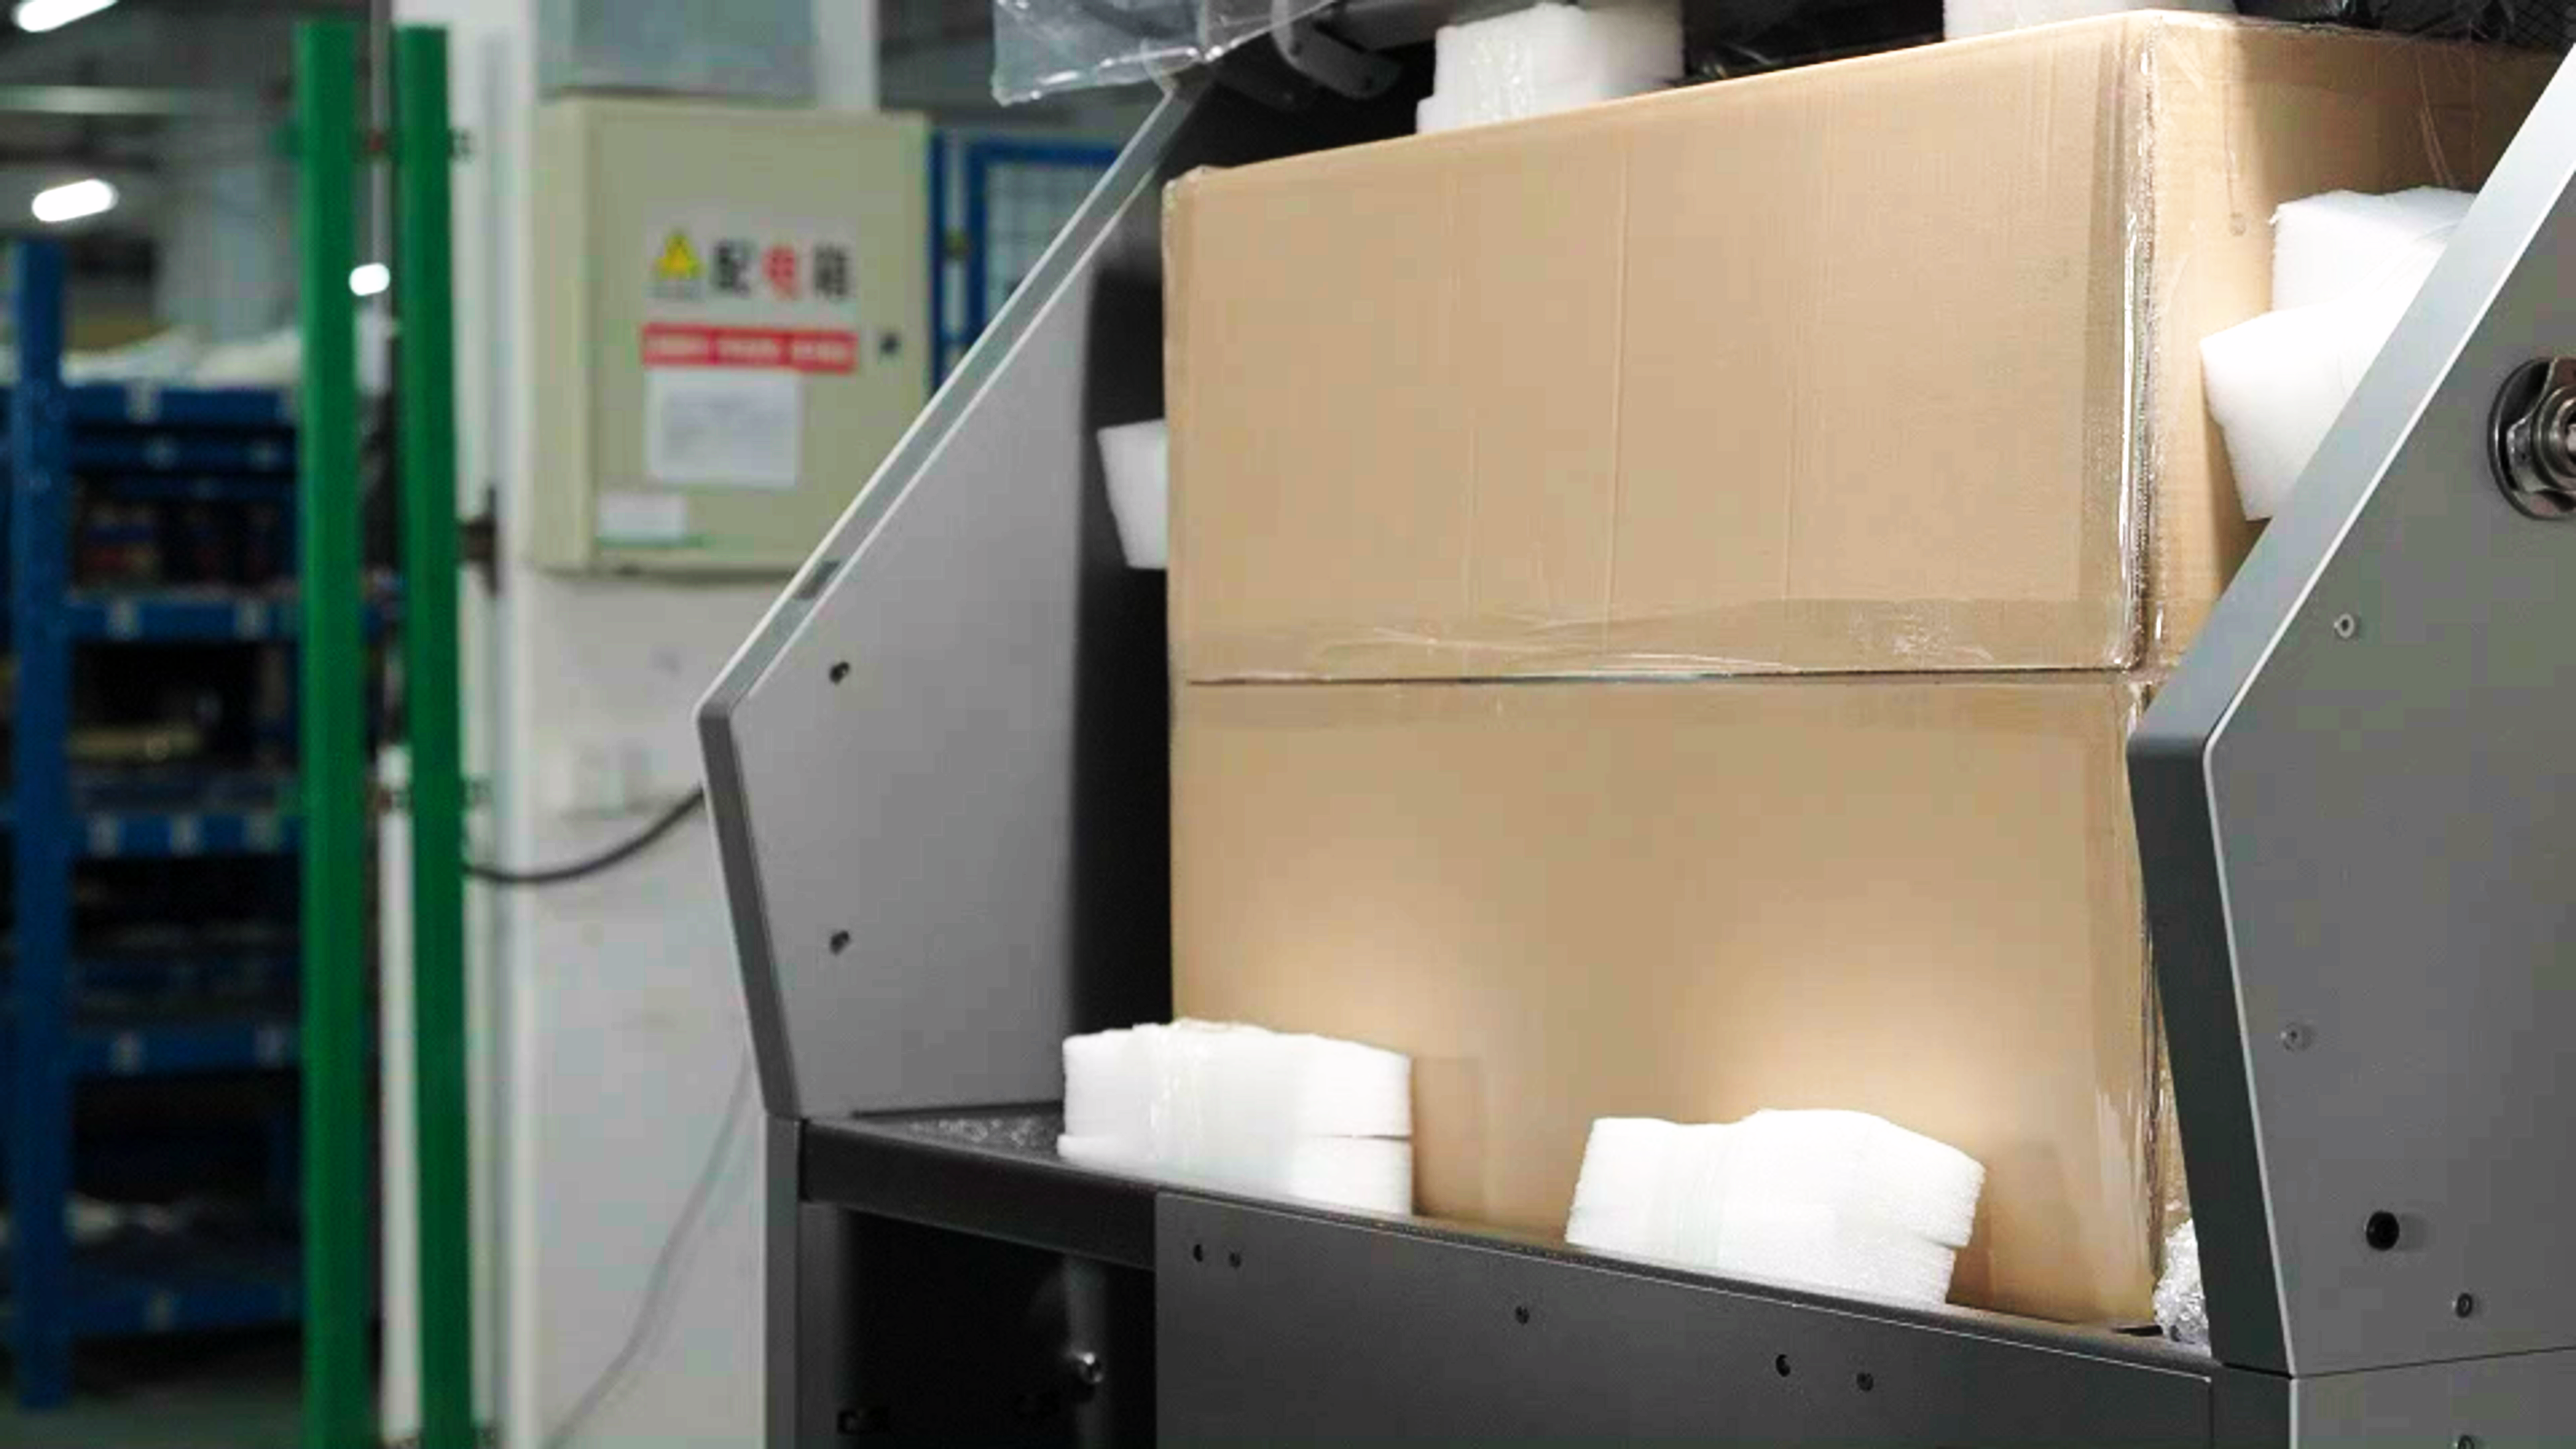
- Remove all the accessory boxes from the Cleaning Station.
Note: When handling foam, be careful not to let foam fragments fall into the sieving machine.