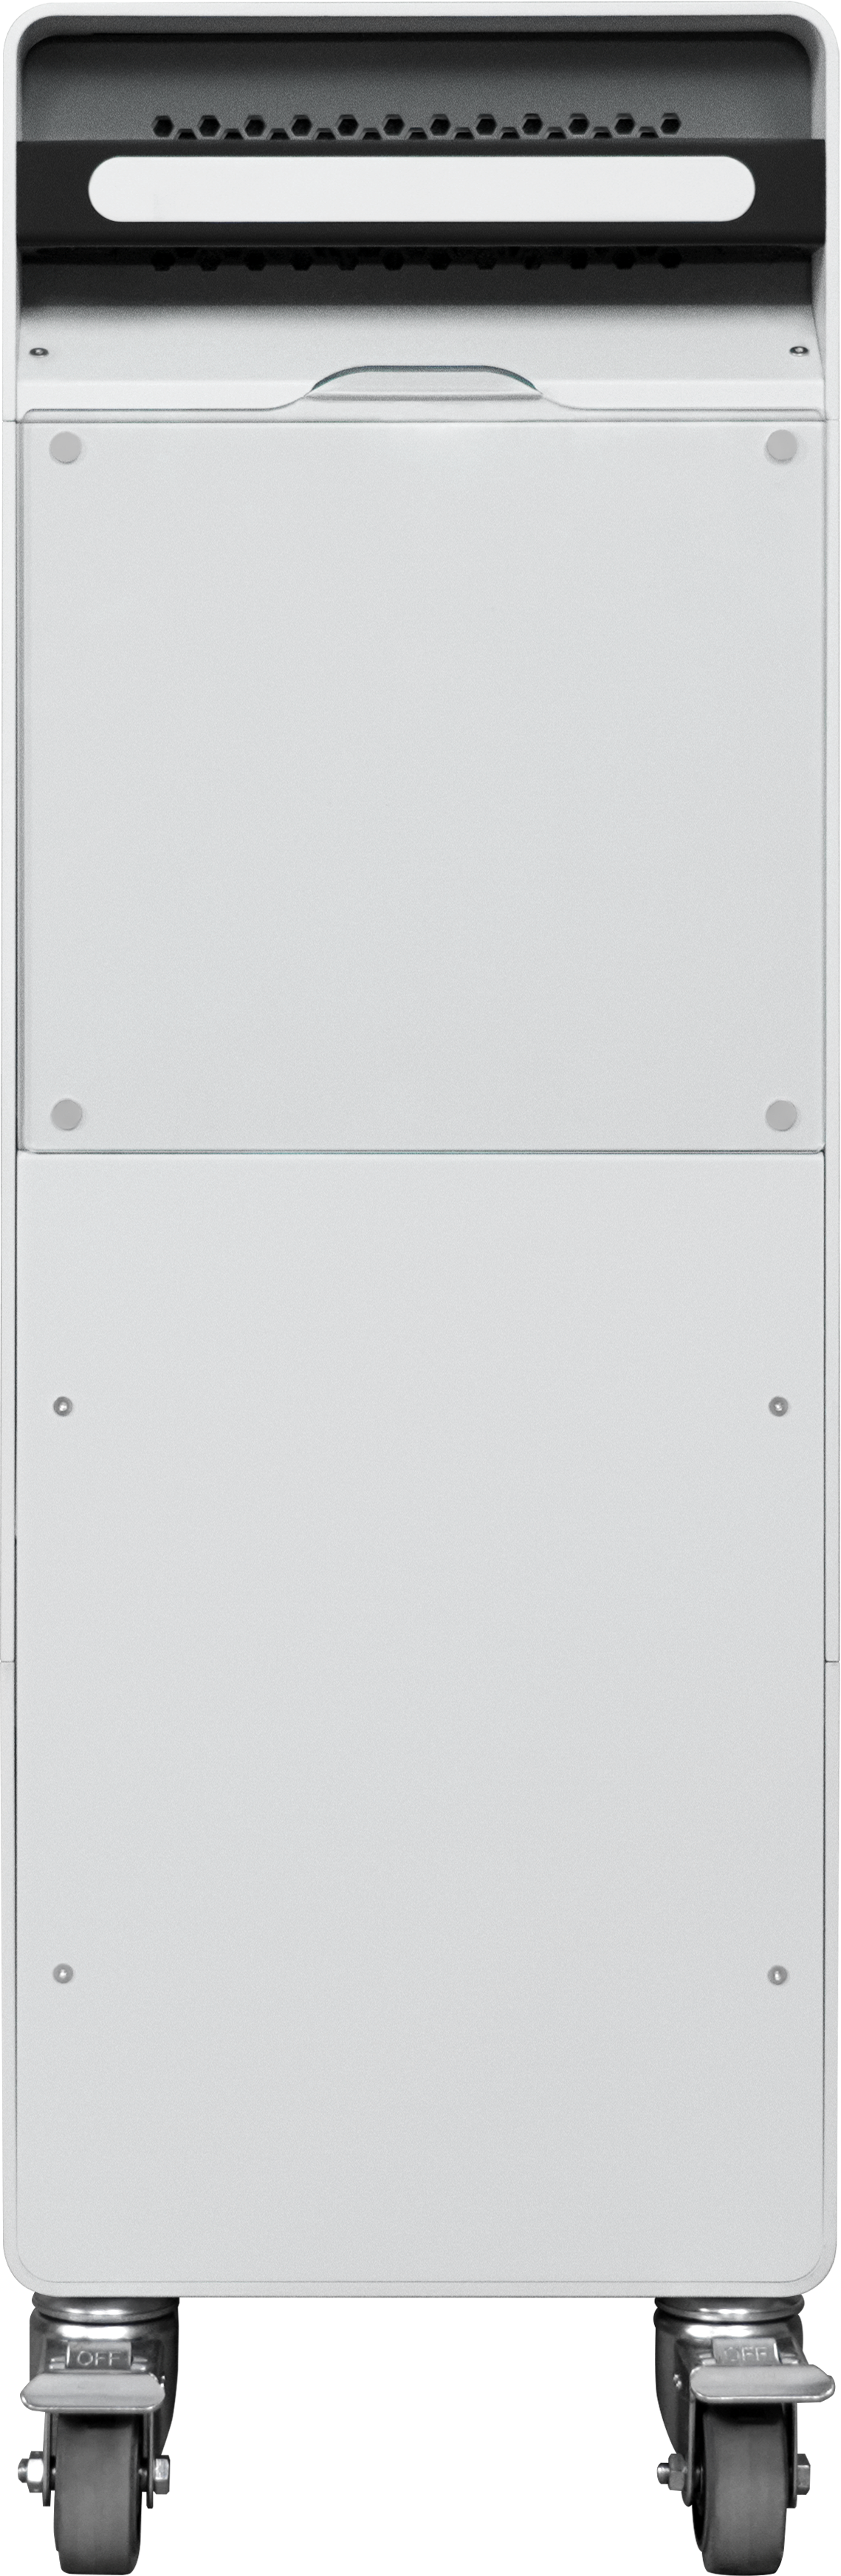
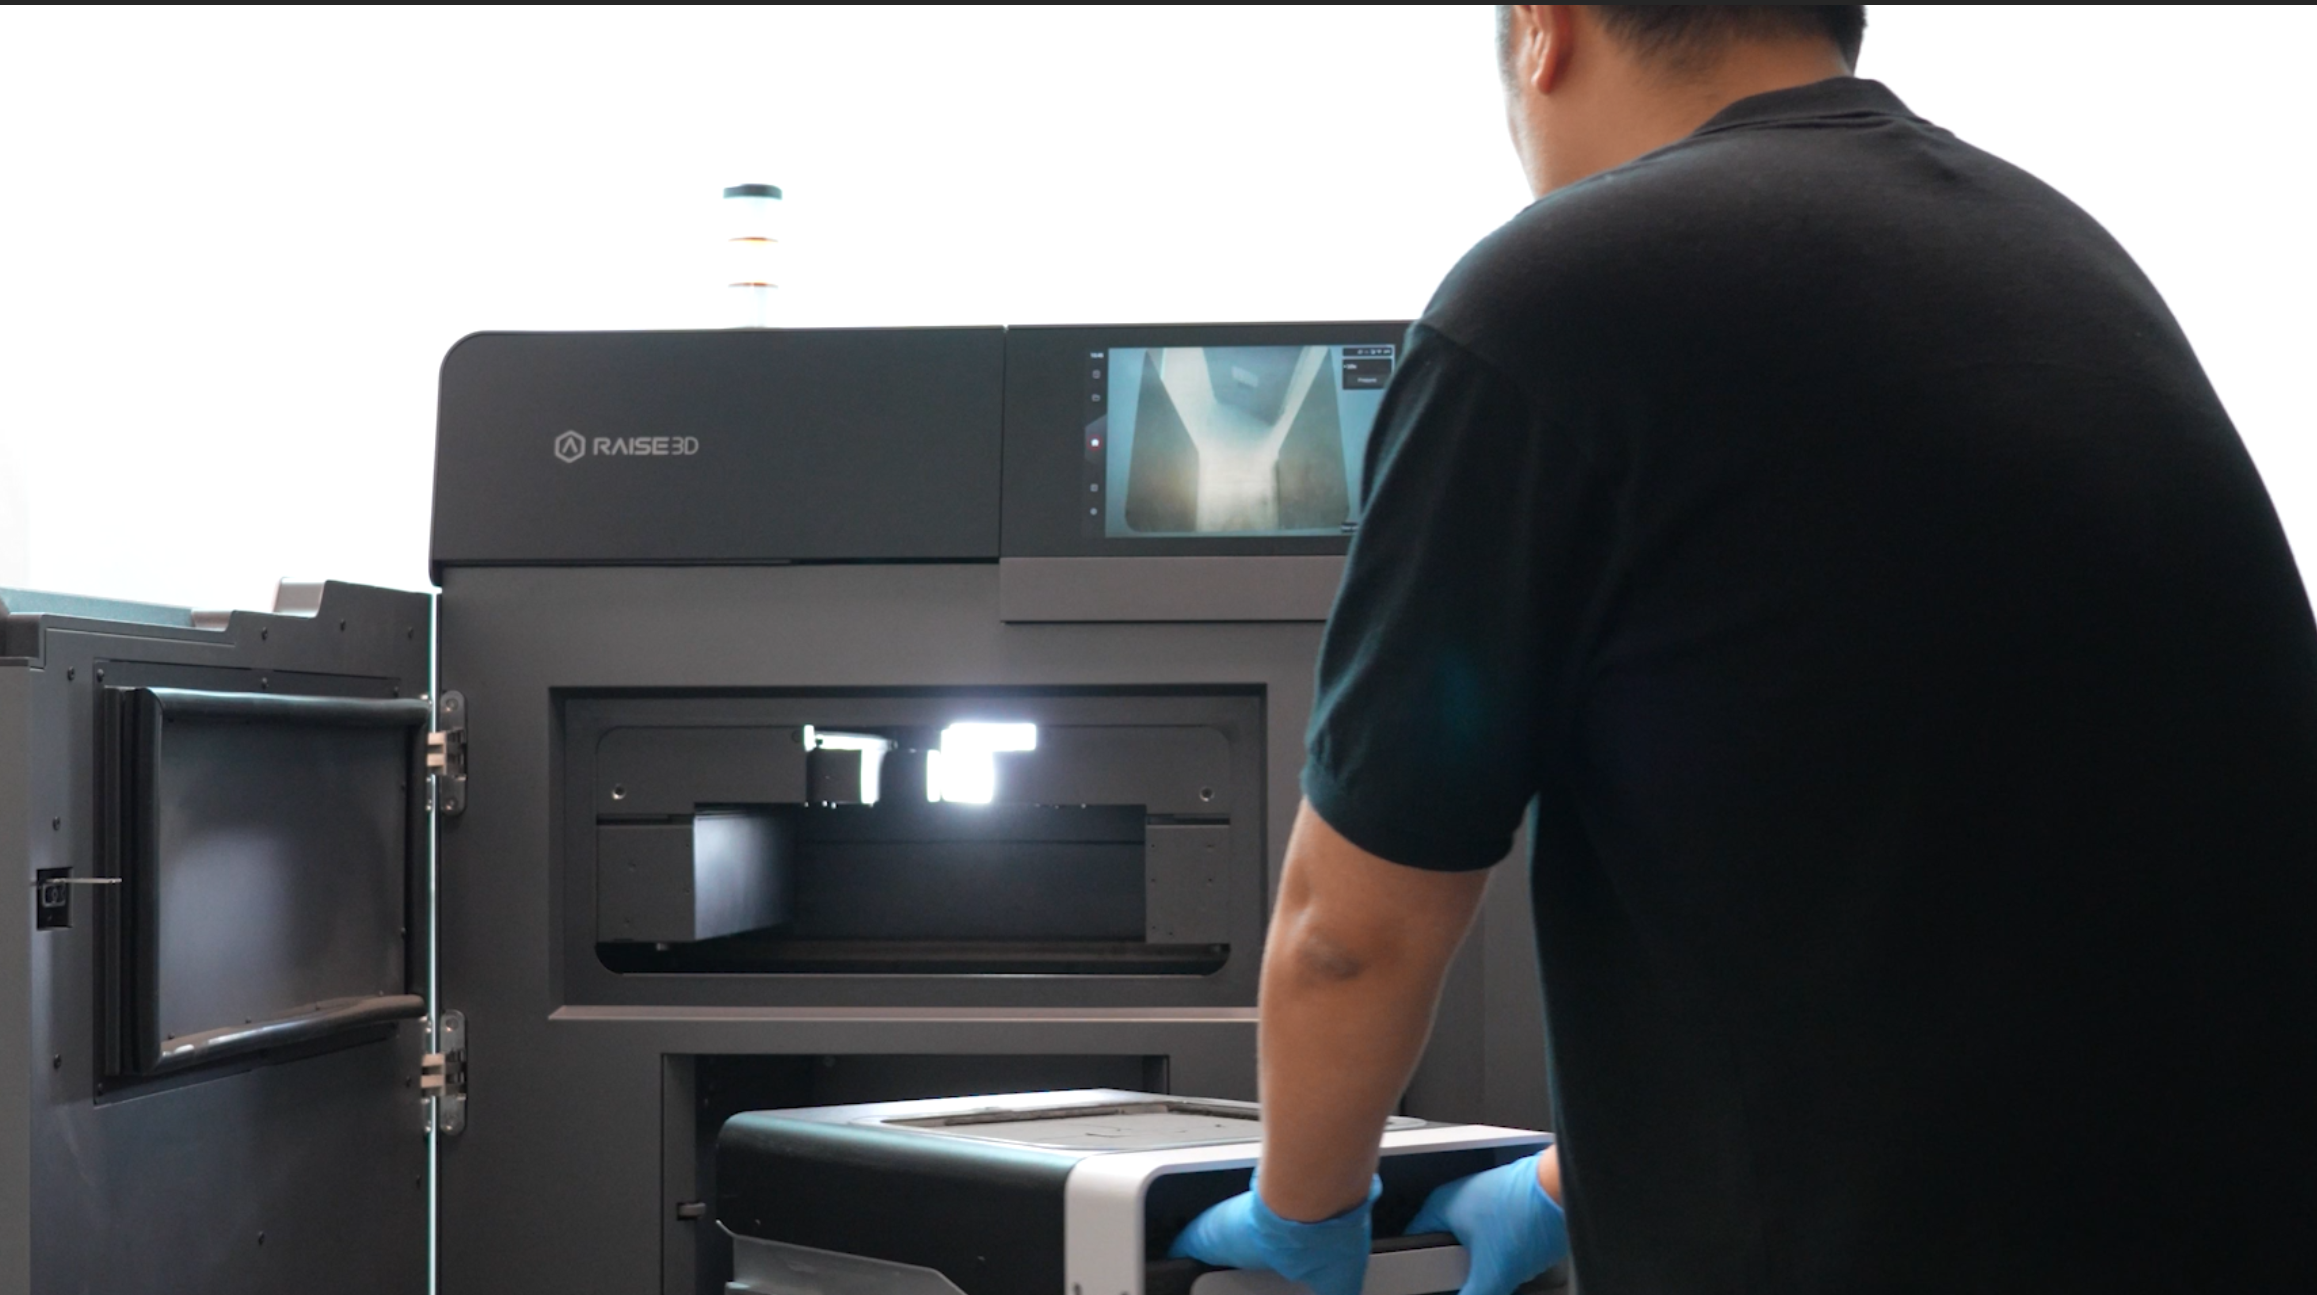
The Raise3D C220-P Cleaning Station is a compatible Cleaning Station for the RMS220 printer. After the model is printed on Build Unit 220 in the RMS220, you can directly push the Build Unit 220 into the C220-P for unpacking and post-processing operations.
-
We recommend using multiple Build Unit 220. This allows you to start the next round of prints while waiting for the Build Unit 220s to cool down, enabling seamless 24/7 production.
-
We recommend that you connect the Build Unit 220 to a power source. When plugged in, the Build Unit 220 will activate its fan function to accelerate cooling.
Note:
- The internal temperature of the RMS220 printer is very high during printing. Do not perform any operations until the Build Unit 220 temperature has cooled to 100°C.
- When removing a Build Unit 220 that has not fully cooled, use the provided heat-resistant silicone gloves. Failure to follow these procedures may result in serious injury, including skin burns and/or scalds.
- Removing the part from the printer before it has fully cooled may cause warping and deformation.
-
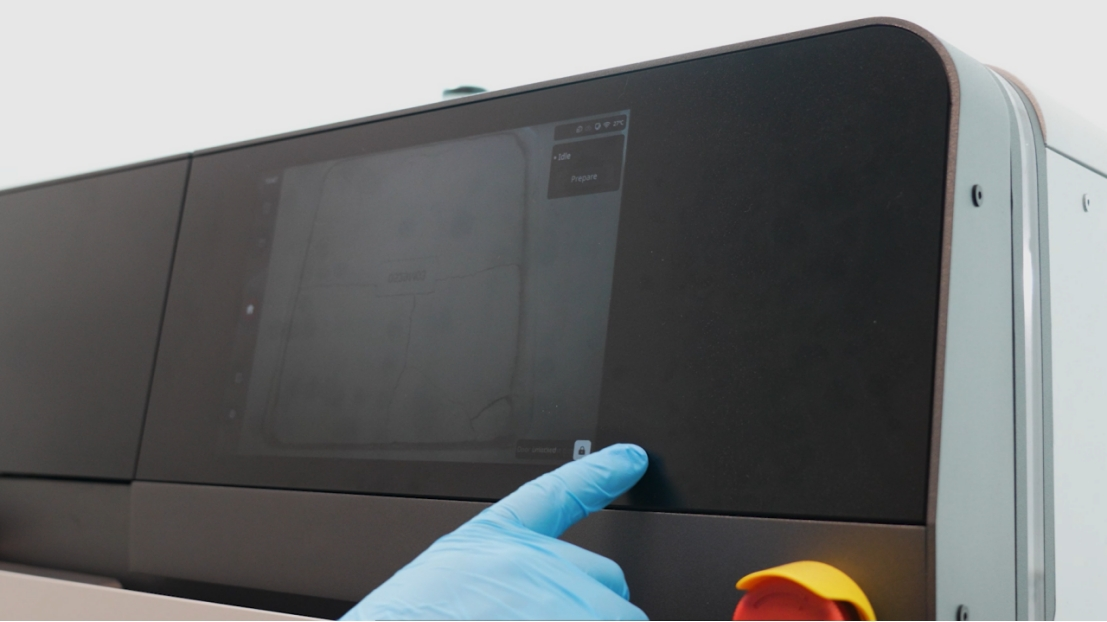
When the powder surface temperature is below 100°C, slide to unlock the device door in the lower right corner of the main touch screen interface.
-
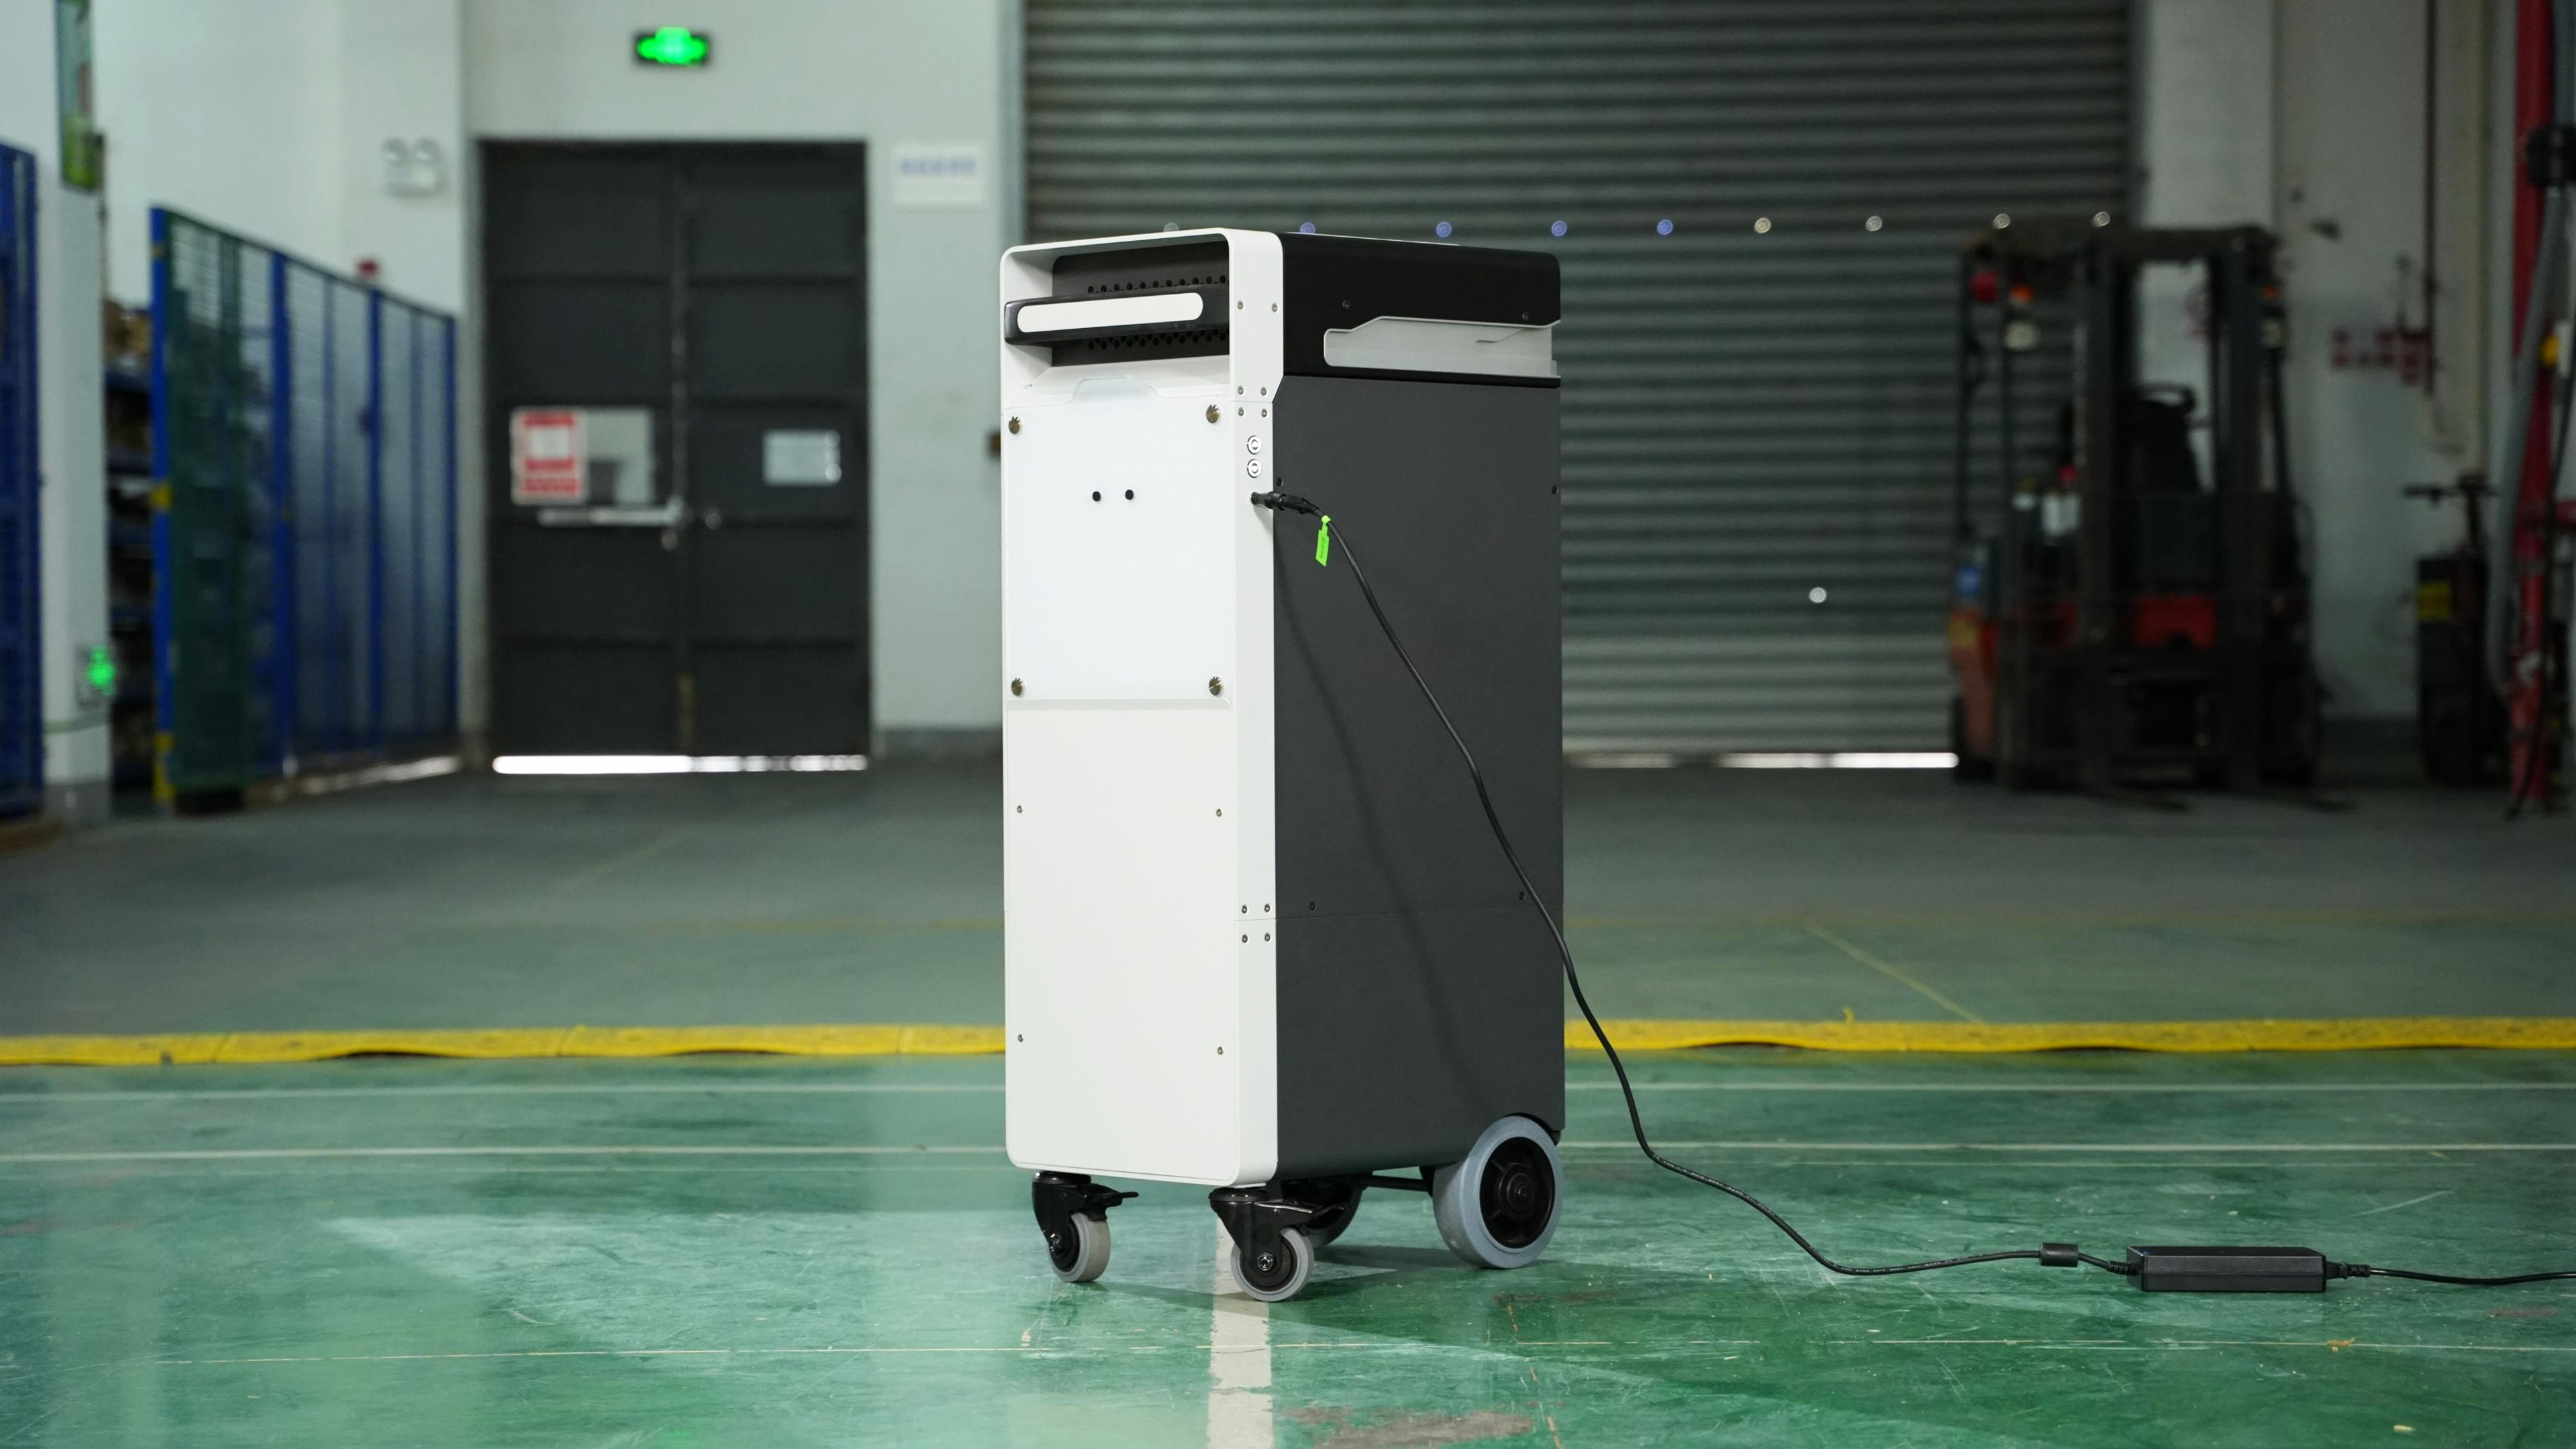
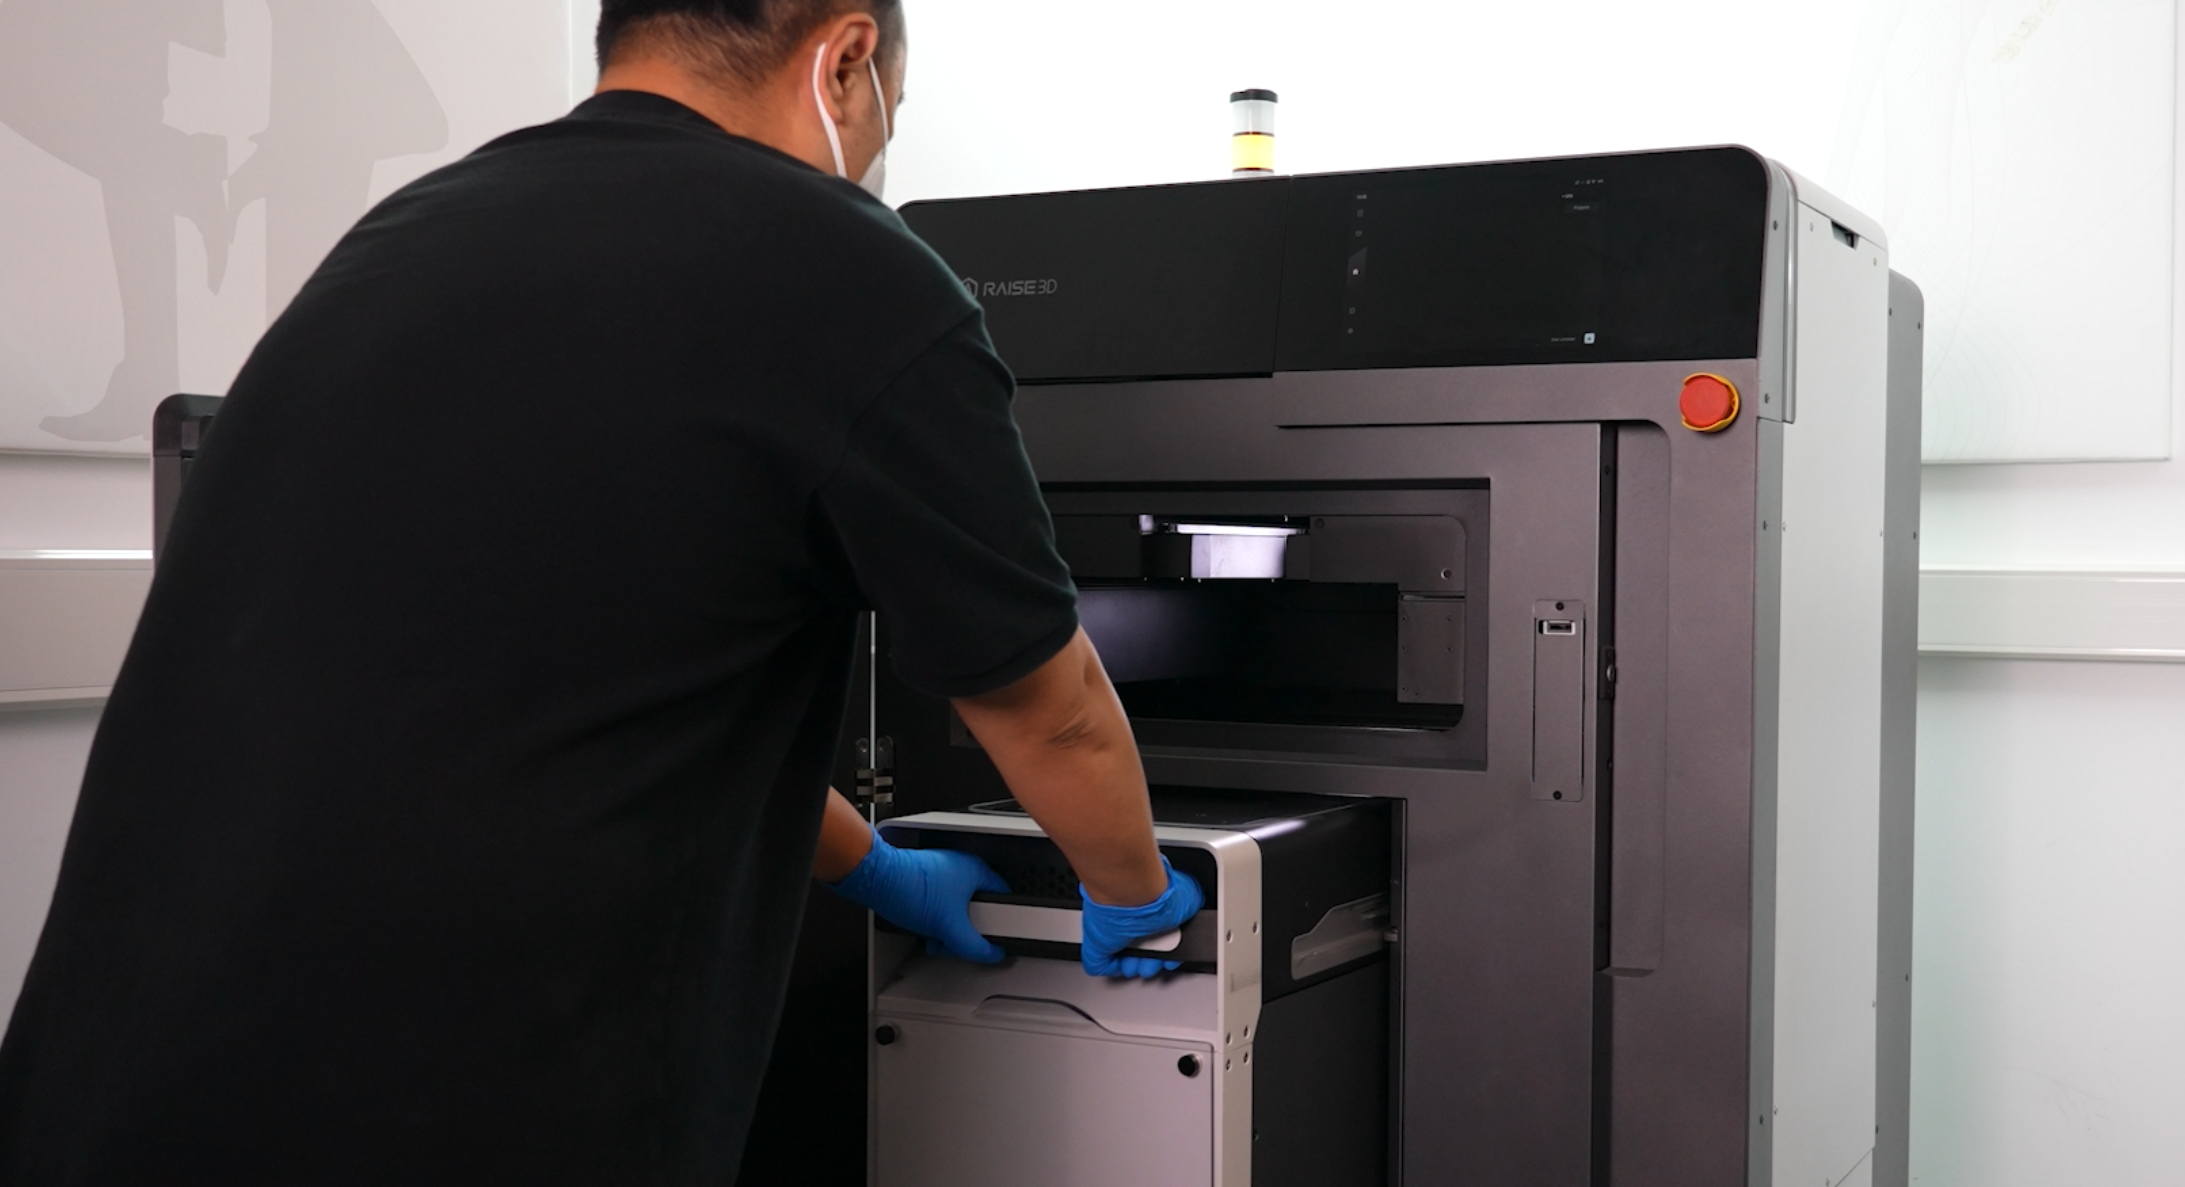
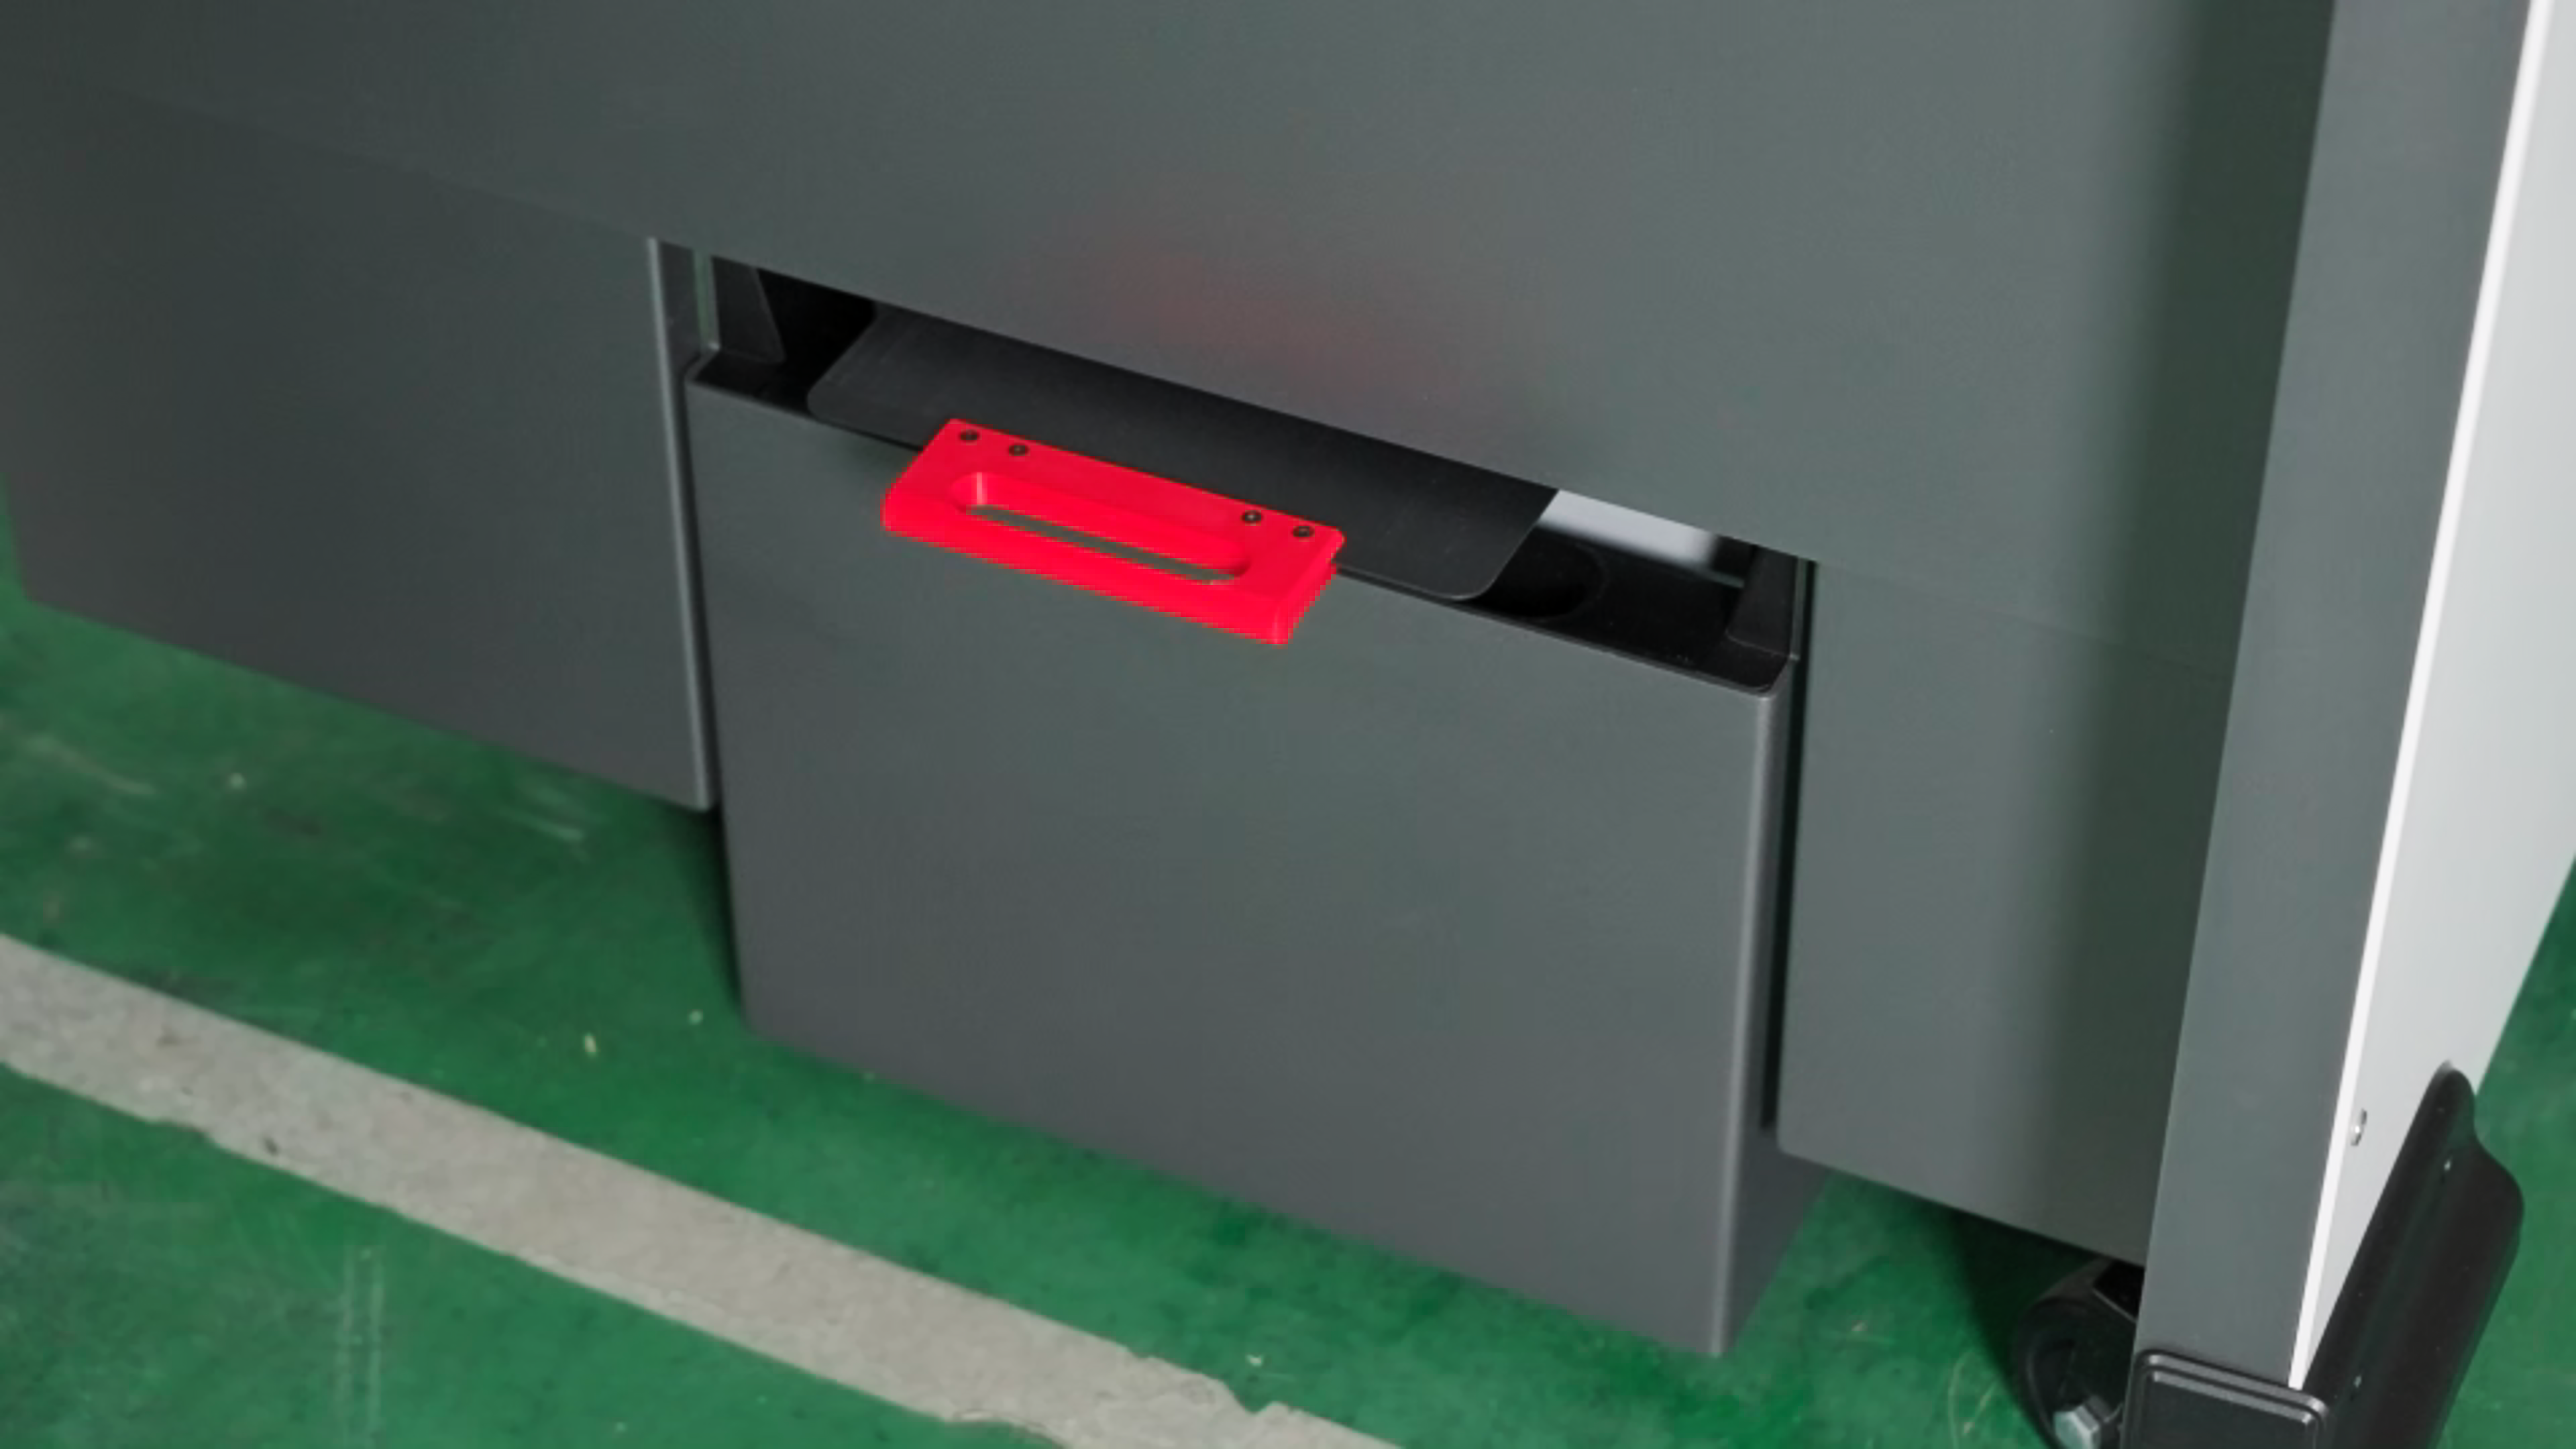
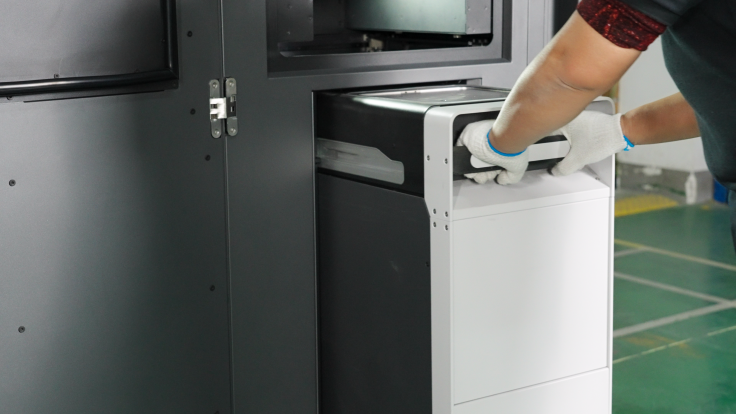
Open the front door of the equipment, put on heat-resistant gloves, and pull the Build Unit 220 out of the equipment.
-
We recommend using multiple Build Unit 220s, which allows you to start the next set of prints while waiting for the Build Unit 220 to cool down, enabling 24/7 seamless production.
-
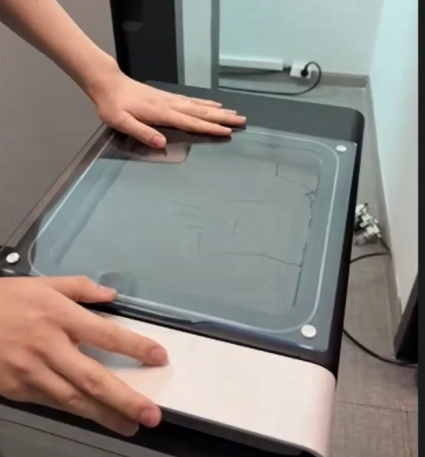
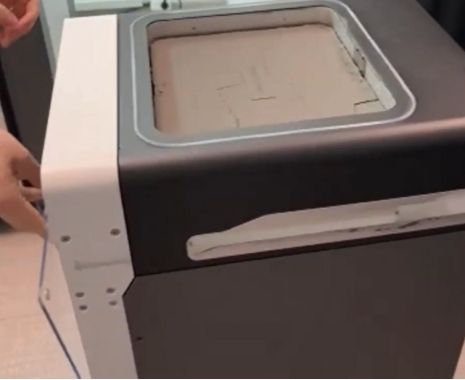
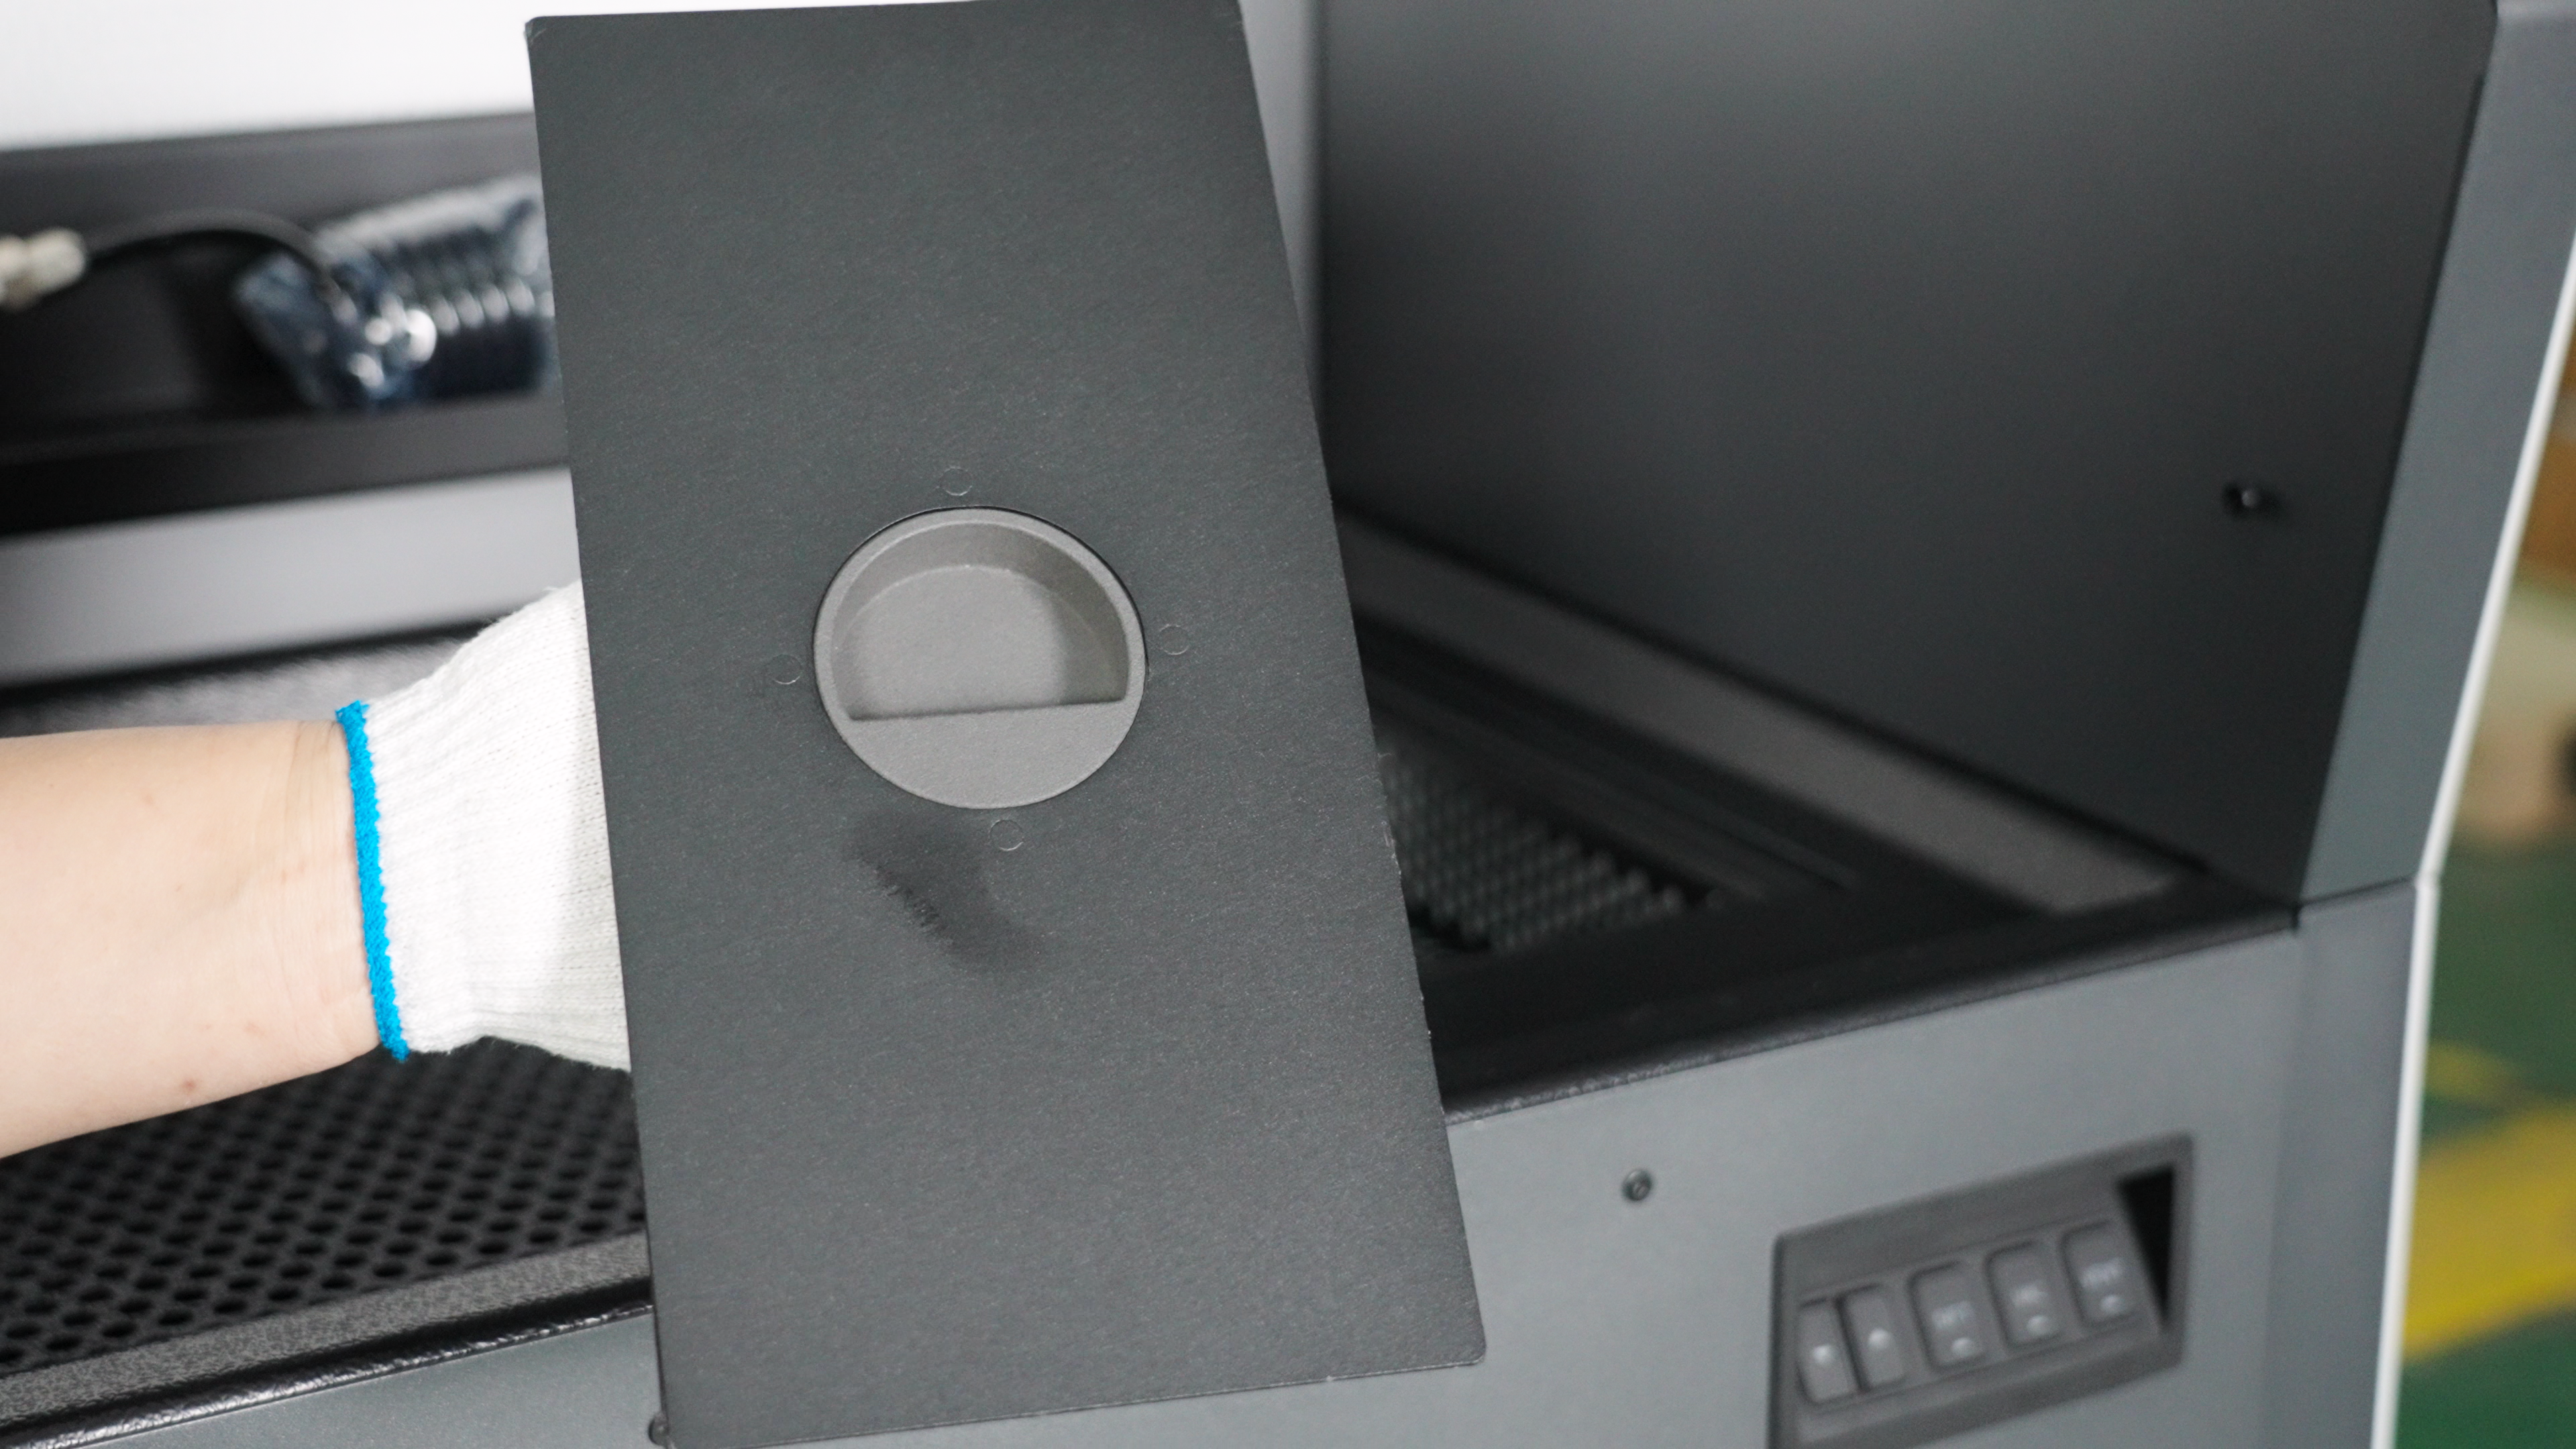
After the cooling is complete, remove the transparent cover plate on the top of the Build Unit 220 and attach the transparent cover to the magnet on the right side of the Build Unit 220.
Note: We recommend that you connect the Build Unit 220 to a power source. When plugged in, the Build Unit 220 will activate its fan function to accelerate cooling.
- Allow the Build Unit 220 to cool completely outside the equipment until it is below the glass transition temperature of the printed material.
Note:
Depending on the material, you may need to allow it to cool for at least 6-16 hours before proceeding to the next step.
The C220-P toner cleaning station has a built-in temperature sensor. During the cooling process, you can open the transparent cover and push the Build Unit 220 into the C220-P toner cleaning station to check the temperature.
-
After cooling is complete, remove the transparent cover from the top of the Build Unit 220 and attach the transparent cover to the magnetic attachment point on the right side.
-
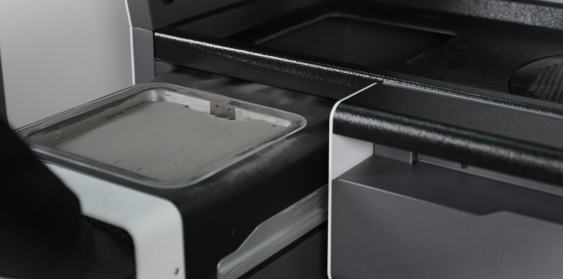
Push the Build Unit 220 into the Raise3D C220-P cleaning station.
¶ Powder Recovery and Model Cleaning
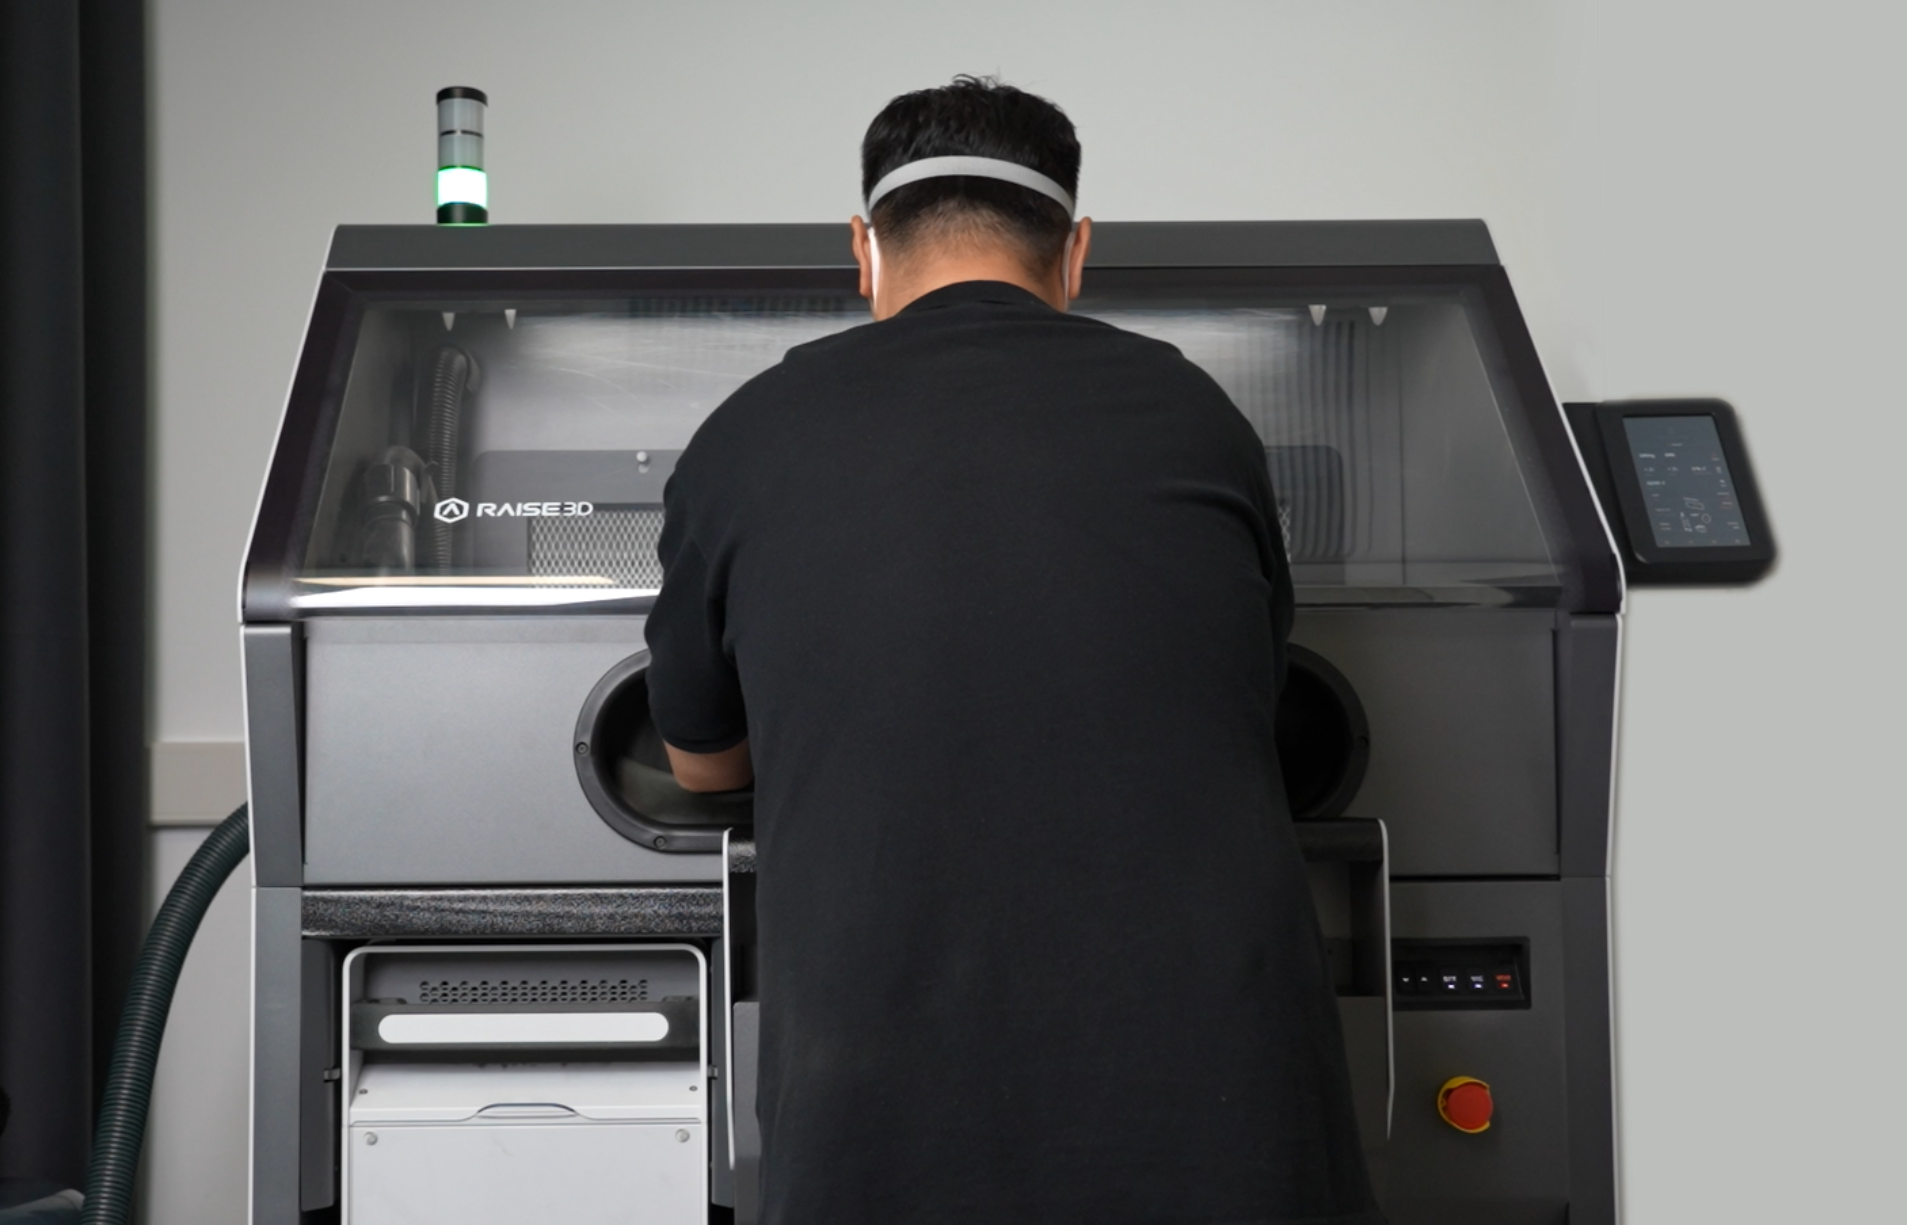
The Raise3D C220-P cleaning station is a post-processing all-in-one machine for the RMS220 SLS printer, integrating core functions such as powder recovery, part extraction, and powder mixing. For more information, please refer to the Raise3D C220-P user manual.
Note: The model temperature must be below 50℃, otherwise you cannot proceed to the next operation. The C220-P has a built-in temperature sensor and the temperature will be indicated on the screen.
-
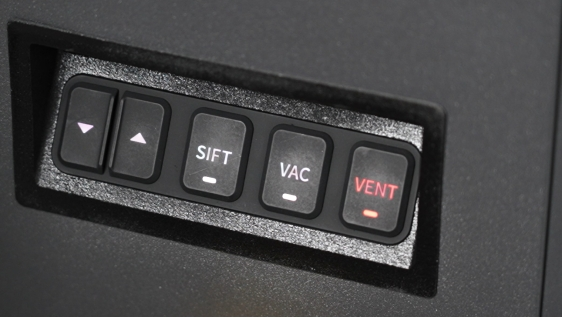
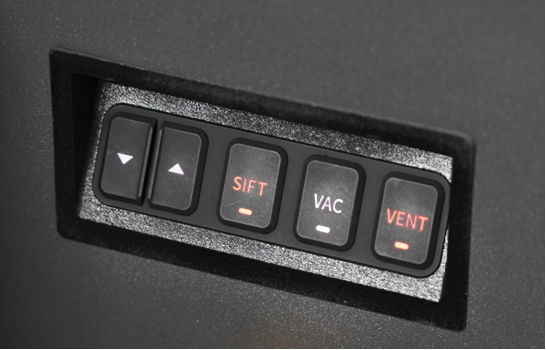
Press the "VENT" button on the front right side of the operation panel to open the ventilation and lighting of the equipment operation platform.
-
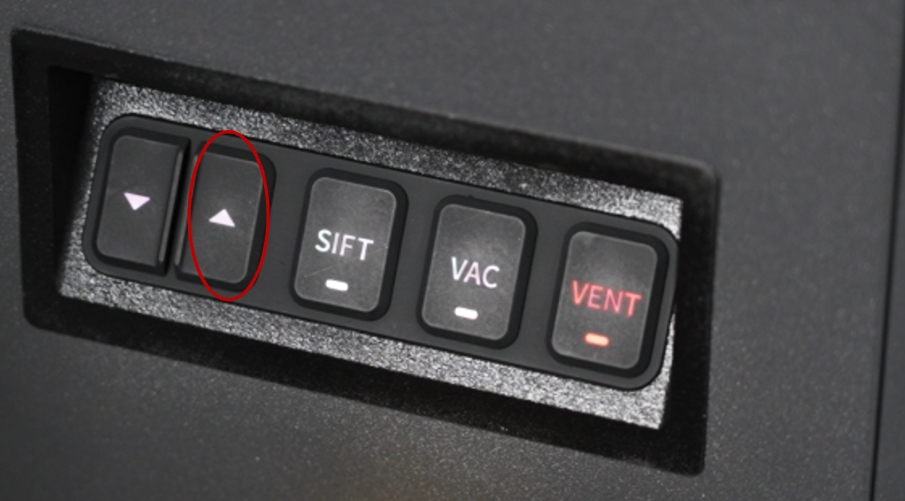
Press the up button on the control panel to lift the powder surface of the Build Unit 220 to the upper limit.
-
Wait for the surface to rise to its highest point.
-
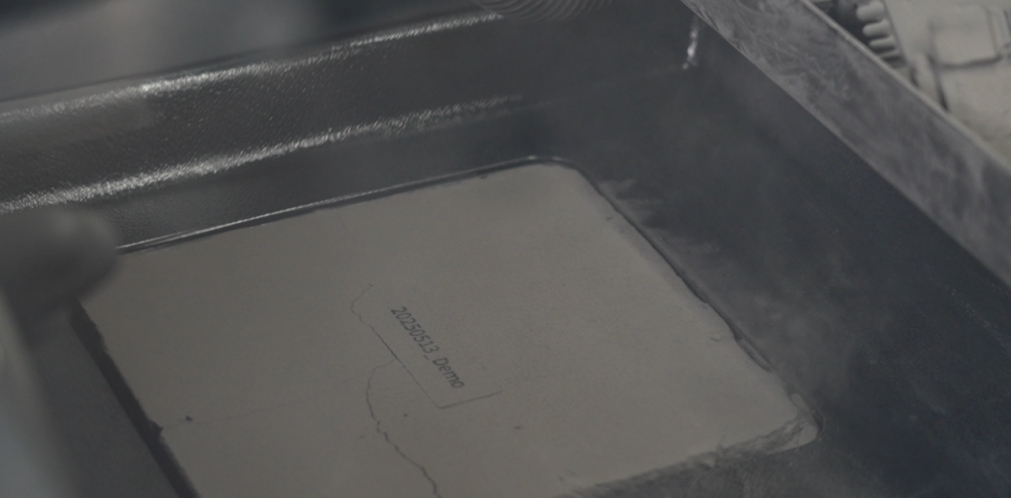
Transfer the powder pack to the the center of the operating area.

Note:
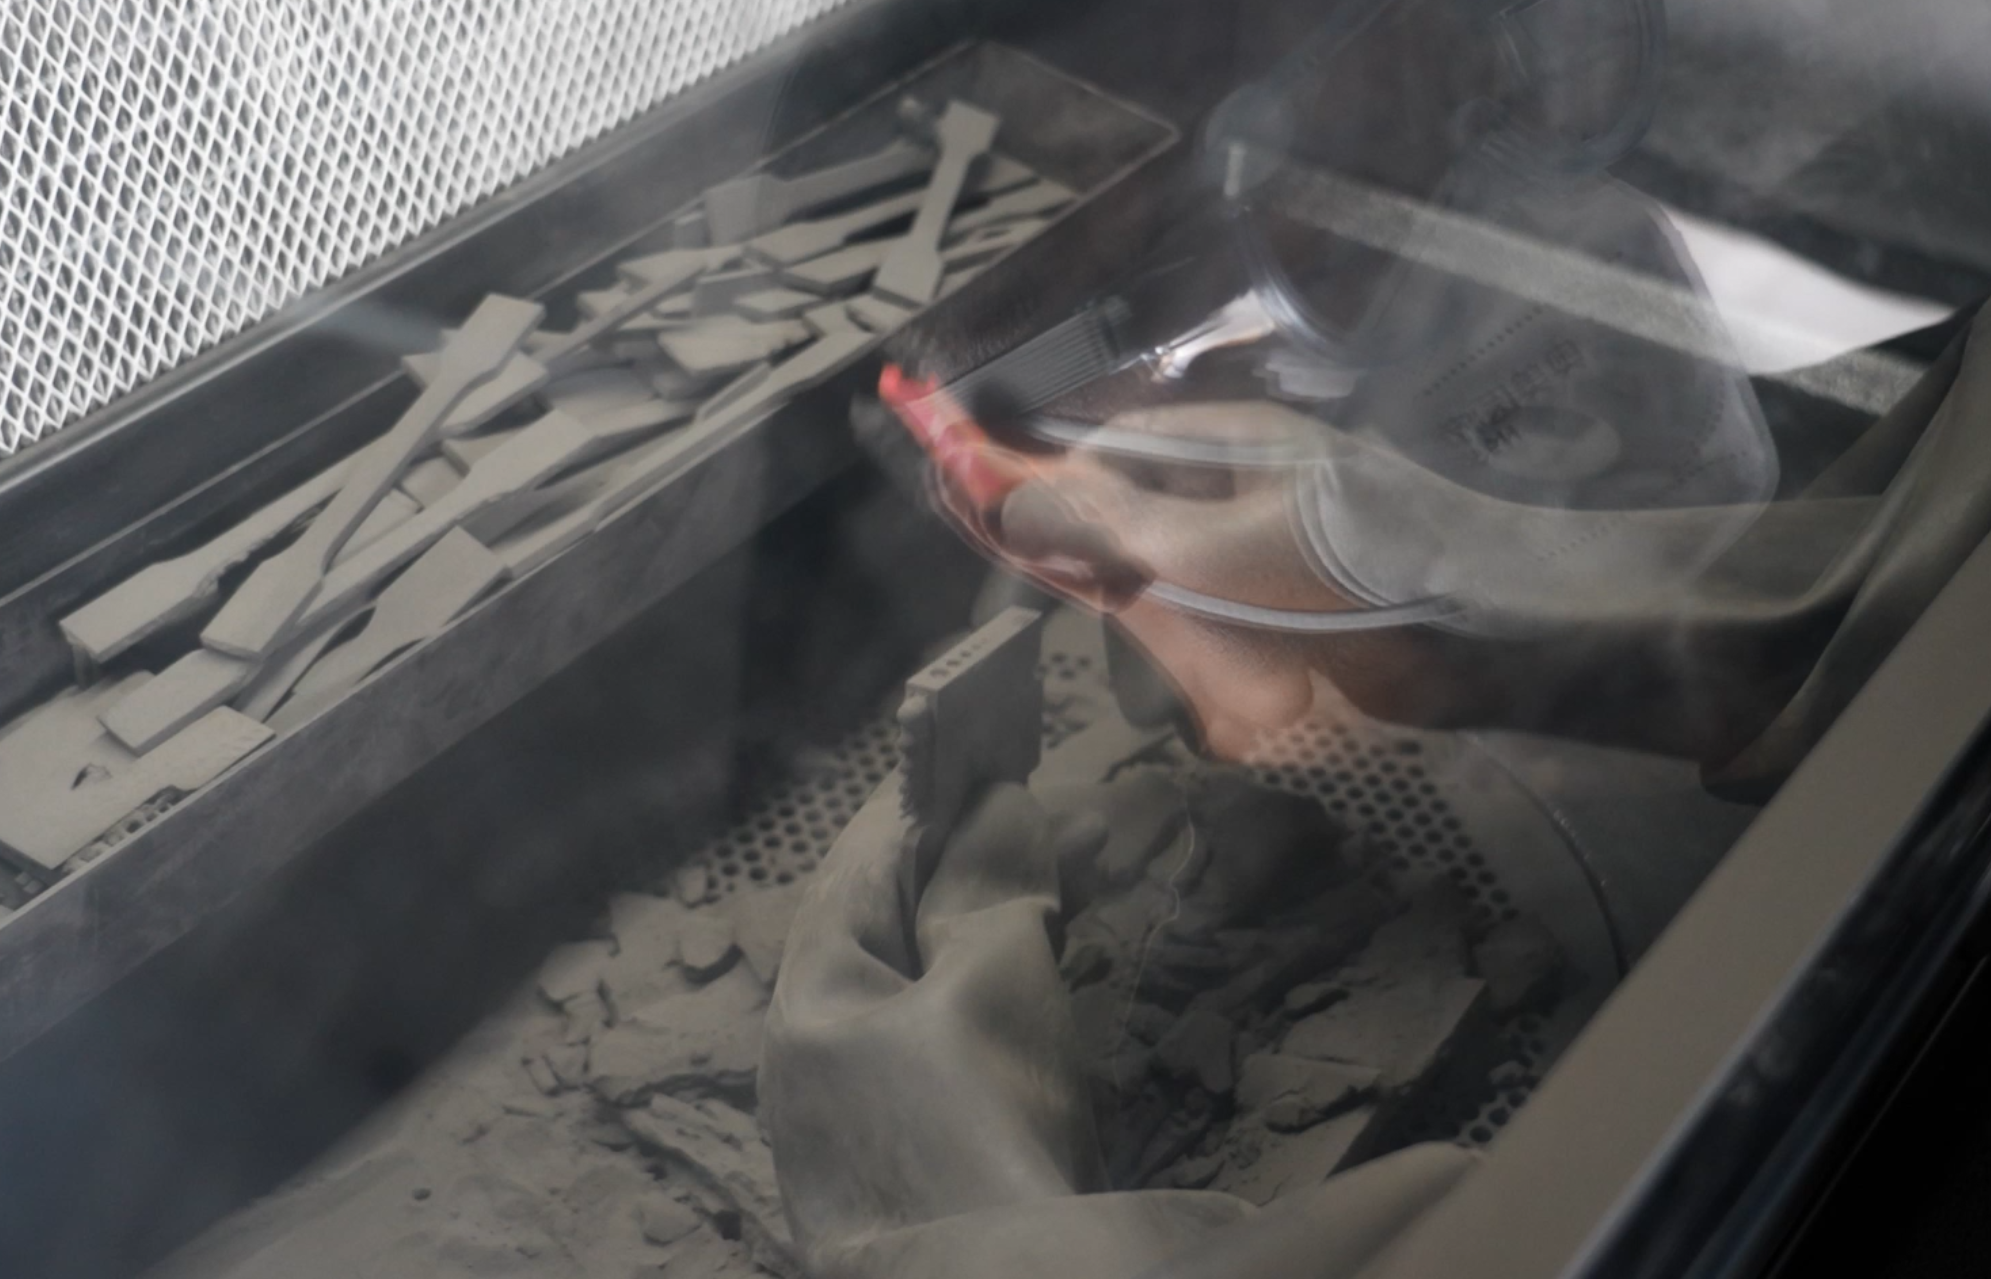
All operations involving contact with powder should be performed using the gloves provided on the equipment panel. Wear a protective mask and goggles to avoid inhaling dust and air pollution.
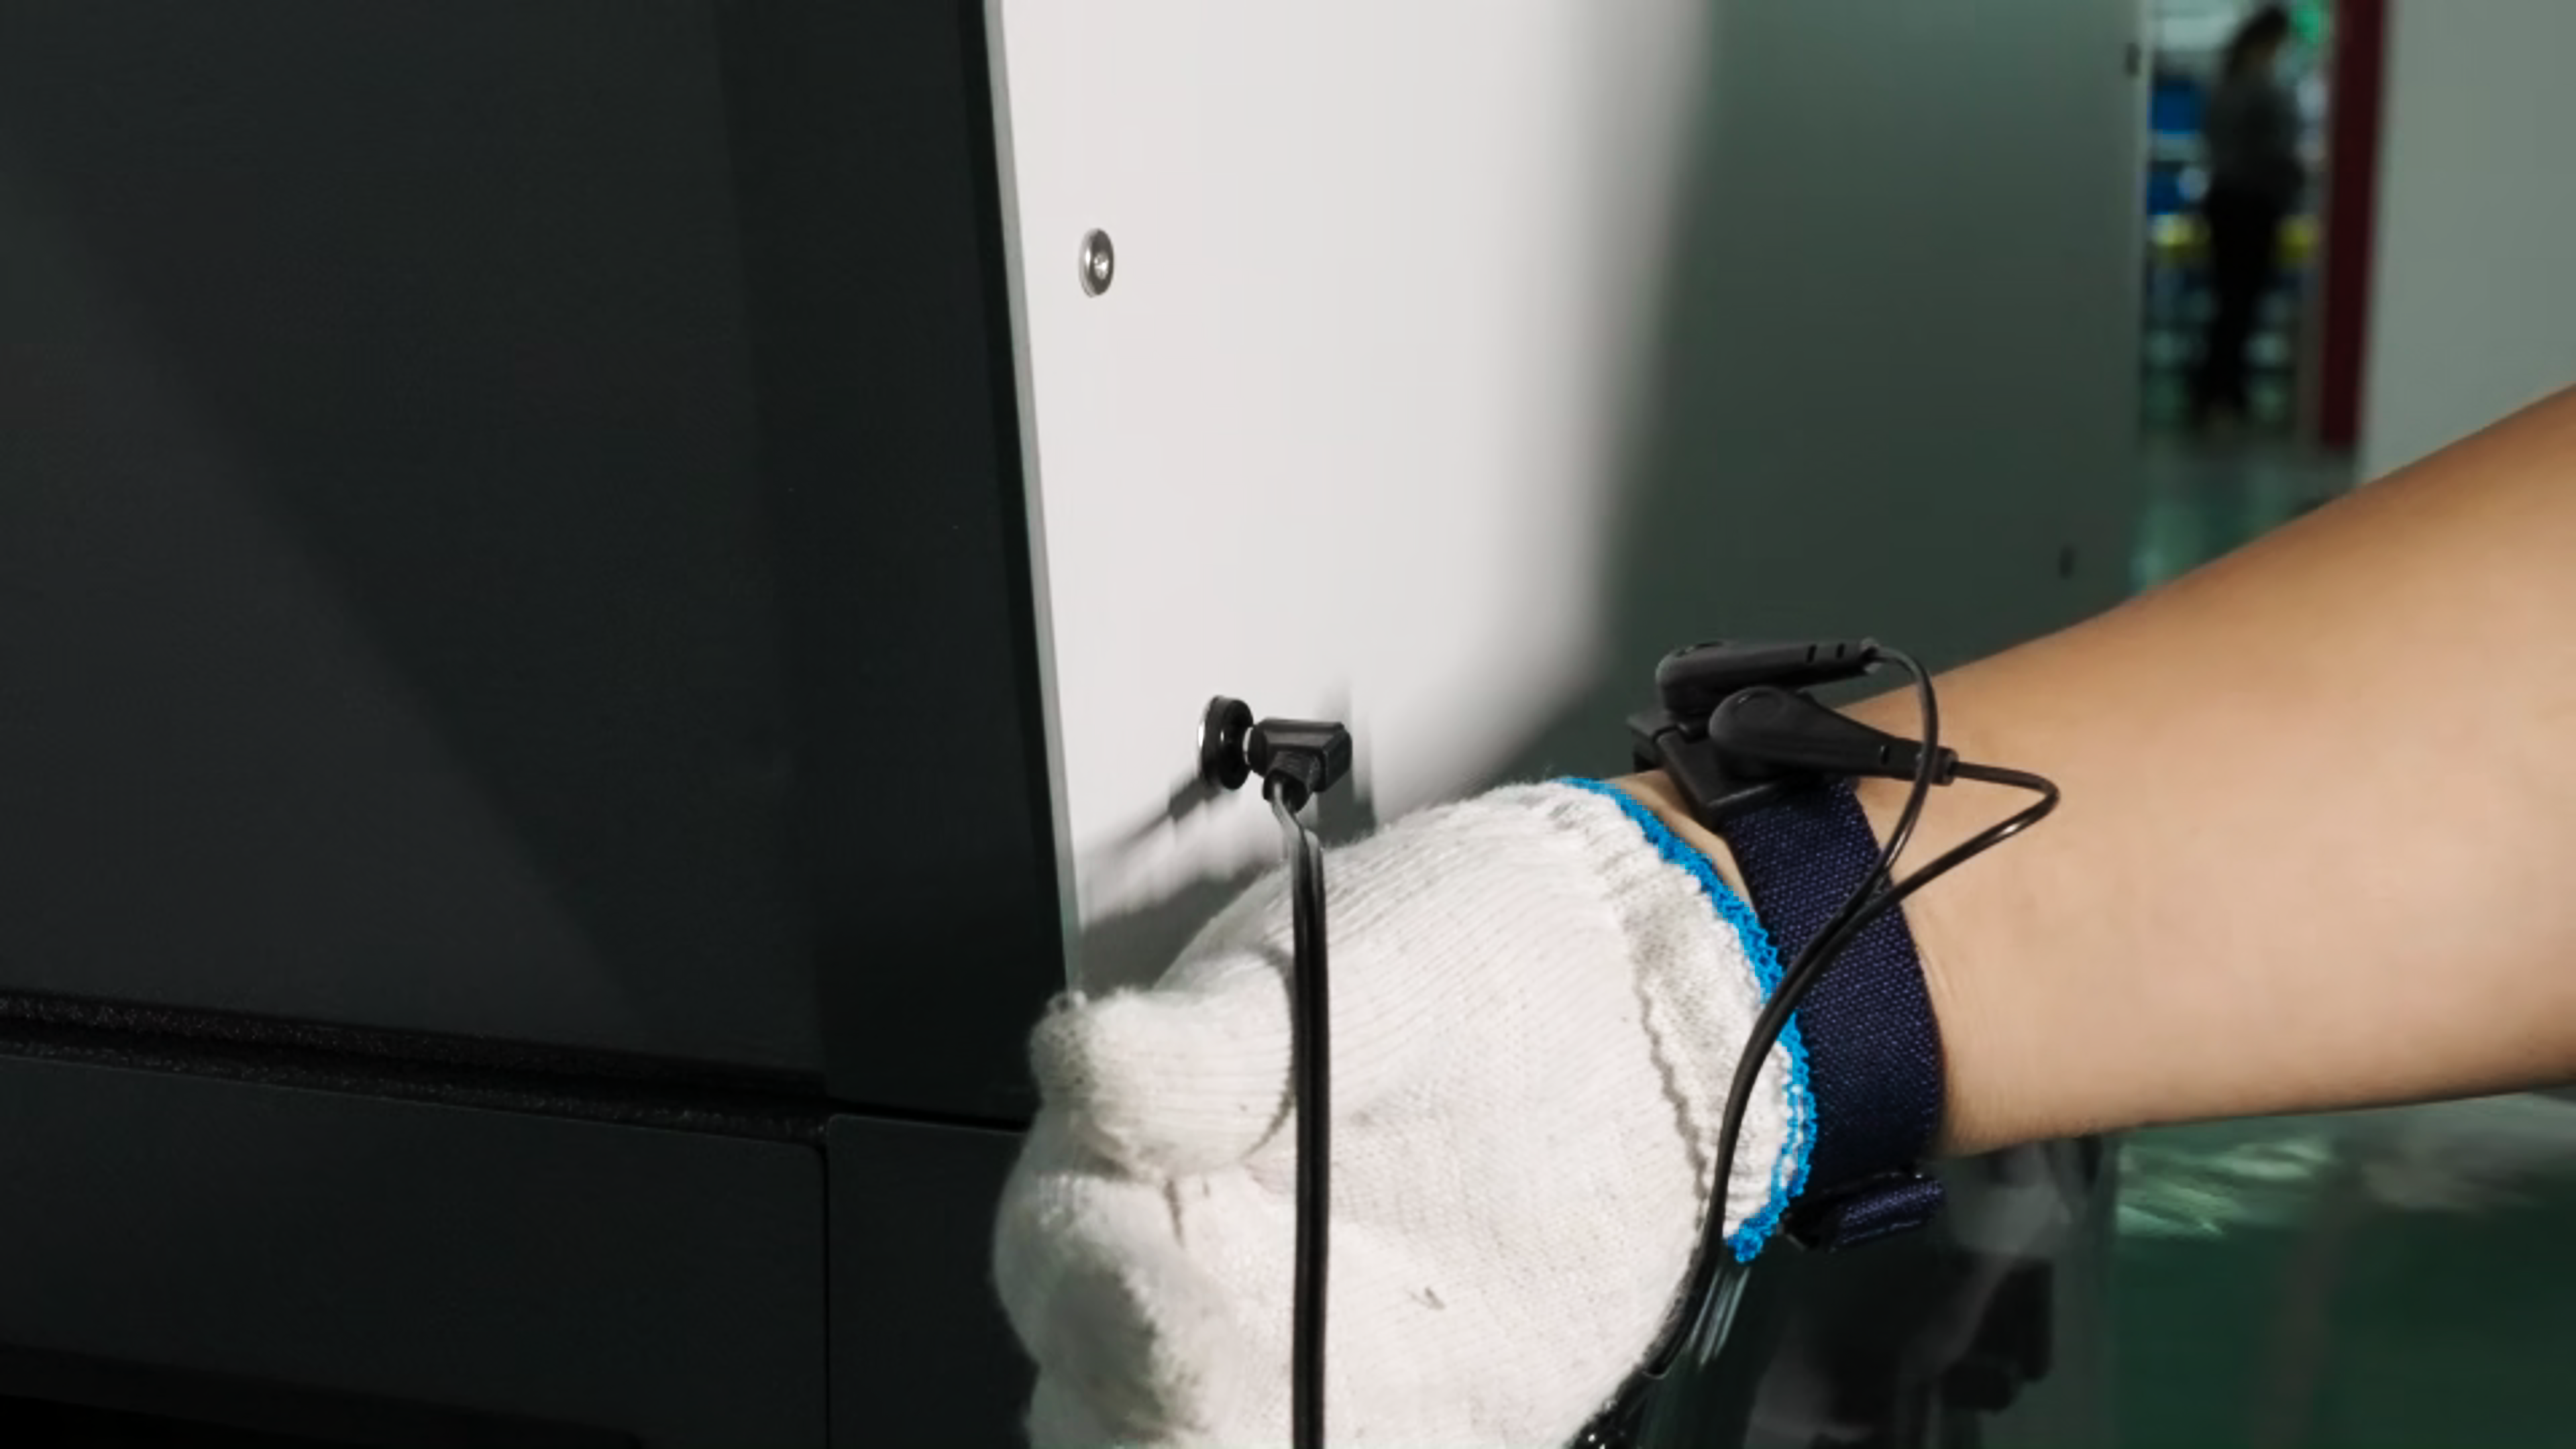
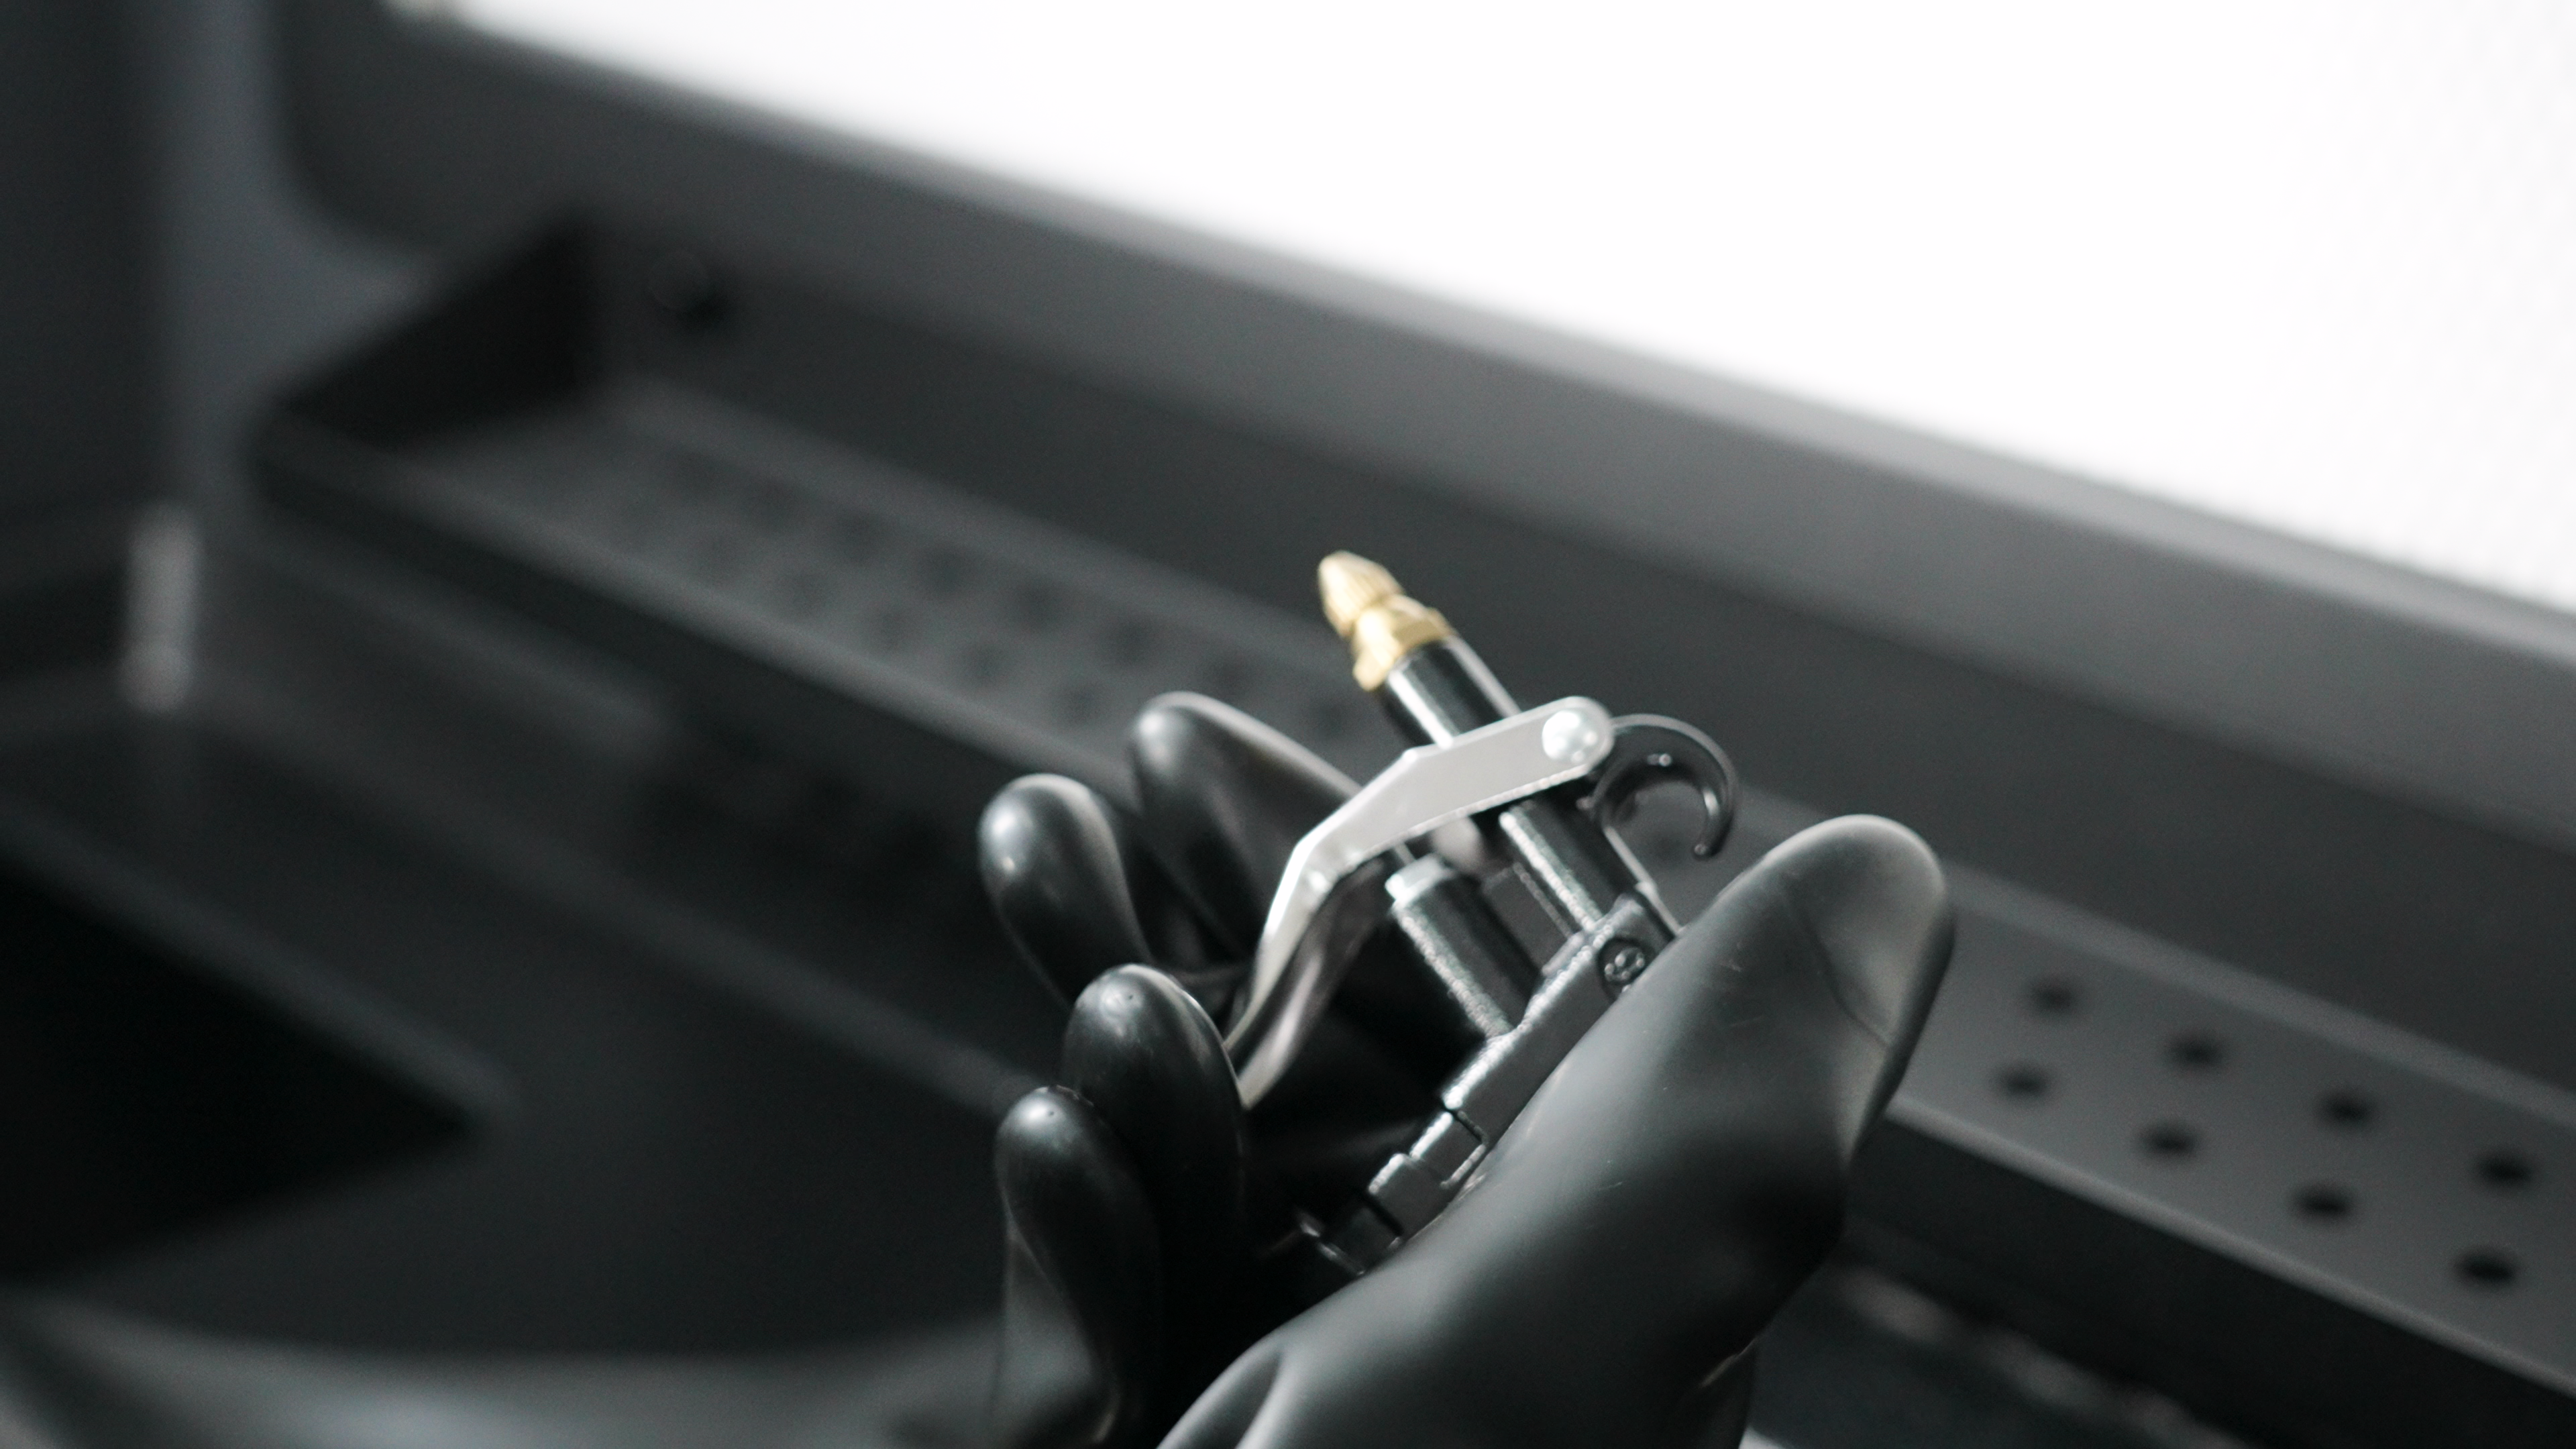
Please wear the anti-static wrist strap that comes with the C220-P to ensure your safety and prevent static electricity from damaging the equipment.
-
Press the "SIFT" button on the operation panel to open the vibrating screen.
-
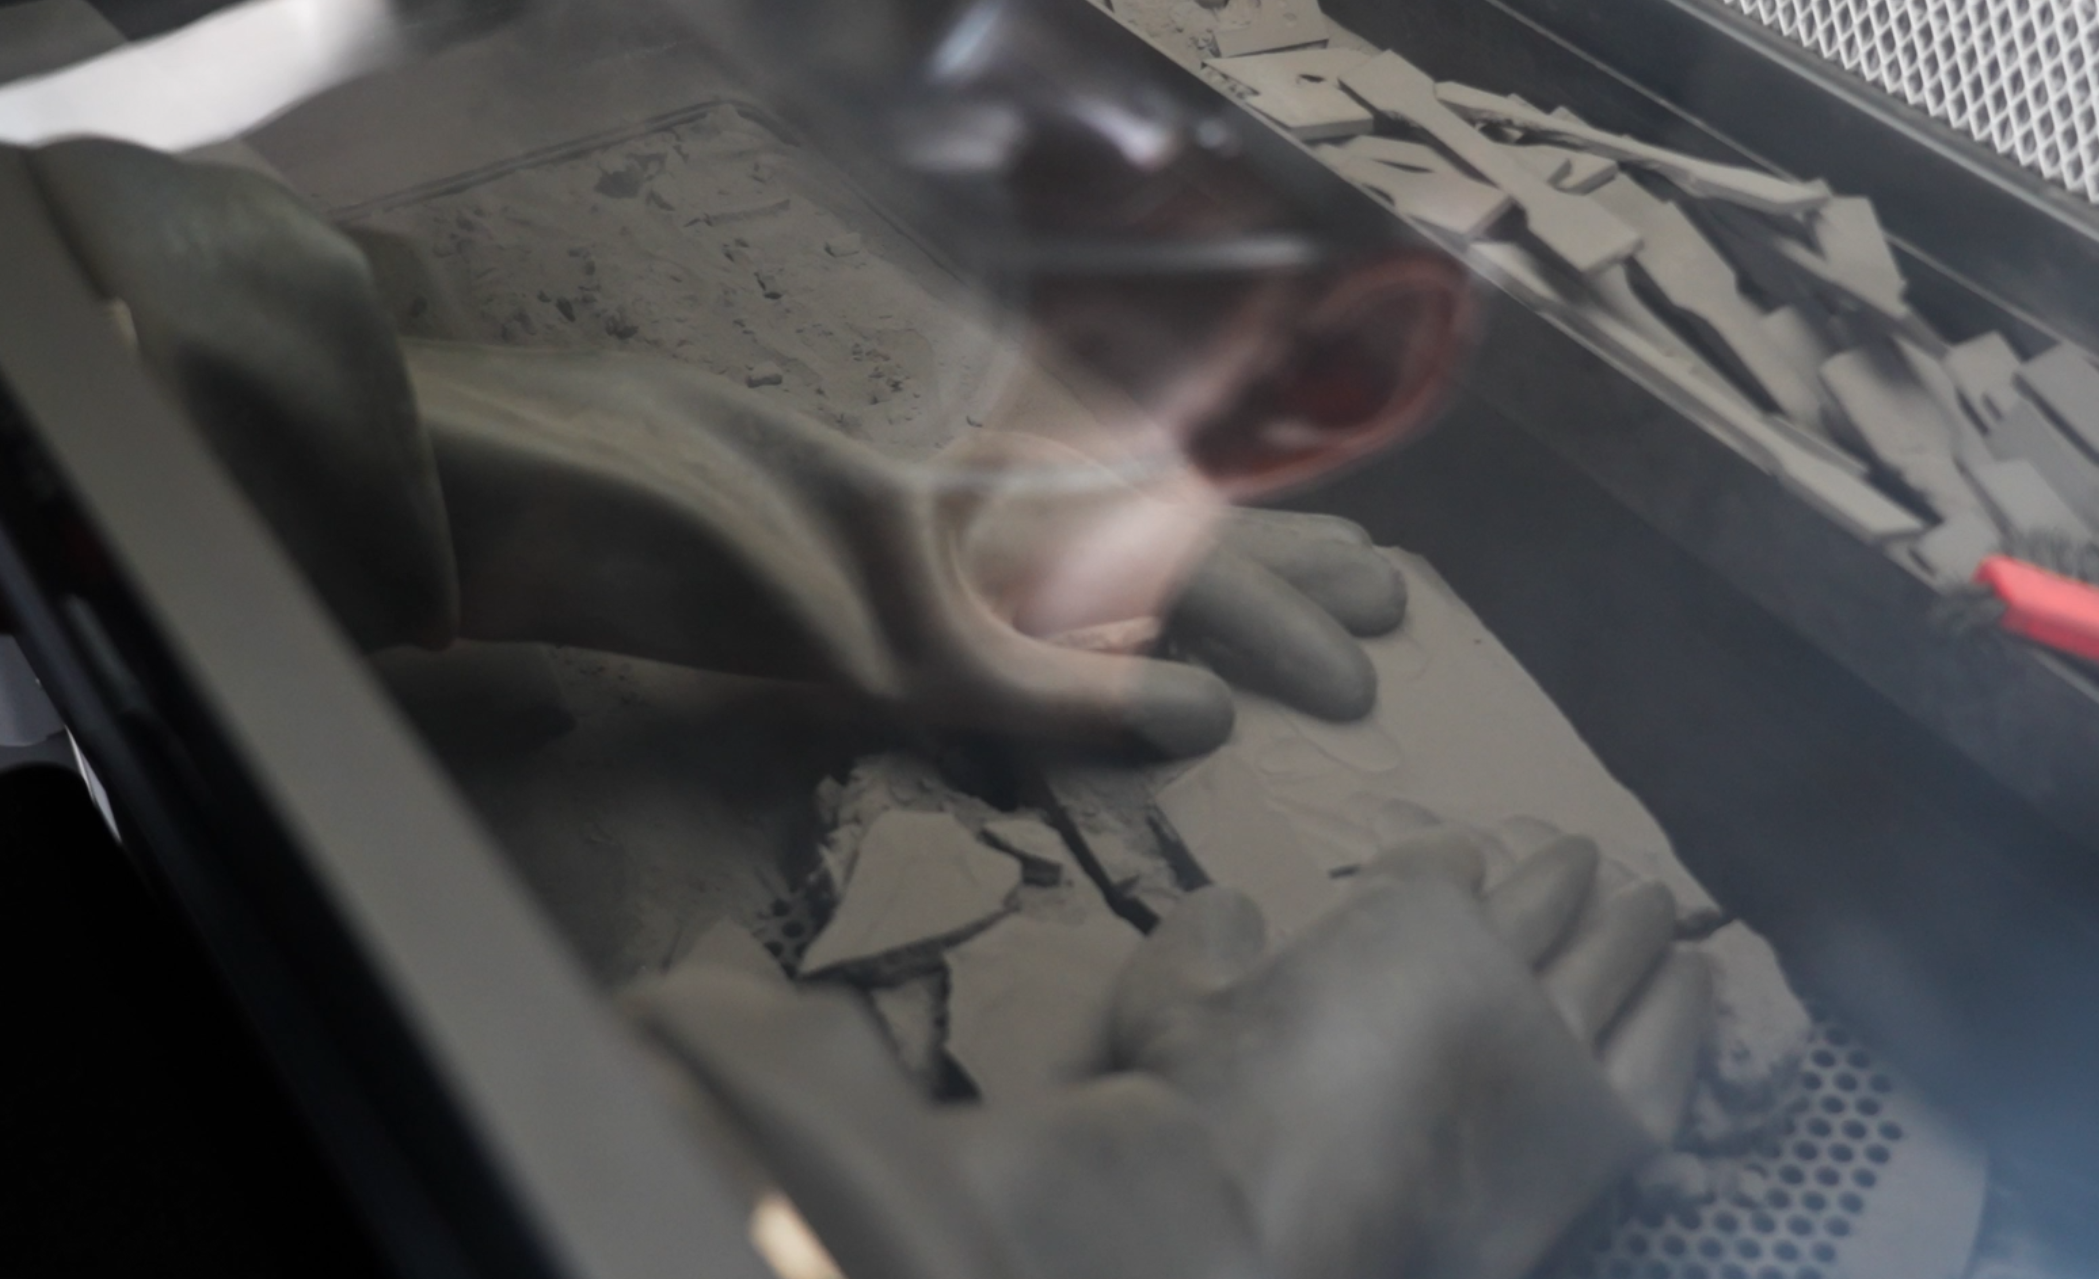
Use your hands or the provided tools (nylon brush or wire brush) to break up the powder packet, breaking up as much of the unsintered powder as possible from the surface of the part. Set the part aside and push the loose powder into the sieve, allowing it to enter the vibrating screen below the sieve.
-
During the powder recovery process, use nylon star brushes to remove as much of the remaining powder into the grid as possible.
-
If the print has holes or more detailed areas, you can use the included air gun to clean the model.
-
Both used and fresh powder are collected under the system. The cleaning station measures the used and fresh powder again.
-
The cleaning station has a fresh powder hopper. You can open the lid to add new powder.
-
Push the cleaned Build Unit 220 into the RMS220 printer to begin the next print job.
¶ Sandblasting
Sandblasting is a post-processing technique for selective laser sintering (SLS) 3D printed parts. It removes excess powder, improves surface quality, and enhances mechanical properties. It also prepares the surface for subsequent coating, staining, and other surface treatment processes. Please refer to other user documentation.